
Related Manuals for Schwinn IC3


Summary of Contents for Schwinn IC3
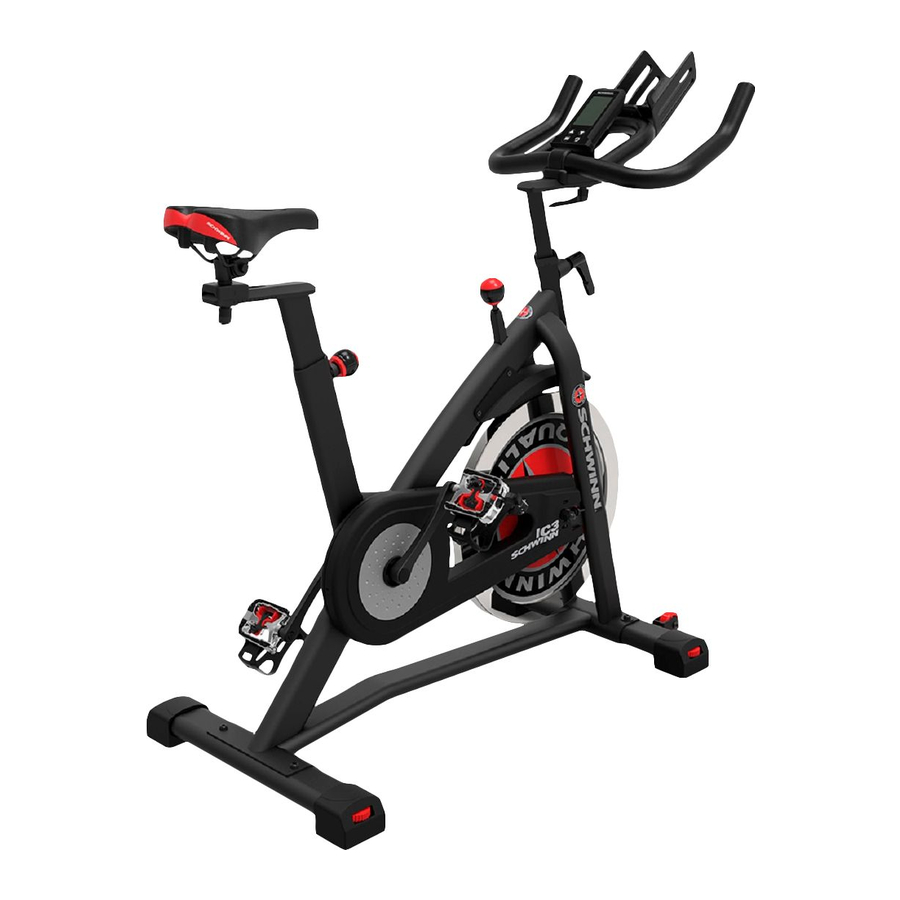
- Page 1 Manual en Español Latino Americano: http://www.schwinnfitness.com ASSEMBLY MANUAL / OWNER’S MANUAL...
-
Page 2: Table Of Contents
Nautilus, Inc., (800) NAUTILUS / (800) 628-8458, www.NautilusInc.com - Customer Service: North America (800) 605-3369, csnls@nautilus.com | outside U.S. www.nautilusinternational.com | Printed in China | © 2017 Nautilus, Inc. | ® indicates trademarks registered in the United States. These marks may be registered in other nations or otherwise protected by common law. Schwinn, the Schwinn Quality logo, IC3, Nautilus, Bowflex, and Universal are trademarks owned by or licensed to Nautilus, Inc. Polar® and... -
Page 3: Important Safety Instructions
IMPORTANT SAFETY INSTRUCTIONS When using an electrical appliance, basic precautions should always be followed, including the following: This icon means a potentially hazardous situation which, if not avoided, could result in death or serious injury. Obey the following warnings: Read and understand all warnings on this machine. Carefully read and understand the Assembly instructions. - Page 4 • Do not operate this machine outdoors or in moist or wet locations. Keep the Pedals clean and dry. • Keep at least 24” (0.6 m) on each side of the machine clear. This is the recommended safe distance for access and passage around and emergency dismounts from the machine. Keep third parties out of this space when machine is in use.
-
Page 5: Safety Warning Labels And Serial Number
SAFETY WARNING LABELS AND SERIAL NUMBER WARNING! • Injury or death is possible if caution is not used while using this machine. • Keep children and pets away. • Read and follow all warnings on this machine. • Refer to the Owner’s Manual for additional warnings and safety information. -
Page 6: Specifications
SPECIFICATIONS Specifications Maximum User Weight: 300 lbs. (136 kg) Machine Weight: 101 lbs. (46 kg) Dimensions: 48.7” x 21.2” x 49.8” (123.7cm x 53.9cm x 126.6cm) Power Requirements: 2 AA Batteries (SUM3) Operating Voltage: 3VDC WARNING! This product, its packaging, and components contain chemicals known to the State of California to cause cancer, birth defects, or reproductive harm. This Notice is provided in accordance with California’s Proposition 65. If you would like additional information, please refer to our website at www.nautilus.com/prop65. Before Assembly Select the area where you are going to set up and operate your machine. -
Page 7: Parts
PARTS Item Description Item Description Main Frame Pedal, Right Stabilizer, Front Pedal, Left Stabilizer, Rear Water Bottle Holder Seat Post Console Seat AA-size Batteries Handlebar Shoe Clips (Cleats) -
Page 8: Hardware
HARDWARE / TOOLS Item Description Adjustment Handle, Handlebar / Seat Flat Washer, M10 Wide Adjustment Handle, Handlebar Post Tools Included 6 mm 13 mm 14 mm 15 mm... -
Page 9: Assembly
ASSEMBLY 1. Attach Stabilizers to Main Frame Note: The hardware (*) is pre-installed and not in the Hardware Bag. If a tube is pre-installed in the stabilizer bracket, remove and set it safely aside. 2. Attach Seat to Seat Post and Frame NOTICE: Make sure the adjustment knob (4a) engages the holes in the Seat Post. - Page 10 3. Install Handlebar Assembly on Frame NOTICE: Make sure the Adjustment Handle (C) engages the holes in the Handlebar Post.
- Page 11 4. Attach Pedals to Frame Assembly Note: The Left Pedal is reverse-threaded. Be sure to attach Pedals on the proper side of the Bike. Orientation is based from a seated position on the bike. The Left Pedal has an “L”, the Right Pedal an “R”. 5.
- Page 12 6. Install Batteries in Console Note: The console uses AA size batteries (SUM3). Make sure that the batteries point in the direction of the +/– indicators in the battery bay. Do not mix old and new batteries. Do not mix alkaline, standard (carbon-zinc), or rechargeable (Ni-Cd, Ni-MH, etc) batteries. 7. Connect and Attach the Console NOTICE: Remove the pre-installed screws(*) from the back of the Console before you connect the cable. Do not crimp the cable.
-
Page 13: Installing Shoe Clips (Cleats)
8. Final Inspection Inspect your machine to ensure that all hardware is tight and components are properly assembled. Be sure to record the serial number in the field provided at the front of this manual. Do not use or put the machine into service until the machine has been fully assembled and inspected for correct performance in accordance with the Owner’s Manual. -
Page 14: Leveling The Machine
BEFORE YOU START Leveling the Machine The machine needs to be leveled if your workout area is uneven. Levelers are found on each side of the stabilizers. Lift the stabilizer slightly to take the weight off the adjuster, then turn the knob to adjust the stabilizer foot. Do not adjust the levelers to such a height that they detach or unscrew from the machine. -
Page 15: Features
FEATURES Console Pedal w/Foot Restraint Handlebar Assembly Flywheel Adjustment Handle, Handlebar Slider Brake Assembly Adjustment Handle, Handlebar Post Cover, Drive Belt Brake/Resistance Adjustment Knob Front Stabilizer Seat Transport Wheel Seat Slider Battery Bay Adjustment Handle, Seat Slider Telemetry Heart Rate (HR) Receiver Adjustment Handle, Seat Post Water Bottle Holder Rear Stabilizer... -
Page 16: Emergency Stop
Emergency Stop To stop the pedals immediately, push down hard on the Brake/Resistance Adjustment Knob. Console Features The Console provides information about your workout on the display screens. Data Display Average RPM <120 Keypad Functions <60 TIME SCAN MODE button- Selects functions to edit values (set <30 workout goal). -
Page 17: Remote Heart Rate Monitor
DISTANCE The DISTANCE display field shows the distance from start to finish of workout. To set a distance goal for the workout, push MODE until the DISTANCE field blinks. Use the arrow keys to adjust the distance in increments of 0.50 km (or miles). During the workout, the display shows the remaining distance. When it reaches zero, the console will sound an alert. The maximum distance value is 99.99. The default distance unit is kilometers (K). To switch units between kilometers and miles before a workout, push the Up and Down arrow keys together and hold 3 seconds. -
Page 18: Shoe Clips (Cleats)
The graph is a brief guideline, describing the generally suggested target heart rates based on age. As noted above, your optimal target rate may be higher or lower. Consult your physician for your individual target heart rate zone. Note: As with all exercises and fitness regimens, always use your best judgment when you increase your exercise time or intensity. FAT-BURNING TARGET HEART RATE 20-24 25-29... -
Page 19: Operations
OPERATIONS What to Wear Wear rubber-soled athletic shoes. You will need the appropriate clothes for exercise that allow you to move freely. How Often Should You Exercise Consult a physician before you start an exercise program. Stop exercising if you feel pain or tightness in your chest, become short of breath, or feel faint. Contact your doctor before you use the machine again. Use the values calculated or measured by the machine’s computer for reference purposes only. -
Page 20: Power Up
Using the Shoe Clips (Cleats) Foot pedals that are equipped for cycling shoes with cleats provide secure footing on the exercise bike. Be sure to turn the Pedals so that the Foot Restraint is under the Pedal. Prior to use, make sure you understand the operation of the engagement / release mechanism for the pedals and cleats (shoes). 1. -
Page 21: Edit Mode
Auto Shut-Off (Sleep Mode) If the Console does not receive any input in approximately 4 minutes, it will automatically shut off. The LCD display is off while in Sleep Mode. Note: The Console does not have an On/Off switch. Resistance Adjustment To adjust the resistance and workload, turn the resistance adjustment knob. Edit Mode To set a TIME, CALORIES or DISTANCE goal for your workout, push the MODE button to move to the desired field. The field will blink. Use the Up and Down arrow keys to adjust the value. Note: To reset the value to zero (0), push RESET. Push MODE to move to the next field. -
Page 22: Maintenance
MAINTENANCE Read all maintenance instructions fully before you start any repair work. In some conditions, an assistant is required to do the necessary tasks. Equipment must be regularly examined for damage and repairs. The owner is responsible to make sure that regular maintenance is done. -
Page 23: Replacing The Console Batteries
Replacing the Console Batteries When the batteries are low on power, the console display contrast will dim. When replacing the batteries, make sure the batteries point in the +/- direction shown in the battery bay. Note: The console uses AA size alkaline batteries (SUM3) Do not mix old and new batteries. Do not mix alkaline, standard (carbon-zinc), or rechargeable (Ni-Cd, Ni-MH, etc) batteries. Be sure to remove the batteries to prevent corrosion damage if you are not going to use the machine for an extended period of time. -
Page 24: Maintenance Parts
Maintenance Parts A Console Crank Arm Q Leveler B Handlebar Pedal w/Foot Restraint Speed Sensor Magnet C Adjustment Handle Seat Speed Sensor D Adjustment Handle, Handlebar Seat Post Drive Belt Post E Brake/Resistance Knob M Seat Post Adjustment Knob Drive Pulley F Brake Assembly Front Stabilizer Data Cable... -
Page 25: Troubleshooting
TROUBLESHOOTING Condition/Problem Things to Check Solution Console will not power up/ Check batteries. Make sure batteries are installed correctly. If batteries are turn on/start correctly installed, replace with a set of new batteries. Check data cable integrity All wires in cable should be intact. If any are visibly crimped or cut, replace cable. - Page 26 Condition/Problem Things to Check Solution Check Speed Sensor Speed Sensor Assembly should be aligned with magnet and Assembly connected to data cable. Realign sensor if necessary. Replace if there is any damage to the sensor or the connecting wire. Contact Customer Care for further assistance. Unit rocks/does not sit Check level adjustment Levelers may be turned to level machine.
-
Page 27: Warranty
WARRANTY Who Is Covered This warranty is valid only to the original purchaser and is not transferable or applicable to any other person(s). What Is Covered Nautilus, Inc. warrants that this product is free from defects in materials and workmanship, when used for the purpose intended, under normal conditions, and provided it receives proper care and maintenance as described in the Product’s Assembly and Owner’s manual. - Page 28 Nautilus Bowflex Schwinn Universal ® ® ® ® 8015880.081517.A...