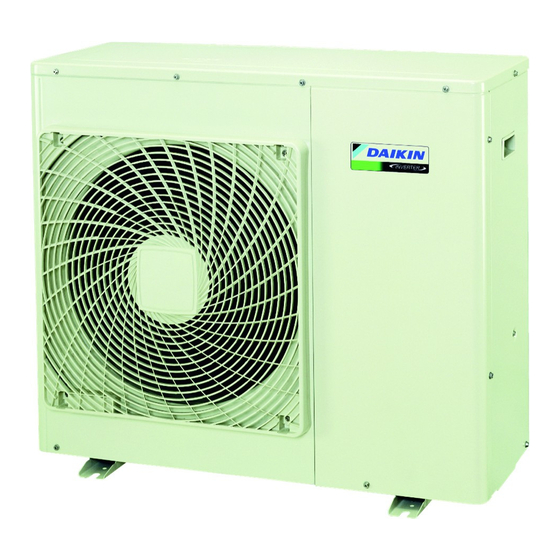
Daikin RXS50K2V1B Installation Manual
R410a split series
Hide thumbs
Also See for RXS50K2V1B:
- Service manual (130 pages) ,
- Installation manual (21 pages) ,
- Service manual (29 pages)
Summary of Contents for Daikin RXS50K2V1B
-
Page 1: Installation Manual
Installation manual R410A split series RXS50K2V1B RXS60F4V1B RXG50K3V1B RX50G3V1B RX60G3V1B RXS50L2V1B RXS60L2V1B RX60G4V1B ARXS50G3V1B ARXS50L2V1B Installation manual ARXS60L2V1B English R410A split series ARXS71L2V1B... - Page 2 3P327445-13Q...
- Page 3 3P327445-8Q...
- Page 4 3P327445-17Q...
- Page 5 3P327445-20P...
-
Page 6: Table Of Contents
To install the outdoor unit..........11 Daikin website (publicly accessible). 5.2.3 To provide drainage ............ 11 ▪ The full set of latest technical data is available on the Daikin 5.2.4 To prevent the outdoor unit from falling over ....11 extranet (authentication required). -
Page 7: General Safety Precautions
Make sure installation, testing and applied materials WARNING comply with applicable legislation (on top of the instructions described in the Daikin documentation). Ask your dealer to move and reinstall the air conditioner. Incomplete installation may result in a water leakage, DANGER: RISK OF BURNING electric shock, and fire. -
Page 8: About The Box
3 About the box Install power cables at least 1 metre away from televisions or radios WARNING to prevent interference. Depending on the radio waves, a distance of ▪ ONLY use copper wires. 3 metre may not be sufficient. ▪ Make sure the field wiring complies with the applicable WARNING legislation. -
Page 9: Additional Installation Site Requirements Of The Outdoor Unit In Cold Climates
The outdoor unit is designed for outdoor installation only, and for ambient temperatures ranging: Class 71 Liquid piping Ø9.5 mm (3/8") Models Heating mode Cooling mode Gas piping Ø15.9 mm (5/8") RXS50K2V1B –15~18°C –10~46°C ▪ Piping temper grade and thickness: RXS60F4V1B RX50~60G3V1B Outer diameter Temper grade Thickness (t) (Ø) RXS50~60L2V1B Ø... -
Page 10: Installation
5 Installation ▪ Use polyethylene foam as insulation material: ▪ with a heat transfer rate between 0.041 and 0.052 W/mK (0.035 and 0.045 kcal/mh°C) ▪ with a heat resistance of at least 120°C ▪ Insulation thickness Pipe outer diameter Insulation inner Insulation thickness (Ø... -
Page 11: To Install The Outdoor Unit
5 Installation 5.2.2 To install the outdoor unit 4× M8/M10 5.2.3 To provide drainage Make sure that condensation water can be evacuated properly. NOTICE If the drain holes of the outdoor unit are blocked up, provide space of at least 300 mm below the outdoor unit. ▪... -
Page 12: Connecting The Refrigerant Piping
5 Installation 3 Insert a rubber sheet between the cables and the outdoor unit 5.3.2 Guidelines when connecting the to prevent the cable from scratching the paint (field supply). refrigerant piping 4 Attach the cable’s ends. Tighten those ends. Take the following guidelines into account when connecting pipes: ▪... -
Page 13: Using The Stop Valve And Service Port
5 Installation Flare tool for Conventional flare tool R410A (clutch Clutch type Wing nut type type) (Ridgid-type) (Imperial-type) 0~0.5 mm 1.0~1.5 mm 1.5~2.0 mm 5 Check that the flaring is properly made. Counterclockwise to open. Clockwise to close. 3 When the valve stem cannot be turned any further, stop turning. The valve is now opened/closed. -
Page 14: Checking The Refrigerant Piping
5 Installation If the pressure… Then… Increases There is moisture in the system. Go to the next step. 3 Evacuate for at least 2 hours to a pressure on the manifold of −0.1 MPa (−1 bar). Liquid stop valve Gas stop valve 4 After turning OFF the pump, check the pressure for at least Service port 1 hour. -
Page 15: To Fix The Fluorinated Greenhouse Gases Label
5 Installation ▪ Open refrigerant cylinders slowly. WARNING ▪ Charge the refrigerant in liquid form. Adding it in gas form may ▪ If the power supply has a missing or wrong N-phase, prevent normal operation. equipment might break down. Prerequisite: Before charging refrigerant, make sure the refrigerant ▪... -
Page 16: Specifications Of Standard Wiring Components
5 Installation ▪ Use the following methods for installing wires: Wire type Installation method Single core wire AA´ A´ 3× a Curled single core wire b Screw 3 Open the wire clamp. c Flat washer Stranded conductor 4 Connect the interconnection cable and power supply as follows: wire with round crimp-style terminal a Terminal... -
Page 17: Cooling Equipment And Computer Rooms At Low Outdoor Temperatures
6 Commissioning Gas pipe Gas pipe insulation Interconnection cable Liquid pipe Liquid pipe insulation Finishing tape 2 Install the service cover. 5 Turn ON the power supply Commissioning 5.6.4 Cooling equipment and computer rooms at low outdoor temperatures NOTICE About the facility mode NEVER operate the unit without thermistors and/or pressure sensors/switches. -
Page 18: To Perform A Test Run
7 Disposal Drainage Starting up the outdoor unit Make sure drainage flows smoothly. See the indoor unit installation manual for configuration and Possible consequence: Condensate water might drip. commissioning of the system. The indoor unit receives the signals of the remote controller. -
Page 19: Technical Data
8 Technical data Technical data A subset of the latest technical data is available on the regional Daikin website (publicly accessible). The full set of latest technical data is available on the Daikin extranet (authentication required). Wiring diagram Unified Wiring Diagram Legend For applied parts and numbering refer to the wiring diagram sticker supplied on the unit. - Page 20 3P360062-1H 2016.09...


