Table of Contents
Advertisement
Quick Links
*En_A933_01.fm Page 1 Monday, December 20, 2004 1:23 PM
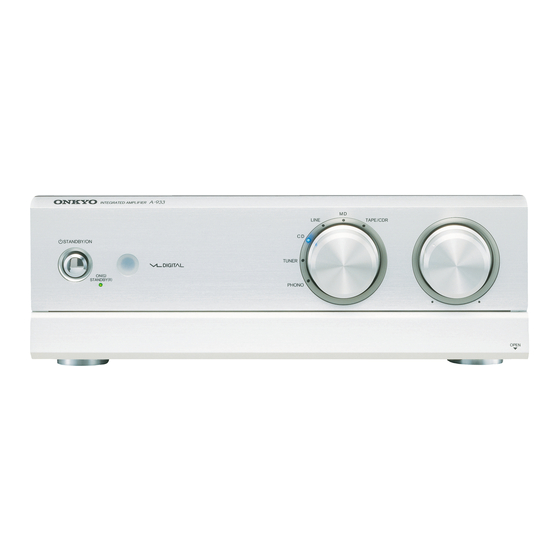
Integrated Amplifier
A-933
Instruction Manual
Thank you for purchasing an Onkyo Integrated Ampli-
fier. Please read this manual thoroughly before making
connections and plugging in the unit.
Following the instructions in this manual will enable
you to obtain optimum performance and listening
enjoyment from your new Integrated Amplifier.
Please retain this manual for future reference.
Contents
Introduction .................................... 2
Connections ................................. 10
Enjoying Audio Sources.............. 17
Troubleshooting........................... 20
Specifications .............................. 22
E
n
Advertisement
Table of Contents

Related Manuals for Onkyo A-933


Summary of Contents for Onkyo A-933
- Page 1 *En_A933_01.fm Page 1 Monday, December 20, 2004 1:23 PM Integrated Amplifier A-933 Instruction Manual Thank you for purchasing an Onkyo Integrated Ampli- fier. Please read this manual thoroughly before making connections and plugging in the unit. Following the instructions in this manual will enable you to obtain optimum performance and listening enjoyment from your new Integrated Amplifier.
-
Page 2: Introduction Important Safety Instructions
*En_A933_02.fm Page 2 Tuesday, January 25, 2005 1:46 PM WARNING: TO REDUCE THE RISK OF FIRE OR ELECTRIC SHOCK, DO NOT EXPOSE THIS APPARATUS TO RAIN OR MOISTURE. CAUTION: TO REDUCE THE RISK OF ELECTRIC SHOCK, DO NOT REMOVE COVER (OR BACK). NO USER-SERVICEABLE PARTS INSIDE. -
Page 3: Precautions
5. Never Touch this Unit with Wet Hands— Never handle this unit or its power cord while your hands are wet or damp. If water or any other liquid gets inside this unit, have it checked by your Onkyo dealer. 6. Handling Notes •... -
Page 4: Features
Make sure you have the following accessories: Remote controller (RC-613S) & two batteries (AA/R6) In catalogs and on packaging, the letter added to the end of the product name indicates the color of the A-933. Specifications and operation are the same regardless of color. -
Page 5: Table Of Contents
Enjoying Audio Sources Turning on the A-933... 17 Listening to Components... 17 Selecting Speaker Set A or B... 17 Muting the A-933 (remote controller only)... 18 Using Headphones... 18 Using the Tone Controls... 18 Selecting Tone or Direct Mode... 18 Adjusting the Super Bass... -
Page 6: Front & Rear Panels
A-933 is completely shutdown. When set to ON, the A-933 can be set to On or Standby. STANDBY/ON button (17) This button is used to set the A-933 to On or Standby. For models with a [POWER] switch, this button has no effect unless the [POWER] switch is set to ON. -
Page 7: Rear Panel
This jack is for connecting a powered subwoofer. MAIN IN This analog audio input is for connecting a separate preamp when you want to use the A-933 as a power amplifier. Caution: Do not connect a component that does not have an... -
Page 8: Remote Controller (Rc-613S)
- 613 S For detailed information, refer to the pages in parenthe- ses. STANDBY button (17) This button is used to set the A-933 to Standby. ON button (17) This button is used to turn on the A-933. Number buttons These buttons are used to enter track numbers. -
Page 9: Installing The Batteries
This button is used to scroll text displayed on an Onkyo Separate Collection MD or CDR component that’s connected via CLOCK CALL button This button is used to display the time on an Onkyo Separate Collection tuner that’s connected via Installing the Batteries Remove the battery compartment cover, as shown. -
Page 10: Connecting The A-933
Auto Power On When you turn on the power or start playback on a component that’s connected to the A-933, the A-933 will turn on automatically. And when you set the A-933 to Standby, all connected components will go on Standby as well. (The A-933’s POWER switch must be set to ON for this to work.) -
Page 11: Connecting Your Speakers
Speaker Connection Precautions You can connect one or two sets of speakers (A/B) to the A-933, and select which set outputs sound, or use both sets at the same time. • Connecting one set of speakers (A or B): Only con- nect speakers with an impedance of 4 ohms or more but less than 16 ohms. -
Page 12: Connecting A Subwoofer
A + B : MODEL NO. A-933 – Right Speaker set B speaker Connecting a Subwoofer You can connect a subwoofer with a built-in power amplifier to the A-933’s SUBWOOFER PREOUT jack. 15 mm PHONO (MM) TUNER SUBWOOFER SUBWOOFER PREOUT PREOUT MAIN IN... -
Page 13: Hookup Diagrams For Onkyo Separate Collection
*En_A933_02.fm Page 13 Tuesday, January 25, 2005 1:46 PM Connecting the A-933 —Continued Hookup Diagrams for Onkyo Separate Collection The A-933 can be used with the Onkyo Separate Collection C-733 CD Player and T-433 Tuner as shown below. T-433 A-933... -
Page 14: Audio Components
*En_A933_02.fm Page 14 Tuesday, January 25, 2005 1:46 PM Connecting the A-933 —Continued Audio Components Connecting a CD player Use an analog audio cable to connect the A-933’s CD L/R jacks to the analog audio output jacks on the CD player, as shown. SPEAKERS... -
Page 15: Connecting A Turntable
A- 933 Note: If your TV has no audio output, you can connect the A-933 to an audio output on your VCR and use its tuner. Connecting a Preamp The A-933 can be used as a power amplifier with a sep- arate preamp. -
Page 16: Connecting Components
• Before connecting the power cord, connect all your speakers and audio components. • Turning on the A-933 may cause a momentary power surge, which might interfere with other electrical equipment on the same circuit. If this is a problem, plug the A-933 into a different branch circuit. -
Page 17: Enjoying Audio Sources
Standby mode. If the A-933 is connected to other components via , press the remote controller’s [ON] button once to turn on the A-933, and press it again to turn on the other components. Turning on all system components simultaneously:... -
Page 18: Muting The A-933 (Remote Controller Only)
PHONES jack. • The headphones output no sound while the MAIN IN function is on. Using the Tone Controls While the MAIN IN function is on, the A-933’s tone controls have no effect. STANDBY/ON ON(G) -
Page 19: Using The Main In Function
*En_A933_02.fm Page 19 Tuesday, January 25, 2005 1:46 PM Enjoying Audio Sources —Continued Using the MAIN IN Function You can use the A-933 as power amplifier with a sepa- rate preamp. See page 15 for connection information. LINE TAPE /CDR... -
Page 20: Troubleshooting
*En_A933_02.fm Page 20 Tuesday, January 25, 2005 1:46 PM Troubleshooting If you have any trouble using the A-933, look for a solution here. If you can’t resolve the issue yourself, contact your Onkyo dealer. Power Can’t turn on the A-933. - Page 21 • When using the A-933 as a power amplifier (MAIN IN function), recording is not possible. Others The VOLUME control doesn’t work. • When using the A-933 as a power amplifier (MAIN IN function), the Volume control has no effect. Adjust the volume on the connected preamp instead. The Muting function doesn’t work.
-
Page 22: Specifications
*En_A933_02.fm Page 22 Tuesday, January 25, 2005 1:46 PM Specifications Power output: Dynamic power: THD (total harmonic distortion): Damping factor : Input sensitivity and impedance: Output level and impedance: Phono overload: Frequency response: Tone control: SN ratio: Speaker impedance: Power supply: Power consumption: Stand-by power consumption: Dimensions (W ×... - Page 23 *En_A933_02.fm Page 23 Tuesday, January 25, 2005 1:46 PM...
- Page 24 ONKYO CHINA LIMITED Units 2102-2107, Metroplaza Tower I, 223 Hing Fong Road, Kwai Chung, N.T., HONG KONG Tel: 852-2429-3118 Fax: 852-2428-9039 http://www.ch.onkyo.com/ SN 29343979 (C) Copyright 2005 ONKYO CORPORATION Japan. All rights reserved. HOMEPAGE http://www.onkyo.com/ Printed in Japan I0501-1 * 2 9 3 4 3 9 7 9 *...