Table of Contents
Advertisement
Quick Links
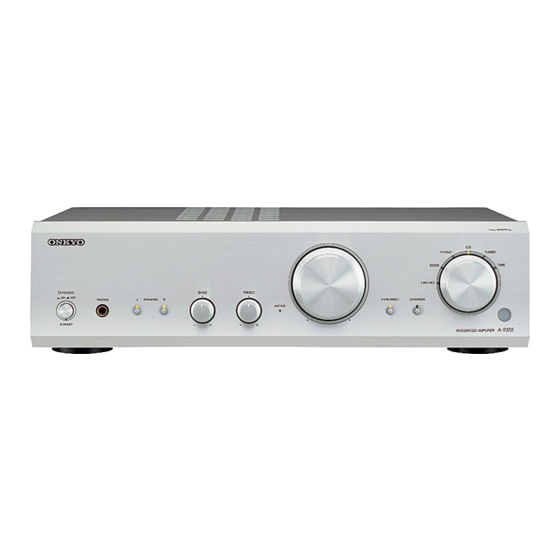
Integrated Amplifier
A-9355/A-9155
Instruction Manual
Thank you for purchasing an Onkyo Integrated Ampli-
fier. Please read this manual thoroughly before making
connections and plugging in the unit.
Following the instructions in this manual will enable
you to obtain optimum performance and listening
enjoyment from your new Integrated Amplifier.
Please retain this manual for future reference.
Contents
Introduction .................................... 2
Connections ................................. 10
Enjoying Audio Sources.............. 14
Troubleshooting........................... 17
Specifications .............................. 19
E
n
Advertisement
Table of Contents

Related Manuals for Onkyo A-9355


Summary of Contents for Onkyo A-9355
-
Page 1: Table Of Contents
A-9355/A-9155 Instruction Manual Connections ......... 10 Enjoying Audio Sources....14 Thank you for purchasing an Onkyo Integrated Ampli- Troubleshooting......17 fier. Please read this manual thoroughly before making connections and plugging in the unit. Following the instructions in this manual will enable you to obtain optimum performance and listening enjoyment from your new Integrated Amplifier. -
Page 2: Important Safety Instructions
WARNING: AVIS WARNING TO REDUCE THE RISK OF FIRE OR ELECTRIC RISK OF ELECTRIC SHOCK RISQUE DE CHOC ELECTRIQUE DO NOT OPEN NE PAS OUVRIR SHOCK, DO NOT EXPOSE THIS APPARATUS TO RAIN OR MOISTURE. The lightning flash with arrowhead symbol, within an equilateral triangle, is intended to alert the user to the CAUTION: presence of uninsulated “dangerous voltage”... -
Page 3: Precautions
82194 GROEBENZELL, are wet or damp. If water or any other liquid gets GERMANY inside this unit, have it checked by your Onkyo declare in own responsibility, that the ONKYO product described in this instruction manual is in compliance with the dealer. -
Page 4: Introduction
Table of Contents Features A-9355 Integrated Digital Amplifier Introduction ❑ Exclusive Onkyo VL Digital 2-Channel Important Safety Instructions ....2 Amplifier Precautions ..........3 ❑ 70 W/Ch into 8 ohms (IEC) Table of Contents........4 ❑ 85 W/Ch into 8 ohms (JEITA) Features ............4 Supplied Accessories........5... -
Page 5: Supplied Accessories
• If another remote controller of the same type is used • Don’t mix new and old batteries or different types of in the same room, or the A-9355/A-9155 is installed batteries. close to equipment that uses infrared rays, the remote controller may not work reliably. -
Page 6: Front & Rear Panels
This is the main power switch. When set to OFF, the A-9355/A-9155 is completely shutdown. When set This button turns the PURE DIRECT function on to ON, the A-9355/A-9155 can be set to On or and off. The indicator lights up when the PURE Standby. -
Page 7: Rear Panel
(RI Dock, etc.). wire. REMOTE CONTROL jacks SPEAKERS A The A-9355 has two jacks and the A-9155 has one. These terminal posts are for connecting speaker set These (Remote Interactive) jacks can be con- nected to the... -
Page 8: Remote Controller
Example: For 6 - Random button • When the A-9355 has a MD player connected to the LINE/MD terminal, or a CD player to the CD termi- nal, the button functions as “RANDOM” control. - Page 9 Remote Controller —Continued DOCK Connecting LINE/MD (A-9355) TUNER TAPE Terminal (A-9355) LINE/DOCK (A-9155) Component (Input Cassette Tape RI Dock CD Player Tuner Name) Recorder Deck (DOCK) (CD) (TUNER) Button (MD) (TAPE) on Remote Controller 1 - 9 1 - 9...
-
Page 10: Connecting The A-9355/A-9155
Speaker Connection Precautions Connecting the Speaker Cables You can connect one or two sets of speakers (A/B) to the A-9355/A-9155, and select which set outputs sound, Strip about 15 mm (5/8 15 mm or use both sets at the same time. -
Page 11: Before Making Any Connections
The A-9355/A-9155’s PHONO input jacks are for use Use an analog audio cable to connect the with moving-magnet (MM) type cartridges. A-9355/A-9155’s CD L/R jacks to the analog audio out- Use an analog audio cable to connect the put jacks on the CD player, as shown. -
Page 12: Connecting A Tuner
Use an analog audio cable to connect the A-9355/A-9155’s TUNER L/R jacks to the analog Use an analog audio cable to connect the A-9355’s audio output jacks on the tuner, as shown. DOCK Jack or A-9155’s LINE/DOCK IN jack to the RI Dock’s analog audio output jacks, and use an... -
Page 13: Connecting Components
A-9355/A-9155. • To use , you must make an analog audio con- After you power on the A-9355/A-9155, you can feed or nection between the A-9355/A-9155 and each shut off power to the connected component by turning audio component. -
Page 14: Enjoying Audio Sources
Press first the ON button on the remote controller to turn tions. Allocate them another wall outlet. the A-9355/A-9155 on. Press once again the ON button on the remote controller to power on every Onkyo component Turning On the A-9355/A-9155... -
Page 15: Listening To Components
Notes: • Always turn down the volume before connecting your headphones. • (A-9355) All connected speakers are turned off while the headphones plug is inserted in the PHONES jack. • (A-9155) All connected speakers are not turned off even when the headphones plug is inserted in the PHONES jack. -
Page 16: Using The Tone Controls
The TREBLE control adjusts treble sounds. Turn it up to make them Notes: louder. Turn it down to make them • (A-9355) You can record on a recorder that’s con- quieter. nected to the LINE/MD OUT or TAPE OUT L/R jacks. -
Page 17: Troubleshooting
The tone controls have no effect. • (A-9355) If the PURE DIRECT indicator lights up, the PURE DIRECT function is on and the tone controls have no effect. Press the [PURE DIRECT] button to turn the function off. The PURE DIRECT indicator will go off (page 16). - Page 18 Begin by turning the POWER switch off ( ). Next, with the SPEAKERS A and B buttons pressed at the same time, turn the POWER switch on ( ). The whole display lights up and then the A-9355/A-9155 is reset, with the system turned on.
-
Page 19: Specifications
Specifications A-9155 A-9355 Integrated Digital Amplifier Integrated Amplifier Rated Output Power 2ch × 65 W at 4 Ω, 1kHz, 2ch driven European (IEC): 2ch × 70 W at 4 Ω, 1kHz, 2ch driven Maximum Output Power (JEITA): 2ch × 85 W at 4 Ω, 1kHz, 2ch driven 2ch ×... - Page 20 Unit 1 & 12, 9/F, Ever Gain PlazaTower 1, 88, Container Port Road, Kwai Chung, N.T., HONG KONG Tel: 852-2429-3118 Fax: 852-2428-9039 D0702-1 http://www.ch.onkyo.com/ SN 29344443 (C) Copyright 2007 ONKYO CORPORATION Japan. All rights reserved. * 2 9 3 4 4 4 4 3 *...