E-FLITE Apprentice S 15e Instruction Manual
Hide thumbs
Also See for Apprentice S 15e:
- Instruction manual (31 pages) ,
- Instruction manual (28 pages)

Related Manuals for E-FLITE Apprentice S 15e


Summary of Contents for E-FLITE Apprentice S 15e
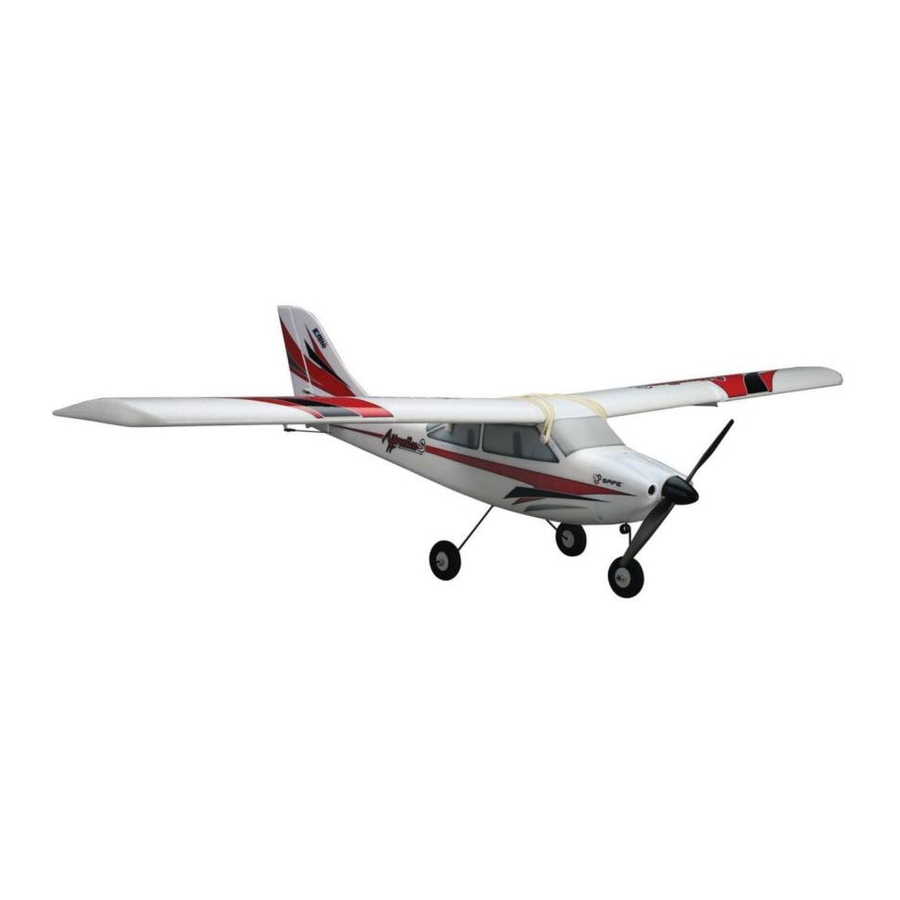
- Page 1 Apprentice S 15e ® Instruction Manual - Bedienungsanleitung - Manuel d’utilisation - Manuale di Istruzioni...
-
Page 2: Safety Precautions And Warnings
NOTICE All instructions, warranties and other collateral documents are subject to change at the sole discretion of Horizon Hobby, Inc. For up-to-date product literature, visit www.horizonhobby.com and click on the support tab for this product. Meaning of Special Language: The following terms are used throughout the product literature to indicate various levels of potential harm when operating this product: NOTICE: Procedures, which if not properly followed, create a possibility of physical property damage AND little or no possibility of injury. -
Page 3: Table Of Contents
Your E-flite Apprentice S 15e ready-to-fly trainer comes with everything ® available, while its smooth flight capability battles windy conditions so that all needed to go from purchase directly to the field. -
Page 4: Charging The Flight Battery
3S Li-Po battery pack features a balancing lead that ® allows you to safely charge your battery pack when used with the included E-flite Li-Po balancing charger. CAUTION: The balance connector must be inserted into the correct port of your charger prior to charging. -
Page 5: Landing Gear Installation
Landing Gear Installation Remove the spinner, nut, washer, spinner back plate and propeller assembly (A). Remove 3 screws (B) and the cowling (C) from the fuselage (D). Tools are required to loosen the nut and screws. Turn the model so you can see the bottom of the fuselage. Under the fuselage, loosen the screw (E) in the nose gear steering arm and insert the strut (F) (flat spot facing to the front) fully in the mount (G). -
Page 6: Wing Installation
Wing Installation Carefully apply the 2 strips of double-stick tape (A) the root of the wing as shown. Assemble the wings on the carbon wing tube (B) so there is no gap. No epoxy is required to hold the wings together; however, if desired, epoxy may be used (instead of the tape) to adhere the wings to each other on the wing tube. -
Page 7: Sensor Assisted Flight Envelope (Safe) Technology
Sensor Assisted Flight Envelope (SAFE) Technology Sensor Assisted Flight Envelope (SAFE) Technology Panic Recovery • Immediate recovery to a safe flying attitude SAFE technology is a revolutionary flight training system designed to • Return all transmitter controls to neutral for the quickest recovery give you a stable platform for safely developing your flying skills. - Page 8 Sensor Assisted Flight Envelope (SAFE) Technology Activating SAFE Technology You control the help SAFE™ technology provides while you learn to fly. As your flying skills grow, decrease SAFE technology assistance. Change SAFE technology is not active until you advance the throttle past 25%. aircraft response at any time by moving the Channel 5 (SAFE Flight mode) Once the SAFE technology is active, the control surfaces may move on the switch on your transmitter.
-
Page 9: Transmitter
Transmitter Installing the Transmitter Batteries Your Spektrum DX5e comes prebound to the aircraft. Remove the battery cover, install the four included batteries (noting proper polarity) and reinstall the battery cover. Low Battery Alarm When the battery voltage drops below 4.7 volts, an alarm sounds and the voltage LEDs flash. -
Page 10: Transmitter And Receiver Binding
Transmitter Continued Explanation of DX5e Transmitter LEDs, Switches and Modes Servo Reversing Switches (I) for the Apprentice. These switches select the servo direction of each channel. Use your fingernail or a small screwdriver to change the switch position if needed. Ensure each Trainer/Bind/Panic Switch (B): This switch is used as both the trainer and switch is set to normal (NOR) for correct function of the SAFE technology. -
Page 11: Flight Battery Installation, Safe System/Esc Arming
Flight Battery Installation, SAFE system and Electronic Speed Control (ESC) Arming 1. Rest the aircraft on a flat surface with the landing gear facing up and make sure the ESC switch is OFF. 2. Turn the latch (A) and open the battery hatch. 3. -
Page 12: Control Horn And Servo Arm Settings
Control Horn and Servo Arm Settings NOTICE: Moving a linkage to another position may block the servo arm or affect SAFE technology functionality. The Illustration shows the correct hole settings in servo arms and control horns. Elevator Ailerons Rudder Recommended Rates Use low rates for decreased control throws in all flight modes Use high rates for increased control throws in all flight modes Nose Gear... -
Page 13: Control Direction Test
Control Direction Test Power on the transmitter. Make sure the throttle is at 0% and that throttle trim more assistance, contact the appropriate Horizon Product Support department. is fully lowered on the transmitter. Power on the model. Make sure the control Mode 2 is the most common control mode used worldwide. -
Page 14: Flight Control
Flight Control For smooth control of your aircraft, always make small control moves. All • Banking right and left: Move the aileron stick right to make the aircraft drop directions are described as if you were sitting in the aircraft. the wing (bank) to the right and move the aileron stick left to bank left. -
Page 15: Flight Training
Flight Training Simulator Use We recommend using your DX5e transmitter with the Phoenix R/C Pro Flight Simulator 4.0 (RTM4000). The simulator software includes the original Apprentice and other trainer aircraft. Use the transmitter with the simulator to practice and experiment with your aircraft without damaging your model. Trainer Switch Instruction Front... -
Page 16: Flight Trimming
Flight Trimming Make yourself familiar with your transmitter’s controls and the aircraft’s IMPORTANT: For best results, trimming should always be done while flying response before flying by performing the recommended Control Direction directly into the wind using the Intermediate or Experienced Flight Modes. Test. -
Page 17: Range Check
Range Check Before each flying session, and especially with a new model, you should perform a range check. The DX5e incorporates a range testing system. Placing the transmitter in RANGE CHECK mode reduces the output power, allowing a range check. 1. -
Page 18: Takeoff
Takeoff Flying Conditions Ground Launch Take off from the ground in Beginner mode is recommended for first flights, A good flying day is calm, with winds that are less than 5–7 mph however, if the ground is not hard and level, get help to hand launch your (8–11km/h). -
Page 19: Flying
Flying Let the aircraft climb at full throttle, into the wind, until the aircraft gets about 300 feet (91meters) above the ground, then decrease the throttle to half (50%). 50% throttle In Beginner mode, when properly trimmed, your Full throttle Reduced throttle aircraft will climb at full throttle without use of elevator. -
Page 20: Post Flight
Post Flight NOTICE: When you are finished flying, never keep the aircraft in the sun. Do not store the aircraft in a hot, enclosed area such as a car. Doing so can damage the foam. Post Flight Checklist 1. Turn off ESC switch 2. -
Page 21: Service Of Power Components
Service of Power Components Disassembly Assembly 1. Remove the spinner (A) from the spinner backplate (B), using a small Assemble in reverse order. amount of force. • Correctly align and connect the motor wire colors with the ESC wires. 2. Remove the hex nut (C), washer (D) and propeller (E) from the collet (F). • The propeller size numbers (11 x 8) must face out from the motor for correct A tool may be required to remove the hex nut. -
Page 22: Water Takeoff And Landing Using The Optional Float Set
Water Takeoff and Landing Using the Optional Float Set IMPORTANT: We recommend flying with floats only once you have become CAUTION: Never go alone to get a downed model in the water. able to fly comfortably in Experienced flight mode. CAUTION: If at any time water splashes in the fuselage while flying from Only use the floats if you are comfortable flying your Apprentice and have water, bring the airplane to shore, open the battery hatch and immediately... -
Page 23: Optional Transmitter Setup
Optional Transmitter Setup If using any DSM2/DSMX transmitter other than the included DX5e (3 pos gear switch) the radio will have to be configured correctly for the SAFE system to work properly. • SAFE Flight mode is selected using Channel 5 signal (high, middle, Low) • Panic mode is selected with Channel 6 signal (high, low) N = Normal R = Reverse... -
Page 24: Ama National Model Aircraft Safety Code
AMA National Model Aircraft Safety Code Effective January 1, 2011 A. GENERAL B. RADIO CONTROL A model aircraft is a non-human-carrying aircraft capable of sustained flight 1. All pilots shall avoid flying directly over unprotected people, vessels, in the atmosphere. It may not exceed limitations of this code and is intended vehicles or structures and shall avoid endangerment of life and property exclusively for sport, recreation and/or competition. -
Page 25: Troubleshooting Guide For Safe Technology
Troubleshooting Guide for SAFE Technology Problem Possible Cause Solution Flying over recommended Reduce air speed airspeed Damaged propeller or Replace propeller or spinner spinner Balance the propeller. For more information, view John Redman’s propeller balancing video at www. Imbalanced propeller horizonhobby.com Oscillation Motor vibration... -
Page 26: Troubleshooting Guide
Troubleshooting Guide Problem Possible Cause Solution Throttle not at lowest position or throttle trim too high Reset controls with throttle stick and throttle trim at lowest setting Aircraft will not re- Throttle servo travel is lower than 100% Make sure throttle servo travel is 100% or greater spond to throttle but responds to other Throttle channel is reversed... -
Page 27: Limited Warranty
Limited Warranty What this Warranty Covers website at www.horizonhobby.com, submit a Product Support Inquiry, or call 877.504.0233 toll free to speak to a Product Support representative. Horizon Hobby, Inc. (“Horizon”) warrants to the original purchaser that the Inspection or Services product purchased (the “Product”) will be free from defects in materials and workmanship at the date of purchase. -
Page 28: Contact Information
No. HH2013032603 When operating your Spektrum transmitter, please be sure to maintain a separation distance of at Product(s): EFL Apprentice S 15e RTF least 5 cm between your body (excluding fingers, Item Number(s): EFL3100, EFL3100M1 hands, wrists, ankles and feet) and the antenna... -
Page 29: Parts Contact Information
Apprentice S 15e RTF Apprentice S 15e RTF EFL3100MD1 Apprentice S 15e RTF (Mode 1) E-flite Apprentice S 15e RTF (Mode 1) Apprentice S 15e RTF (Mode 1) Apprentice S 15e RTF (Mode 1) EFL310001 Wing Set: Apprentice S 15e RTF E-flite Apprentice S : Tragflächenset... -
Page 30: Optional Parts
Apprentice 15e EFL2738 Rubber Bands (8): Apprentice S 15e E-flite Apprentice S: Gummibänder (8) Elastiques (8): Apprentice S 15e Elastici (8): Apprentice S 15e Optional Parts • Optionale Bauteile • Pièces optionnelles • Pezzi opzionali Part # | Number... - Page 31 Flight Log • Fugbuch • Journal De Bord • Registro di volo Flight Time Recharged Date Battery(s) Comments Flight # (mAh) example 01/13 3S 3200mAh 2560mAh...
- Page 32 © 2013 Horizon Hobby, Inc. E-flite, Apprentice, AS3X, ParkZone, Blade, Celectra, EC3, DSM, DSM2, DSMX, Z-Foam, Bind-N-Fly, ModelMatch, SAFE, the SAFE logo and the Horizon Hobby logo are trademarks or registered trademarks of Horizon Hobby, Inc. The Spektrum trademark is used with permission of Bachmann Industries, Inc.