Table of Contents
Advertisement
Quick Links
Advertisement
Table of Contents

Related Manuals for Moffat turbofan E26


Summary of Contents for Moffat turbofan E26
- Page 1 INSTALLATION / OPERATION MANUAL E26 CONVECTION OVEN F23303-6...
- Page 2 Auckland (03) 3891-007 Fax: (03) 3891-276 Fax: AUSTRALIA Victoria New South Wales Moffat Pty Limited Moffat Pty Limited 740 Springvale Road 8/142 James Ruse Drive, Rose Hill Mulgrave, Melbourne P O Box 913, Smithfield Victoria 3171 Sydney, N.S.W. 2142 (03) 9518-3888...
-
Page 3: Table Of Contents
Introduction ... 2 Installation ... 3 Before Connection Location Electrical Connection Before Use Specifications ... 4 Operation ... 5 Description of Controls Baking Cleaning ... 7 Trouble Shooting... 8 Spare Parts ... 9 Circuit Schematic ... 10 Date Purchased ... Serial No ... Dealer ... -
Page 4: Introduction
Please read the instruction book carefully and follow the directions given. The time taken will be well spent. Secondly If you are unsure of any aspect of the installation, instructions or performance of your oven, contact your E26 dealer promptly. In many cases a phone call could answer your question. -
Page 5: Installation
Installation Requirements It is most important that this oven is installed correctly and that operation is correct before use. Installation shall comply with local electrical, health and safety requirements. Before Connection to Power Supply • Remove all packing. • Check equipment and parts for damage. Report any damage immediately to the carrier and distributor. -
Page 6: Specifications
Specifications Front Plan Electrical Connection 240 Volts A.C. 50 Hz, 10A, 2.4 kW 220 Volts A.C. 50 Hz, 11A, 2.4 kW Side... -
Page 7: Operation
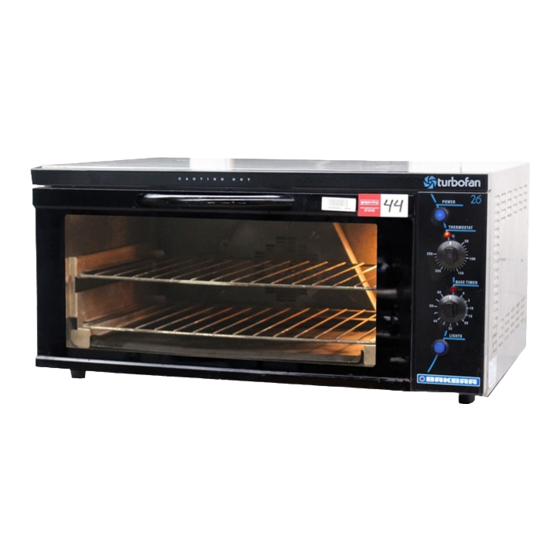
Operation Guide Description of Controls Power Depress to switch power on or off (switch illuminates when power is on). Thermostat Temperature range 50 - 250°C (120 - 480°F). Indicator illuminates when the elements are cycling ON to maintain set temperature. Bake Timer 1 Hour bake timer. -
Page 8: Baking
Operation Baking 1. Turn power on Power switch illuminates when it is depressed and latched in the down position. 2. Set thermostat to desired temperature The heating indicator light will illuminate whenever the elements are cycling on to maintain the set temperature. 3. -
Page 9: Cleaning
Cleaning Guidelines ALWAYS TURN OFF THE POWER SUPPLY BEFORE CLEANING. DO NOT USE WATER JET SPRAY TO CLEAN INTERIOR OR EXTERIOR OF THIS UNIT. Exterior Clean with a good quality stainless steel cleaning compound. Harsh abrasive cleaners may damage the surface. Interior Ensure that the oven chamber is cool. -
Page 10: Trouble Shooting
Trouble-shooting Fault The oven does not operate / start. The mains isolating switch on the Bake timer does not time down. Oven light not illuminating. Slow recovery Possible Cause wall, circuit breaker or fuses are “off” at the power board. The power switch on the oven is off. -
Page 11: Spare Parts
Replacement part list Controls 021473 Switch - power 023211 Thermostat 021472 Knob - thermostat 020849 Neon indicator 011760 Bake timer 020823 Knob - bake timer 011794 Buzzer 021474 Light switch 003004 Microswitch 003002 Oven lamp glass 013520 Oven lamp assembly 013521 Oven lamp - 240V 40W miniature Edison screw Motor &... -
Page 12: Circuit Schematic
Circuit schematic...