Sign In
Upload
Manuals
Brands
Schlage Manuals
Door locks
CONNECT
Schlage CONNECT Manuals
Manuals and User Guides for Schlage CONNECT. We have
4
Schlage CONNECT manuals available for free PDF download: Installation Instructions Manual, Quick Start Manual, Homeowner's Manual, Quick Start
Schlage CONNECT Installation Instructions Manual (49 pages)
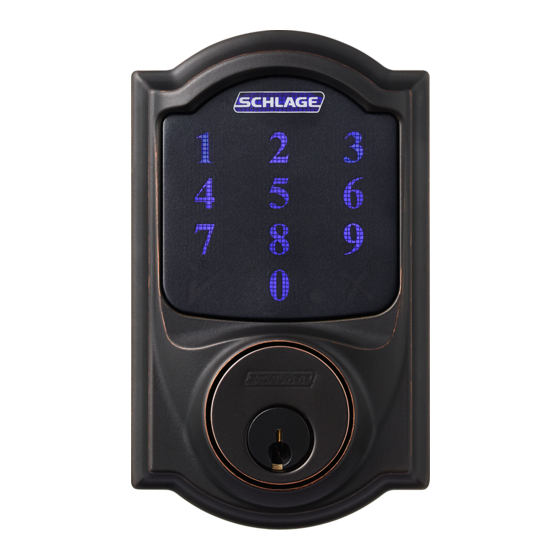
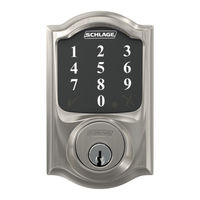
Touchscreen Deadbolt with Alarm
Brand:
Schlage
| Category:
Door locks
| Size: 11 MB
Table of Contents
English
3
Table of Contents
3
Check Current Door/Frame Alignment
4
Remove the Current Deadbolt from the Door
4
Watch the Online Video
4
Check Door/Frame Dimensions
5
Locate Programming and User Codes
5
Install Bolt and Strike
6
Adjust Bolt Length, if Necessary
6
Change the Faceplate, if Necessary
6
Install the Bolt into the Door
7
Install the Strike into the Frame
7
Test Bolt Alignment
8
Install the Touchscreen Assembly
8
Install the Touchscreen on the Outside of the Door
8
Install the Support Plate on the Inside of the Door
9
Install the Alarm Assembly
9
Remove the Battery Cover from the Alarm Assembly
9
Connect the Cable to the Alarm Assembly
10
Install the Alarm Assembly
10
Secure the Alarm Assembly to the Support Plate
11
Install the Batteries
11
Install the Batteries into the Battery Tray
11
Install the Battery Cover
12
Set up the Lock
12
Test the Lock
12
Extend the Bolt (Lock) Using the Inside Thumbturn
12
Extend the Bolt (Lock) Using the Touchscreen
13
Retract the Bolt (Unlock) Using the Touchscreen
13
If the Lock Failed to Lock or Unlock
13
Continue to the User's Guide
14
Español
19
Compruebe la Alineación Actual de la Puerta/Marco
20
Retire el Cerrojo Actual de la Puerta
20
Mire el Video en Línea
20
Consulte las Dimensiones de la Puerta/Marco
21
Ubique Los Códigos de Programación y de Usuario
21
Instale el Perno y la Cerradura
22
Ajuste la Longitud del Perno, de Ser Necesario
22
Cambie la Placa Delantera si Fuera Necesario
22
Instale el Perno en la Puerta
23
Instale la Cerradura en el Marco
23
Prueba la Alineación del Perno
24
Instale la Unidad de la Pantalla Táctil
24
Instale la Pantalla Táctil en la Parte Externa de la Puerta
24
Instale la Placa de Soporte en la Parte Interna de la Puerta
25
Instale la Unidad de la Alarma
25
Retire la Cubierta de la Batería de la Unidad de la Alarma
25
Conecte el Cable a la Unidad de la Alarma
26
Instale la Unidad de la Alarma
26
Sujete la Unidad de la Alarma a la Placa de Soporte
27
Instale las Baterías
27
Instale las Baterías en la Bandeja de las Baterías
27
Instale la Cubierta de las Baterías
28
Configure la Cerradura
28
Pruebe la Cerradura
28
Extienda el Perno (Cerradura) Usando el Pestillo Giratorio Interior
28
Extienda el Perno (Bloqueo) Usando la Pantalla Táctil
29
Retraiga el Perno (Desbloqueo) Usando la Pantalla Táctil
29
Si la Cerradura no Se Bloqueó O Desbloqueó
29
D si la Cerradura no Se Bloqueó O Desbloque
29
Continúe con la Guía del Usuario
30
Français
35
Vérifiez L'alignement de la Porte Avec Le Cadre
36
Retirez Le Pêne Dormant de la Porte
36
Visionnez la VIDéo en Ligne
36
Vérifiez Les Dimensions de la Porte Et du Cadre
37
Repérez Les Codes de Programmation Et D'utilisateur
37
Installez Le Pêne Et la Gâche
38
Au Besoin, Réglez la Longueur du Pêne
38
Changez la Plaque Au Besoin
38
Installez Le Pêne Dans la Porte
39
Installez la Gâche Dans Le Cadre
39
Évaluer L'alignement du Pêne
40
Installez Le Boîtier de L'écran Tactile
40
Installez L'écran Tactile À L'extérieur de la Porte
40
Installez la Plaque de Fixation Sur L'intérieur de la Porte
41
Installez Le Boîtier de L'alarme
41
Retirez Le Couvercle des Piles du Boîtier de L'alarme
41
Branchez Le Câble Au Boîtier de L'alarme
42
Installez Le Boîtier de L'alarme
42
Montez Le Boîtier de L'alarme Sur la Plaque de Fixation
43
Installez Les Piles
43
Installez Les Piles Dans Le Support de Piles
43
Installez Le Couvercle des Piles
44
Installez la Serrure
44
Essayez la Serrure
44
Sortez Le Pêne (Verrouillage) À L'aide de la Barrette Tournante Se Trouvant À L'intérieur
44
Sortez Le Pêne (Verrouillez) Par Le Biais de L'écran Tactile
45
Rentrez Le Pêne (Déverrouillez) Par Le Biais de L'écran Tactile
45
Si la Serrure Ne Se Verrouille Pas ni Ne Se Déverrouille
45
Poursuivez la Lecture du Guide D'utilisation
46
Advertisement
Schlage CONNECT Quick Start Manual (21 pages)
Brand:
Schlage
| Category:
Intercom System
| Size: 2 MB
Table of Contents
Parts
2
Tools
4
Connect the Cable
10
Lock and Unlock
17
Add and Delete Codes
18
Factory Default Reset
19
Schlage CONNECT Homeowner's Manual (8 pages)
Brand:
Schlage
| Category:
Locks
| Size: 1 MB
Table of Contents
Overview
1
Battery Replacement
1
Other Maintenance
1
General Operation
2
Programming the Lock
2
Example Operation: Add/Delete a User Code
2
Example Operation: Enable/Disable Vacation Mode
3
Alarm Features
3
Alarm Settings and Sensitivity Level
4
Figure 1: Battery Pack
5
Figure 2: Programming Table and Touchpad
6
Figure 3: Alarm Settings (Inside of Door)
7
Advertisement
Schlage CONNECT Quick Start (5 pages)
Smart Deadbolt
Brand:
Schlage
| Category:
Locks
| Size: 0 MB
Table of Contents
What Is Z-Wave?
1
Product Description
1
Prepare for Installation / Reset
1
Reset to Factory Default
1
Quick Troubleshooting
2
Configuration Parameters
2
Inclusion/Exclusion
2
Association - One Device Controls Another Device
2
Technical Data
4
Supported Command Classes
5
Explanation of Z-Wave Specific Terms
5
Controlled Command Classes
5
Advertisement
Related Products
Schlage CO-Series
Schlage CO-250
Schlage KING COBRA-2 KC5196-2-R
Schlage CO-200
Schlage CO-100
Schlage CO-993
Schlage CYLINDERS
Schlage CL2000
Schlage CM5100-FSA-KPI
Schlage CM5100-FSA-MGK
Schlage Categories
Locks
Door locks
Control Unit
Card Reader
Keypad
More Schlage Manuals
Login
Sign In
OR
Sign in with Facebook
Sign in with Google
Upload manual
Upload from disk
Upload from URL