
IEI Technology POC-17C-ULT3 Manuals
Manuals and User Guides for IEI Technology POC-17C-ULT3. We have 2 IEI Technology POC-17C-ULT3 manuals available for free PDF download: User Manual, Quick Installation Manual

IEI Technology POC-17C-ULT3 User Manual (163 pages)
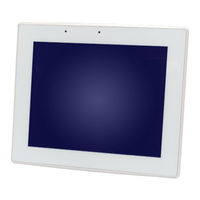
17” Medical Panel PC
Brand: IEI Technology
|
Category: Touch Panel
|
Size: 7 MB
Table of Contents
Advertisement
IEI Technology POC-17C-ULT3 Quick Installation Manual (23 pages)
17” Medical Panel PC with Intel Core i7-6600U/Core i5-6300U/ Celeron 3855U CPU, 4 GB DDR RAM, Wi-Fi 802.11a/b/g/n/ac, PCAP Touchscreen, 2-Megapixel Camera, Microphone and RoHS
Brand: IEI Technology
|
Category: Touch Panel
|
Size: 2 MB
Table of Contents
Advertisement
Related Products
- IEI Technology POC 965 SERIES
- IEI Technology POC-W24C-ULT3
- IEI Technology POCm-W22C-ULT3
- IEI Technology POCm-W24C-ULT3
- IEI Technology POC-W22A-H81
- IEI Technology POCi-W22C-ULT5
- IEI Technology POCi-W24C-ULT5
- IEI Technology POCi-W22C-RPL
- IEI Technology POCi-W24C-RPL
- IEI Technology PPC2-C104-ADLP-i7/8G