Table of Contents
Advertisement
Quick Links
Download this manual
See also:
Instruction Manual
Advertisement
Table of Contents

Subscribe to Our Youtube Channel
Related Manuals for Naxa NID-7006A


Summary of Contents for Naxa NID-7006A
- Page 1 THE N EW G ENERATION I N T ECHNOLOGY NID-‐7006A Core 7 ” T ablet P C w ith 8 GB B uilt-‐In TM Memory ...
-
Page 2: Table Of Contents
Table of Contents Basic Introduction ......................1 Quick Start .......................... 1 Battery management and charging ................1 Boot and Shutdown ....................1 Connect with PC ..................... 2 Interface Introduction ......................2 Bottom bar of the Interface ..................2 The HOME Screen menu ..................3 Desktop ........................ -
Page 3: Basic Introduction
Basic Introduction CPU: Boxchip A13 Cortex A8 1.0Ghz LCD Screen:7 " 800 * 480 TFT LCD Camera: Build-in 0.3/0.3M pixel camera Operating System: Google Android 4.1 Network Connection: Built-in 802.11b/g/n wireless Audio format: MP3,WMA,MP2,OGG,AAC,M4A ,FLAC,APE, WAV ... -
Page 4: Connect With Pc
The system enters the default home interface. Shutdown: Press the power button, the device options will pop up; select power off. Click OK and safely shut down Connect with PC You can connect with PC by mini USB (OTG) cable attached with the device. USB Data transferring is available. You can operate the files through the PC. When your device is connected successfully, to pull up the notification area of the status bar, you can see the following icon: Then click to enter the next page. -
Page 5: The Home Screen Menu
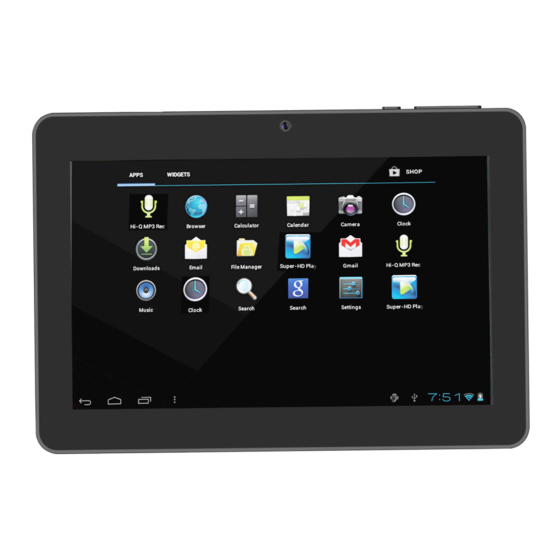
C. Time display: Display the time of the current system which has been set. D. Battery status icon: Displays the current battery level and the charging status. E. Menu, Home, Back, virtual buttons The HOME Screen menu Press the menu icon on the device;... -
Page 6: Display Settings
Display settings In the setting interface choose “Display” to enter the display settings interface, select “Brightness”, drag the progress bar to adjust the brightness, as below interface: Click Sleep, Adjust the inactivity time of the device. You can press power key to activate the device. When it shows "Screen locked" interface, follow the prompts to unlock it. Wireless Connection: Click the main menu “Settings”... -
Page 7: Applications Install And Uninstall
Install and Uninstall Applications Install applications 1. First you should select the unknown sources which allow installation of non-Market apps. 2. Copy the APK installer software to Micro SD or NAND Flash. 3. Click File Manage to find the app directory, and then select applications to install. Users can go to "Android market"... -
Page 8: Photo Browser
Click “ ” to play the previous song, press and hold to fast reverse. Click “ ” to pause the player, the icon turns to “ ” , click it once again to resume normal playing. Click “ ” to play the next song, press and hold to do fast forward. Click “... -
Page 9: Sound Recorder
Video mode: 1. Click switch to video, and you can take videos. 2. Click conversion lens. 3. Click to begin and tap to stop. Sound Recorder Click the recorder icon in the applications menu to enter the Sound Recorder interface as shown below: Note: Select “Record”... -
Page 10: Frequently Asked Questions
Frequently Asked Questions Android Q: What Android OS version is on my Device? A: 4.1 Q: What is APK? A: APK is Android Package acronym which is Android installation package. Q: How to obtain the APK? A: You can download it via PC and install, you can also use "Android market" online to download and install.
Need help?
Do you have a question about the NID-7006A and is the answer not in the manual?
Questions and answers