Table of Contents
Advertisement
Quick Links
Download this manual
See also:
Owner's Manual
Advertisement
Table of Contents

Related Manuals for Naxa Core NID-7006A


Summary of Contents for Naxa Core NID-7006A
-
Page 2: Table Of Contents
Table of Contents Basic I ntroduction ............................ 1 Quick S tart ............................... 1 Battery m anagement a nd c harging .......................... 1 Boot ... -
Page 3: Basic Introduction
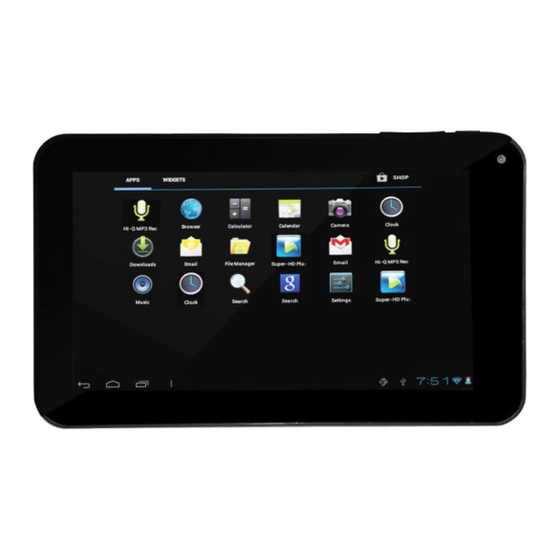
Basic Introduction CPU: Boxchip A13 Cortex A8 1.0Ghz LCD Screen:7 " 800 * 480 TFT LCD Camera: Build-in 0.3/0.3M pixel camera Operating System: Google Android 4.1 Network Connection: Built-in 802.11b/g/n wireless Audio format: MP3,WMA,MP2,OGG,AAC,M4A ,FLAC,APE, WAV ... -
Page 4: Connect With Pc
System has been started, entering the Android system: The system enters the default home interface. Shutdown: Press the power button, the device options will pop up; select power off. Click OK and safely shut down Connect with PC You can connect with PC by mini USB (OTG) cable attached with the device. USB Data transferring is available. You can operate the files through the PC. -
Page 5: Interface Introduction
Note: The device also supports the FAT32 format for external devices, for example U disk or Micro SD cards to Transfer data. Interface Introduction Bottom bar of the Interface A. WIFI signal status icon: If it’s connected to the WIFI wireless network, the icon will be displayed. B. -
Page 6: Date And Time Settings
Select the appropriate operation of the relevant items, such as: Wireless and network, Display, Date and time settings, About Device, etc. Date and time settings: Click "Date & time" to enter the Date and time settings interface: Select to set the date, select the time zone, set the time, time format, date format and other information. For example, choose to set the date, as follows: Display settings In the setting interface choose “Display”... -
Page 7: Wireless Connection
Wireless Connection: Click the main menu “Settings” icon, go to “Settings” screen, click on “Wireless and networks” into the “Wireless and networks settings” interface. Turn on Wi-Fi switch, the Wi-Fi module built in the device will search AP lists automatically. Click the searched AP, the settings will pop up;... -
Page 8: Browser
Users can go to "Android market" for online installation, download via the computer, or online through the machine built-in browser to download and install. Uninstall applications " " Pitch on the item Settings - Apps –Download , select the appropriate application that has been installed, choose the applications which you need to uninstall. -
Page 9: Photo Browser
Click “ ” to pause the player, the icon turns to “ ” , click it once again to resume normal playing. Click “ ” to play the next song, press and hold to do fast forward. Click “ ” to display the present playing list. Click “... -
Page 10: Sound Recorder
Video mode: 1. Click switch to video, and you can take videos. 2. Click conversion lens. 3. Click to begin and tap to stop. Sound Recorder Click the recorder icon in the applications menu to enter the Sound Recorder interface as shown below: Note: Select “Record”... -
Page 11: Frequently Asked Questions
Frequently Asked Questions Android Q: What Android OS version is on my Device? A: 4.1 Q: What is APK? A: APK is Android Package acronym which is Android installation package. Q: How to obtain the APK? A: You can download it via PC and install, you can also use "Android market" online to download and install.
Need help?
Do you have a question about the Core NID-7006A and is the answer not in the manual?
Questions and answers