
Related Manuals for Naxa NID-7001


Summary of Contents for Naxa NID-7001
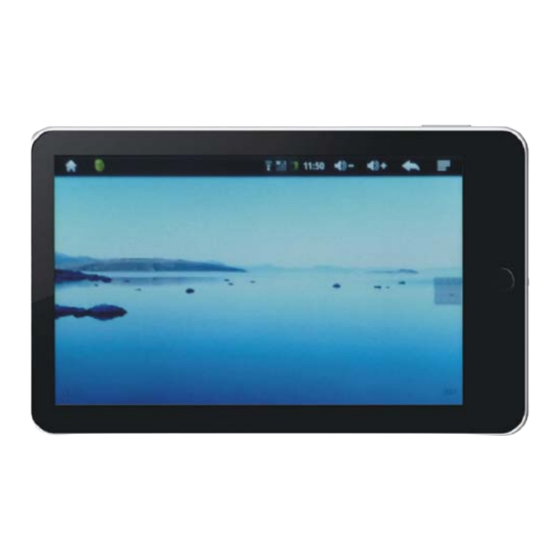
- Page 1 7" Tablet PC with Built-in Memory Powered by Android OS Model NO.: NID-7001 USER MANUAL ( English version )
-
Page 2: Table Of Contents
Table of contents IMPORTANT SAFEGUARDS.................2 ACCESSORIES..................3 MAIN UNIT...................4 THE FIRST TIME TO USE DEVICE..............5 1. Battery management and charging............5 2. Turn on/off the device................5 3. Connect with PC................5 BASIC OPERATION..................6 1. Description of the Homepage..............6 2. Description of the menu interface............7 3. - Page 3 10. USB Mode Select................13 11. Update Media Library...............13 12. Online Help...................13 13. About Device.................13 SOFTWARE INSTALLATION & MANAGEMENT..........14 1. Install....................14 2. Manage..................15 3. Exit....................15 FEATURES & SPECIFICATIONS..............16 MAINTENANCE..................17 PROBLEMS & SOLUTIONS................17...
- Page 4 SAFETY INSTRUCTIONS WARNING -- To reduce the risk of fire, electric shock, serious personal injury or product damage: Do not use this product near water; e.g. near a bathtub, washbowl, kitchen sink, laundry tub, in a wet basement, near a swimming pool, or the like. Situate this product away from heat sources such as radiators, heat registers, stoves or ...
-
Page 5: Accessories
For users of models with Wireless LAN functionality If radio interference with other devices occurs while using your device, do not use the ● Wireless LAN functionality. Use of the Wireless LAN functionality may cause a malfunction of the other devices, resulting in an accident. Do not use the Wireless LAN functionality in any medical institutions, including hospitals, or ●... -
Page 6: Main Unit
MAIN UNIT 1. Touch screen: 7 Inch Resistive Touch Screen: Clicking and dragging on the screen are available. 2. MENU ( ) button: In the status of standby or application is working, press this button, related windows will show up. 3. -
Page 7: The First Time To Use Device
Meanwhile you have to turn off host mode in the setting menu.) 9. Power Switch ON/OFF: Switch this knob to turn on/off the device. 10. Earphone jack: 3.5 mm standard earphone jack. 11. DC jack: Connect the power cable to charge the device. 12. -
Page 8: Basic Operation
BASIC OPERATION 1. Description of the Homepage: When it is power on, the default setting is “screen lock”. Touch and hold icon up to GREEN dot on the screen of device to unlock the screen. In the Homepage, you can: a. -
Page 9: Description Of The Menu Interface
- Shortcuts: Applications: Add application shortcut you select to the desktop. Bookmark: Add the bookmark you select to the desktop. Directions & Navigation: Add directions and navigation to the desktop. Gmail label: Add an account you select for Gmail label shortcut to the desktop. Latitude: Add latitude shortcut to the desktop. -
Page 10: Viewing In Portrait Or Landscape
[NOTE]: 1. The key on the screen is equal to on the device. 2. The menu key on the screen is equal to on the device. - In the menu interface, touching the icon softly on the screen to launch the application. -
Page 11: Security Features
7. Security features Security features help protect the information on device from being accessed by others. You can set up a pattern that you must enter each time you turn on or wake up device. Set a pattern: Choose Settings > Security & Location > Set unlock pattern. For more information, see “Security &... -
Page 12: Sound & Display
attention menu to indicate you turn off Wi-Fi function first, then you can turn on the mobile network when shows icon. 1.4 Mobile network settings: Set options for roaming, networks, APNs. 1.4.1 Access Point Names: Choose Settings > Mobile network settings > Access Point Names, click Access Point Names, then follow the onscreen instructions. -
Page 13: Applications
4. Applications 4.1 Unknown sources: If you set this function on, it will allow you to install of non-Market applications to the device. 4.2 Manage applications: Manage and remove installed third-party applications as desired. 4.3 Running services: View and control currently running services. 4.4 Development: Set options for application development. -
Page 14: Date & Time
8. Date & Time: Set the Date, Time, Time Zone and Time Format. 8.1 Automatic: Use network-provided time. Note: If the AUTOMATIC function is on, the following option will not user adjustable. 8.2 Set date: To the date setting interface. 8.3 Select time zone: To set the time zone. -
Page 15: Software Installation & Management
SOFTWARE INSTALLATION & MANAGEMENT APK INSTALLER (APPLICATION INSTALLER): The device supports those applications developed on the Android platform. Most applications can be acquired on the internet which can be copied into the SD card or T-flash card. Click Apk installer option will show up: Install, Manager, Exit. 1 Install: Click it, step into the installation option. -
Page 16: Manage
2 Manager: Click it, and step into the third-part application program interface. NOTE: Enter http://www.apkcn.com to visit Apk installer official website. You can scan the latest Android news, Android mobile phone, Android videos, Android games and Android applications, etc. Click icon to enter the action interface. -Launch: To launch the application. -
Page 17: Features & Specifications
FEATURES & SPECIFICATIONS 1. Hardware parameter: CPU procedure RK2818 660MHZ Memory Memory card socket Micro SD / T-Flash card Touch Panel 7 inch resistance touch screen Resolution 800*480 pixel Battery type Chargeable polymer battery Battery capacity 2300 mAh G-sensor I/O Interface Mini USB 2.0, T-Flash, 3.5mm earphone jack Built-in mic-phone Wireless interface... -
Page 18: Maintenance
MAINTENANCE Turn off the device and disconnect the AC adaptor before maintaining the device. Wipe the device with a dry, soft cloth. If the surfaces are extremely dirty, wipe clean with a cloth which has been dipped in ...
Need help?
Do you have a question about the NID-7001 and is the answer not in the manual?
Questions and answers