
Subscribe to Our Youtube Channel
Related Manuals for Naxa NID-7007


Summary of Contents for Naxa NID-7007
- Page 1 THE N EW G ENERATION I N T ECHNOLOGY NID-‐7007 Core 7 ” T ablet P C w ith 8 GB B uilt-‐In TM Memory P owered b y A ndroid OS ...
-
Page 2: Table Of Contents
TABLE OF CONTENTS 1 OUTLOOK DESCRIPTION ..............1 2 POWER BUTTON USAGE ..............1 3 TOUCH-SCREEN NAVIGATION ............1 4 U-Disk ....................1 5 USING MICRO-SD CARD ..............1 6 GETTING STARTED ................1 7 DESKTOP ..................... 2 8 SCREEN LOCK ..................2 9 STATUS AND NOTIFICATION AREA .......... - Page 3 Play Music ..................7 Create Music Widget ................7 The Operation with Music and Playlist ..........7 Sort by title or date added ..............8 20 MY VIDEO ..................8 Play Video ................... 8 Create Video Widget ................8 The Operation with Video ..............8 The Operation with Playlist ..............
-
Page 4: Outlook Description
1 OUTLOOK DESCRIPTION 2 POWER BUTTON USAGE Turn On: Press the power button and hold for 2 seconds. Turn Off: Press the power button and hold for 2 seconds →tap Power off→ tap OK. Reboot: Press the power button and hold for 2 seconds →Tap reboot. Force Off: If device does not respond, press and hold the power button for 5 seconds. -
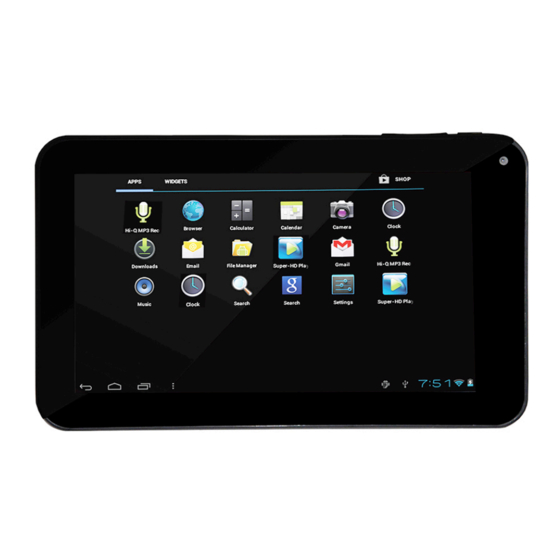
Page 5: Desktop
1. Tap → Settings. 2. Slide Wi-Fi switch to turn on. The device automatically scans and lists all local Wi-Fi Networks found. A lock indicates secure Wi-Fi networks that require input of password to connect. 1. Tap the desired network which you want to connect → enter the Network Password if applicable → tap Connect. 2. -
Page 6: Status And Notification Area
Tap the unlock icon and drop it to the right until out of the circle to unlock. 9 STATUS AND NOTIFICATION AREA On the Desktop screen, click the icons which are in the state bar to view more state information and events. 10 APPLICATION MANAGEMENT Install Android Applications There are many interesting and free Android applications that can be found on the web. -
Page 7: Browser
1. Tap the Clock application icon. 2. Tap Set alarm → Add alarm. 3. Set up your alarm as desired. 4. Tap OK. 5. Selected the alarm clock. 12 BROWSER Users can connect to the Internet through browser. Click the browser icon on the Desktop , and then you can open the Web browser. -
Page 8: Single-Motion Panorama
2. Click to begin and tap to stop. 3. The video will be saved. 4. Click the video thumbnail to play the video. 5. Click to exit the Camera and back to the Desktop. Single-motion Panorama For capturing larger scenes, tap icon and switch to single-motion panorama mode. -
Page 9: Edit Email Accounts
3. To replay, tap Reply or Reply all. a. Tap in the Compose Mail entry field to enter your reply message. b. Tap Send to send immediately, Save as draft to save without send or Discard to discard without saving or sending. 1. -
Page 10: Copy Media Between Computer And Tablet
USB Storage Paste Back to the previous folder Switch folder display mode. Menu Copy Media between Computer and Tablet You can use the File Browser to copy files between an external storage devices and your computer. You can first copy the desired files onto a SD card or USB device. -
Page 11: Sort By Title Or Date Added
3. Tap Save. Rename or Delete playlist Switch to display mode, Tap the playlist → tap → Enter a new name in the dialog box, and click Save. If you want to delete the playlist, click →click save. Add music 1. -
Page 12: The Operation With Picture List
1. Tap the My Photo application icon. 2. Tap on the desired photo, to view individual photo. 3. Click on the top right screen to operate the corresponding photos.(including zoom in/zoom out, share, rotate, trim, photos set to, adjust the current display scale, showing details) The operation with picture list Classification of photo list... -
Page 13: Frequently Asked Questions
FREQUENTLY ASKED QUESTIONS Q: What Android OS version is on my Device? A: 4.1.1 Q: Do I have to charge the battery before use? A: You should charge the battery for at least 6 hours, but you can use the device while it’s charging. Use the included power adapter to charge; this device does not support charging via the USB cable. -
Page 14: Important Safety Precautions
IMPORTANT SAFETY PRECAUTIONS Always follow these basic safety precautions when using your tablet. This will reduce the risk of fire, electric shock, and injury. Do not expose this product to rain or moisture. Keep the device out of direct sunlight and heat sources. ...
Need help?
Do you have a question about the NID-7007 and is the answer not in the manual?
Questions and answers