
Related Manuals for Elnur CSH12


Summary of Contents for Elnur CSH12
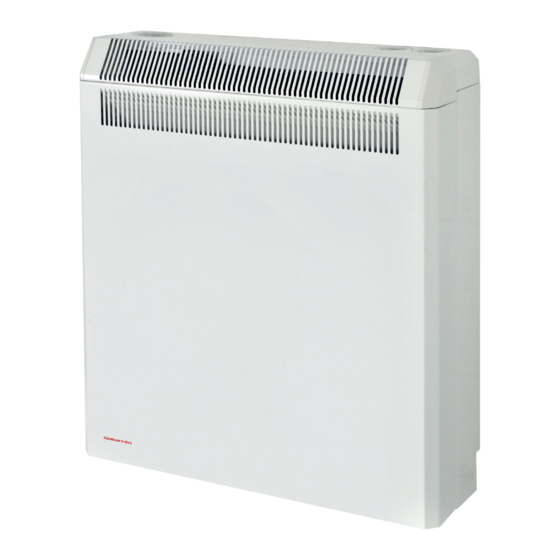
- Page 1 INSTALLATION INSTRUCTIONS AND USER GUIDE IECEE IECEE SCHEME COMBINED STORAGE HEATERS CSH12 CSH18 CSH24 CSH12A CSH18A CSH24A Please read these instructions before installing or using this appliance for the first time...
- Page 2 Combined Storage Heaters 1.- WARNING Please read these instructions before installing or using this appliance for the first time. The warranty of the • combined storage heater will not cover any damage caused by non observance of any of these instructions. This Guide must be kept and given to any new owner.
- Page 3 These heaters consume electricity only during the night, but due to the highly efficient storage medium, give you a truly economical 24 hours of comfort temperatures. Max. Hours Model Voltage Input Convector Charge Bricks Weight CSH12 230/240 1.6/1.7 0.9/1.0 8 / 7 12.8 /11.9 18.5 CSH18 230/240 2.4/2.55 1.4/1.5 8 / 7 19.2/17.85...
- Page 4 Combined Storage Heaters 3.- Take off the front panel by removing the two screws at the bottom of the heater. 4.- Set the heater in the selected installation area and mark the fixing points on the wall using a pencil. Use the heater fixing holes as a template and mark the wall through the fixing holes.
- Page 5 Combined Storage Heaters 9.- Fix the elements in their original position. Place the other two rows of bricks with the knobs face to face. 10.- Refit the inner front panel. If the bricks have been fitted correctly you will find no difficulty in refitting the panel (fig 4).
- Page 6 Combined Storage Heaters 5.- USING THE CONVECTOR Switch on the convector by setting the switch placed at the lower left side of the heater marked – o to “-“. The off position is marked “0”. When the convector is generating heat, the neon indicator on the switch will be illuminated. The convector is fitted with an adjustable thermostat, which enables room temperature to be controlled by adjusting the setting accordingly when the convector is on.
- Page 7 Combined Storage Heaters R1, R2, R3, R4…Heating elements C…….. Switch CE……..Convector element with built in thermal cut out PE…….Earth RAC………...Accelerating resistance L……….Phase Tc…………...Charge control thermostat N……...Neutral Ta…………...Ambient thermostat Ts……..Safety cut out Tl…………….Temperature limiter IMPORTANT This equipment is supplied with a main connector. All the wires must be coloured in accordance with the following code: Green &...
- Page 8 Telephone +44(0)1942 670119 technical@elnur.co.uk Manufactured by: ELNUR, S.A. Madrid, Spain www.elnur-global.com export@elnur-global.com Management System International Certifications: As a part of the policy of continuous product improvement Elnur reserves the right to alter specifications without notice. INSTALLATION INSTRUCTIONS AND USER GUIDE WEB VERSION...
Need help?
Do you have a question about the CSH12 and is the answer not in the manual?
Questions and answers