
Related Manuals for Security Tronix ST-IP-BT1VF-PRO

Summary of Contents for Security Tronix ST-IP-BT1VF-PRO
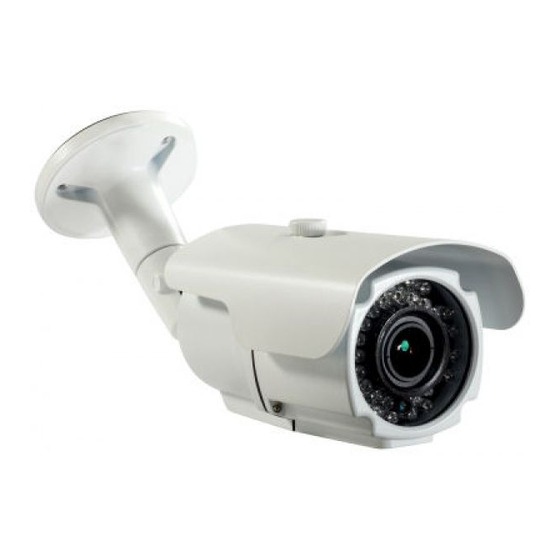
- Page 1 IE Operating Instruction Manual IE Operating Instruction Manual ST-IP-BT1VF-PRO ST-IP-BT2VF-PRO ST-IP-D1VF-PRO ST-IP-D2VF-PRO...
- Page 2 IE Operating Instruction Manual CAUTION: To reduce the risk of electrical shock do not remove the cover or back of this unit. No user serviceable parts are inside. CAUTION: To prevent electric shocks and risk of fire hazards, only use the recommended power supply type.
-
Page 3: Table Of Contents
IE Operating Instruction Manual Contents 1. Brief introduction of IE browsing operation ................. 4 1.1. Installation of plug-ins and login ..................4 2. IE menu introduction ........................5 2.1 Home ........................... 5 2.2 Replay ..........................6 2.3 Parameter Setting ........................ 7 2.3.1 Video setting ...................... -
Page 4: Brief Introduction Of Ie Browsing Operation
IE Operating Instruction Manual 1. Brief introduction of IE browser operation The Securitytronix IP-PRO series IP cameras have a built in web server and can be accessed using Internet Explorer. 1.1. Installation of plug-ins and login screen (1) Run IE and input the video camera’s IP address and HTTP port in the URL bar. (2) After successfully connecting to the camera’s web server, a login page will appear. -
Page 5: Ie Menu Introduction
IE Operating Instruction Manual 2. IE menu introduction The IE (Internet Explorer) interface of the video camera is mainly composed of several main functions There are two options at the upper right hand of the IE interface; “Download Player” to download the necessary control and “logout”... -
Page 6: Replay
IE Operating Instruction Manual Voice button: by clicking the voice button, the sound function will be enabled (3rd party audio equipment is needed for audio function); a voice icon will appear in the previewed image when the voice button is turned on;... -
Page 7: Parameter Setting
IE Operating Instruction Manual 2.3 Parameter Setting In this menu, you can configure the camera to suit the specific install requirements. 2.3.1 Video setting In this menu, you can set the image video flow of the IP camera, to optimize for network flow. For example, you can reduce the frame number at a low transmission speed to obtain a high-quality image or reduce the image quality to obtain a smooth picture;... -
Page 8: Osd Setting
IE Operating Instruction Manual 2.3.2 OSD setting In the OSD page, a user can set the timeand also configure the OSD text. 2.3.3 PTZ setting In this page, a user can set the protocol, the baud rate, data bits, stop bits, parityand address. 2.3.4 Basic settings (Network) Fixed IP Address Setting Page:... -
Page 9: Ddns Setting
IE Operating Instruction Manual Dynamic IP Address Setting Page: Network mode: This can be set to either Fixed or DHCP (Dynamic Host Control Protocol). IP Address: LAN IP address of the camera Subnet Mask: Displays the subnet mask of the camera. Gateway: the gateway is usually the IP address of the Internet equipment which you access to Internet, such as a router;... -
Page 10: E-Mail Setting
IE Operating Instruction Manual 2.3.6 E-Mail setting Server name: This will be the originator of the mail service you wish to use. Port: Typically port 25 (consult your mail service provider for specifics). SSL: Enable if using secure socket layer (SSL). Authentication: On or off, depending on what type of mail service is in use. -
Page 11: Wifi Setting
IE Operating Instruction Manual 2.3.7 Wifi setting Wifi Status: Check the “Enable” box to start WiFi service (If camera is equipped). Search: Selecting this option will search for any available wireless networks. 2.3.8 P2P setting Status: Select enable to start the P2P service. -
Page 12: Motion Detect Setting
IE Operating Instruction Manual 2.3.9 Motion Detect setting Sensibility (Sensitivity): Select the level of motion detection sensitivity. Schedule: There are 3 modes you can select. Week mode allows you to enable motion detection (MD) according to a weekly schedule. Work mode is configured for a typical office schedule and All day works on a 24/7 schedule. -
Page 13: Alarm In Out Setting
IE Operating Instruction Manual 2.3.11 Alarm in out setting 2.3.12 Auto capture setting In this page, you can set the interval time of still captures and configure an email recipient. 2.3.13 Record setting 2.4 System You can set the user, time setting, initialize, device info, storage device and system log in the system setting page. -
Page 14: User Setting
IE Operating Instruction Manual 2.4.1 User setting In the user settings page, you can amend the user password and create a new user, but cannot change the administrator’s username. Each subsequent user created will be a “general” user. 2.4.2 Time setting In the time setting page, you can adjust the time manually, synchronize with the computer time or NTP and select the time zone and so on. -
Page 15: Initialize Setting
IE Operating Instruction Manual 2.4.3 Initialize setting Reboot: This will reboot the IP camera. Factory default: recover the default setting of the video camera; the IP address is recovered to 192.168.1.128; and after the factory default, you may need to re-configure some parameters. System update: in the system update page, you can select the update file and update the cameras firmware. -
Page 16: Device Info Setting
IE Operating Instruction Manual 2.4.4 Device Info setting In the device information page, you can see the camera name, the serial number, the version information and network information. 2.4.5 Storage Device setting In this page, you can see the status of SD card. 2.4.6 System log setting The Log records operating history and motion detection alarm events of the video camera. - Page 17 IE Operating Instruction Manual For additional support, please contact SecurityTronix Technical Support: support@securitytronix.com (800) 688-9282 Press “3” for Tech Support, then “2” for CCTV Tech Support.
- Page 18 IE Operating Instruction Manual SECURITYTRONIX 1-Year Limited PTZ and IR Camera Warranty Securitytronix. (the "Company") warrants to the Original Purchaser that the PTZ or IR Camera is free from defects in workmanship or material under normal use. This warranty starts on the date of shipment of the hardware to the Original Purchaser.
Need help?
Do you have a question about the ST-IP-BT1VF-PRO and is the answer not in the manual?
Questions and answers