Table of Contents
Advertisement
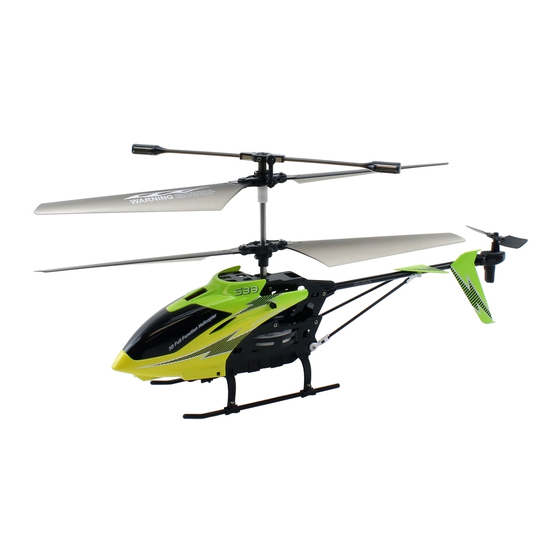
USER GUIDE AND MANUAL
Specifications:
Item No.: S39
Function: up/down, forward/backward, turn left / Right,With GYRO /Flash lights
Battery: 3.7V 500mAh Li-poly
Charging time: About 100 minutes - USB Charging
Flying time: More than 6 minutes
Controlling distance: Inside = 30 meters
Product Size: 362 x 57 x 1500mm
Frequency: 2.4Ghz
Channels: 3
Required: 4 x AA Batteries for transmitter
Please ensure you read and fully understand this manual before operating.
Advertisement
Table of Contents

Related Manuals for SYMA S39


Summary of Contents for SYMA S39
- Page 1 USER GUIDE AND MANUAL Specifications: Item No.: S39 Function: up/down, forward/backward, turn left / Right,With GYRO /Flash lights Battery: 3.7V 500mAh Li-poly Charging time: About 100 minutes - USB Charging Flying time: More than 6 minutes Controlling distance: Inside = 30 meters Product Size: 362 x 57 x 1500mm Frequency: 2.4Ghz...
- Page 2 INTRODUCTION Thank you for purchasing this SYMA Radio Controlled helicopter. To ensure you enjoy many hours of safe flight with this model, please ensure you read and fully understand the manual before operating. Please retain this manual for future reference.
- Page 3 YOUR TRANSMITTER Using a small Phillips screwdriver to remove the battery cover, insert 4 x AA 1.5v batteries (not supplied) observing the correct polarity as indicated in the compartment. (+/-) Replace the battery cover and secure the screw.
- Page 4 Push the control lever up and the Pushing the throttle lever forward will helicopter will move forward. make the helicopter lift off. Pull the lever back and the helicopter Pull back and the helicopter will will move backwards. descend. Move the control lever Left or Right to control the helicopters movement in the air.
- Page 5 USB Charging Take the supplied USB charger and connect the USB plug to a computer. Connect the other end to your helicopter. While charging the LED light in the USB plug will not show. When charged the LED light will come on. Keep the battery away from fire and heat sources.
- Page 6 Even the very best pilot has accidents. Please see listed below a full range of replacement parts aimed at getting you back up into the air with a minimal amount of fuss. These parts can be ordered using the numbers below from either your original point of purchase or through a local model shop.
- Page 7 Problem Solution Reason 1 - Insufficient power onboard helicopter. 1 - Re Charge the helicopters battery 2 - Insufficient power for the transmitter, 2 - Replace the transmitter batteries with power indicator keeps flashing. fresh new ones. Specifications, colours and content are subject to change and may differ from illustrated.
- Page 8 Ver 1.2014 241 Green Street, Enfield, Middlesex, EN3 7SJ...
Need help?
Do you have a question about the S39 and is the answer not in the manual?
Questions and answers
что делать если вертолет syma s39h опускается с полным аккумулятором после того как я нажму кнопку вверх
If the SYMA S39 helicopter descends despite having a fully charged battery after pressing the up button, check the following:
1. Battery Charge – Ensure the battery is fully charged and properly connected.
2. Transmitter Batteries – Replace the 4 x AA batteries in the transmitter if they are weak.
3. Flight Environment – Avoid strong winds or interference that may affect control.
4. Damage Inspection – Check for damaged or missing parts, especially the rotor blades.
5. Calibration – Restart both the helicopter and transmitter, then rebind them to reset controls.
If the issue persists, consider replacing worn-out parts or seeking additional troubleshooting.
This answer is automatically generated