Advertisement
Quick Links
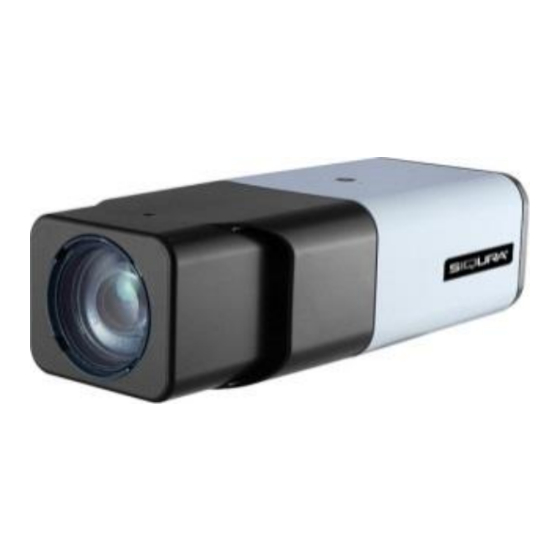
Siqura BC820H1 & BC820H1-SFP
High-definition (HD) box camera with integrated optics
Quick Start Guide
Unpack
Figure 1 Package contents
Note: Subject to modification. Actual product and accessories may differ in appearance.
Power up / Connect to network (SFP)
To power the camera with AC 24 V / DC 12 V
Connect to the DC/AC power source as indicated by the labeling of the terminal
block.
+
AC 24 V: Power-1
DC 12 V Power
AC 24 V: Earth GND
DC 12 V Reserved
-
AC 24 V: Power-2
DC 12 V GND
To connect the camera to the network
Slide the XSNet™ SFP modular optical
transceiver into the SFP connector (labelled
NETWORK) on the rear board of the camera.
To reset the camera to the factory default settings
With the camera powered up, push and hold the reset button for 30 seconds.
© Siqura B.V. 2015
Version 2.1 (121904)
BC820H1 QSG (MW10)
Determine where you are going to install the camera.
Use the Siqura WM04 Wall Bracket sold separately for BC series cameras
(figure 2).
Make sure that the provided surface has sufficient strength to support the camera.
If using Power over Ethernet (PoE), check that there is adequate access to an IEEE
802.3AF Power Sourcing Equipment (PSE) enabled network
Figure 2 The BC820H1 screws onto a mounted wall bracket
You can access the settings of the camera via its webpages.
Use Internet Explorer 6.x or higher, Chrome, Firefox or Safari to browse the webpages.
To open communication with the BC820H1(-SFP)
1.
Make an IP connection between the camera and the PC.
Table 1
To achieve initial access, the network adapter of the PC must be set to the same
AC 24 V / DC 12 V
connection assignments
subnet as the camera. The factory-set IP address is printed on a label located
on the bottom of the camera.
2.
Type the IP address of the camera in the address bar of your web browser
(figure 5), and then click ENTER.
3.
Enter the default user name (Admin) and password (1234).
Note that the user name is case sensitive.
4.
When prompted about an ActiveX control installation, click Allow.
This installs Siqura Viewer, an add-on required to view camera images in the
webpages. Make sure that ActiveX controls are enabled in your web browser.
For more information, see the User Manual.
Figure 4 SFP connector on
BC820H1-SFP rear board
Figure 5 Enter the IP address of the camera into the address bar of your browser
Install
Log on
www.siqura.com
www.tkhsecurity-usa.com
Power up / Connect to network (RJ-45)
To power the BC820H1 with PoE
Attach the RJ-45 connector to an appropriate PoE
network switch.
Use Cat 5 Ethernet cable less than 100 m in
length. Connect to hub/switch with straight-
through; direct to a PC with crossover.
To power the camera with AC 24 V / DC 12 V
Connect to the DC/AC power source as
indicated by the labeling of the terminal block.
+
AC 24 V: Power-1
DC 12 V Power
AC 24 V: Earth GND
DC 12 V Reserved
-
AC 24 V: Power-2
DC 12 V GND
Indicator LEDs
RJ-45 connector LEDs: Green indicates a good network connection; orange
verifies network activity.
Green power LED signifies a good power connection.
To reset the camera to the factory default settings
With the camera powered up, push and hold the reset button for 30 seconds.
Install Siqura Device Manager (optional)
Figure 3 BC820H1 rear
board connectors
Table 1
AC 24 V / DC 12 V
connection assignments
Figure 6
Install Siqura Device
Manager from Siqura
Product CD
Advertisement

Related Manuals for Siqura BC820H1


Summary of Contents for Siqura BC820H1
-
Page 1: Quick Start Guide
NETWORK) on the rear board of the camera. When prompted about an ActiveX control installation, click Allow. This installs Siqura Viewer, an add-on required to view camera images in the webpages. Make sure that ActiveX controls are enabled in your web browser. - Page 2 Set up alarms Rotate camera image Connecting an alarm device, such as a sensor, to the BC820H1 camera input If microphones and speakers are implemented, the camera can be used to Depending on how BC820H1 camera is mounted, you may need to rotate the can trigger an output action to occur based on digital I/O settings.
Need help?
Do you have a question about the BC820H1 and is the answer not in the manual?
Questions and answers