Table of Contents
Advertisement
Advertisement
Table of Contents

Summary of Contents for SebastianConran Vector 3
- Page 1 Quick start guiDe Vector 3: DesigneD by...
-
Page 2: Printer Features
Compatible with both Mac (OS X 10.7 and above) and Windows (Vista and above) to operate the printer or to use the printer software. Vector 3’s sleek look was designed by internationally acclaimed product designer now, the only limit is your imagination! - Page 3 Heated beds give a higher quality free-rotating spool supported on a finish with PLA cradle on the Vector 3 hooD LIFTING MeChANISM The cantilevered hood lifting mechanism lets you slide the hood smoothly up and down, while a safety catch...
-
Page 4: Unpacking Your Printer
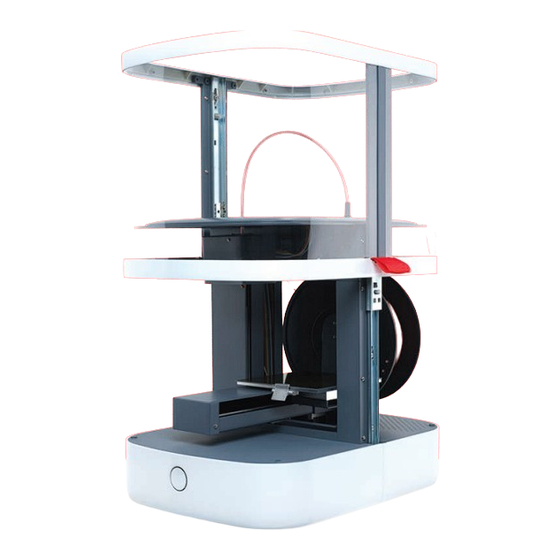
It is preferable, though not essential, for the printer to be level during operation. Check Vector 3 printer (shown assembled) Allen keys by placing a spirit level on the base platform, and adjust feet as necessary. -
Page 5: Setting Up Your Printer
2. setting up your printer Assembly is much easier with the hood removed. (You will Remove the cardboard box from the gantry and lay out all the For added protection, the X- and Y-axis movement is locked replace it before printing.) First, take the red tabs and lift until parts. - Page 6 2. setting up your printer Plug the print head cable into the socket on the print head. Offer the print guard up to the print head, ensuring the The print guard is secured with a single Phillips screw; It can be inserted only one way round. Ensure the plug is fully tubular sockets inside it engage with the two posts projecting access to the screw hole is via the slot in the top of the seated in its socket.
-
Page 7: Download The Software
3. connecting & testing your printer download the software connect & test the printer Testing the connection to the printer: Visit www.3dprinter-collection.com to download the The printer requires a manual connection to be established Windows 3D Create & Print software. Please ensure that your PC or between your printer and the computer, in which a USB port is •... -
Page 8: Calibrating Your Printer
4. calibrating your printer calibration Calibration ensures the build plate is exactly perpendicular to the print nozzle, and that its movements comply with commands from the 3D Create & Print software. You should only need to calibrate the printer once (i.e. as part of this initial setup). You will need the calibration gauge supplied. - Page 9 5. loading & eXtruding filament eXtruding filament Before printing for the first time, your print head must be primed with filament. This step need not be repeated (except when you change filaments). Twist-lock the spool centre onto one spool side. Fix with three With the hood locked in the raised position, ease the spool screws.
-
Page 10: Delete Object
6. slicing & printing LoADING AN STL FILe VIeWING The oBJeCT MANIPULATING The oBJeCT Your newly installed 3D Create & Print software is You can view your object from any angle, and zoom in on You can rescale the object, or alter the location or designed to be as easy and intuitive to use as possible. -
Page 11: Offline Printing
6. slicing and printing SLICING SUPPoRT STRUCTUReS PRINTING Your stl file must be ‘sliced’ into layers before printing. Some stl files will print more effectively with the aid of Once your file is sliced, click Print. Printing will The software does this for you, although you also have support structures –... -
Page 12: Warranty
The GuaranTee does noT apply: important data In the unlikely event that you experience any problems with your Vector 3 printer please contact: 220V~240V 50–60 hz (UK / eU / AUS) the Manufacturer will repair or replace this If the product has been opened or taken apart other 3Dprinter@eaglemoss-service.com...
Need help?
Do you have a question about the Vector 3 and is the answer not in the manual?
Questions and answers