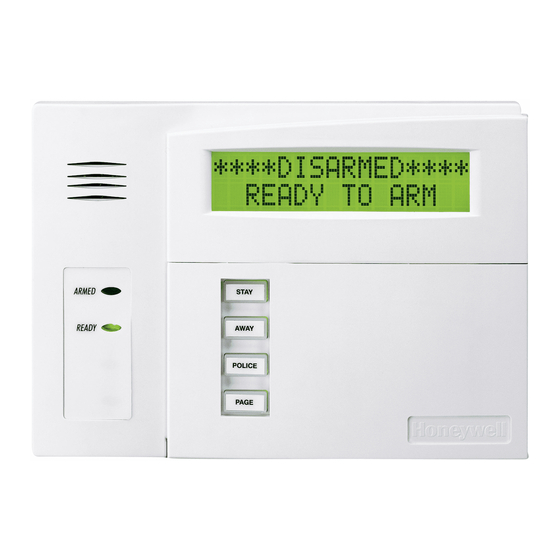
Honeywell VISTA-20P User Manual
Ademco vista series security system
Hide thumbs
Also See for VISTA-20P:
- User manual (64 pages) ,
- Programming manual (17 pages) ,
- Quick start manual (7 pages)
Table of Contents
Advertisement
Advertisement
Table of Contents


Need help?
Do you have a question about the VISTA-20P and is the answer not in the manual?
Questions and answers
How do you add a replacement sensor?
To add a replacement sensor to a Honeywell VISTA-20P, follow these steps:
1. Determine Sensor Type: Identify whether the replacement sensor is wired or wireless. The VISTA-20P supports both.
2. For Wired Sensors:
- Power down the system by unplugging the AC power and disconnecting the battery.
- Connect the new sensor to the appropriate zone terminals on the control panel.
- Restore power and program the panel to recognize the new sensor.
3. For Wireless Sensors:
- Install a wireless receiver like the Honeywell 5883H transceiver if not already present.
- Enroll the wireless sensor in the system using the programming mode:
- Enter the installer code followed by `800` to access programming.
- Navigate to zone programming and assign the sensor to an available zone.
- Enter the sensor’s serial number and configure its zone type.
- Exit programming and test the sensor to ensure proper operation.
4. Test the Sensor: Trigger the sensor and verify that the panel registers the event correctly.
5. Save and Exit: Save the settings and exit programming mode.
This process ensures the new sensor is properly integrated into the system.
This answer is automatically generated