Table of Contents
Advertisement
Advertisement
Table of Contents

Related Manuals for Bush CMC361DABBT


Summary of Contents for Bush CMC361DABBT
-
Page 1: Instruction Manual
Instruction Manual CMC361DABBT... -
Page 2: Table Of Contents
Product Code CMC361DABBT Accessories included . . . . . . . . . . . . . . . . . . . . . . . . . . . . . 3 Tuning radio stations . -
Page 3: Safety Information
Safety information Important – Please read these instructions fully before using CAUTION: TO REDUCE THE RISK OF ELECTRIC SHOCK, DO NOT REMOVE ANY COVER . NO USER-SERVICEABLE PARTS INSIDE, REFER ANY SERVICING TO QUALIFIED SERVICE PERSONNEL . This symbol means that this unit is double •... -
Page 4: Accessories Included
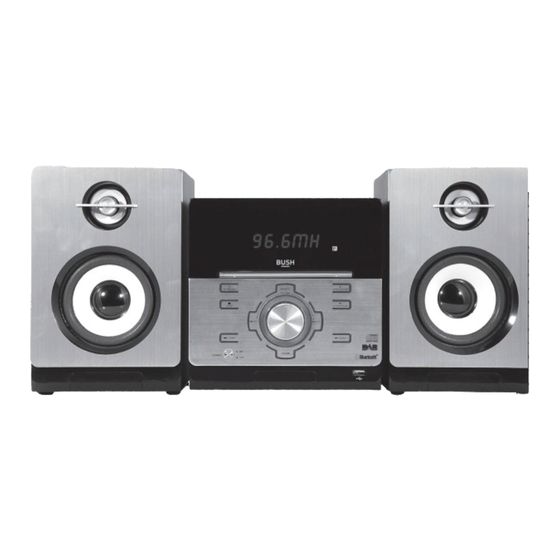
Functions & controls Please familiarize yourself with the parts and accessories listed below Accessories included • 1 x CMC361DABBT • 1 x Remote control • 1 x Instruction manual Overview of controls 008:28:23 LINE-IN SPEAKER 1: STOP button / TUNE- button... -
Page 5: Overview Of Controls
Installation Overview of controls 21: STANDBY button 22: NUMERIC buttons 23: INFO button 24: MENU button NAVIGATION/ CH+ button 26: NAVIGATION/TUNE-/ button PLAY/PAUSE button 28: STOP button 29: AUTO button 30: BASS button 31: TREBLE button 32: INTRO button 33: EQ button 34: REPEAT button 35: RANDOM button 36: MUTE button... -
Page 6: Speaker Connections
User instructions Speaker connections LINE-IN SPEAKER terminal underneath the RED one also marked ‘R’ . Connect the speaker wires as shown above. 3: Take the LEFT speaker cable and insert the WHITE 1: Take the RIGHT speaker cable and insert the WHITE cable into the RED terminal on the rear of the unit cable into the RED terminal on the rear of the unit marked with an ‘L’... -
Page 7: Cd Operation
User instructions CD operation Numeric buttons Follow the below instructions to begin playback of an During CD playback you can jump directly to a track audio CD. using only the NUMERIC buttons (22) on the remote control. For example:- 1: Select CD mode using the instructions from the ‘Switching modes’... -
Page 8: Intro
User instructions Program (cont) Getting started (cont) 6: To begin playback of the programmed sequence press the PLAY/PAUSE button . NOTE: If no stations where located during the 7: To cancel playback press the STOP button . scan, relocate the unit, extend the antenna fully and read the ‘Manual Tuning’... -
Page 9: Display Modes
User instructions Display modes Performing a station scan Every time you press the “INFO” button (23) on the There are two types of scan, one is Quick scan and the remote control, the display will cycle through the other is Auto scan. following display modes: The information is displayed Quick scan: searches the UK DAB band III on the lower segment of the LCD display. -
Page 10: Drc ( Dynamic Range Control )
User instructions DRC ( dynamic range control ) Tuning radio stations 1: To scan for radio stations press and hold either of This function causes the radio to reduce the dynamic range of the audio signal. The purpose of this is the TUNE- or TUNE+ buttons (main unit 8,15) or (remote 26,46) for two seconds to scan down or up to adapt the dynamic range of the audio signal to... -
Page 11: Scan Modes (Cont)
User instructions Scan modes (cont) Display modes (cont) 3: Use the TUNE- or TUNE+ (26,46) buttons to select Time & date between LOCAL (Strong local stations only) or DX (All The time & date can be set automatically from the DAB available stations) . -
Page 12: Connecting An External Audio Source (Cont)
. Playback of enable ‘discovery’ mode on your device and select track 01 will begin automatically . the CMC361DABBT Bluetooth connection . If you are asked for a pass code enter ‘0000’ . NOTE: Tracks inside folders are listed as part of the total number of tracks. -
Page 13: Bluetooth Operation (Cont)
User instructions Bluetooth operation (cont) Advanced operation (cont) 4: Once paired the BLUE LED indicator will flash slowly . Setting the time manually 5: When playback from the device is initiated the RED & BLUE LED indicators will flash simultaneously You can set the time manually if the radio signal is not 6: If using a mobile phone as an audio source, when strong enough to set automatically. -
Page 14: Sleep Mode (Cont)
User instructions Sleep mode (cont) Disc handling information (cont) 2: You do not need to press ENTER to store, just pause on the selected timer duration and the countdown will begin . • If you cannot wipe off the dust with a soft cloth, wipe NOTE: A ‘ZZZ’... -
Page 15: Disposal Information
User instructions Troubleshooting In the unlikely event of difficulties with your appliance please follow the trouble shooting guide below . If the problem persists, contact the retailer if the machine is still under guarantee . Customer helpline: 0870 600 3030 Problem Reason(s) Solution(s) -
Page 16: Product Guarantee
Guarantee PRODUCT GUARANTEE This product is guaranteed against manufacturing defects for a period of Year This product is guaranteed for twelve months from the date of original purchase. Any defect that arises due to faulty materials or workmanship will either be replaced, refunded or repaired free of charge where possible during this period by the dealer from whom you purchased the unit.
Need help?
Do you have a question about the CMC361DABBT and is the answer not in the manual?
Questions and answers