Table of Contents
Advertisement
Quick Links
Instruction booklet
TUMBLE DRYER
GB
English
AQUALTIS
AQC9 4F7
www.hotpoint.co.uk
!
This symbol reminds you to read this
instruction manual.
!
Keep this manual at hand for immediate reference whenever
necessary. Always store this manual close to the tumble dryer and
remember to pass it on to any new owners when selling or tran-
sferring the appliance, so they may familiarise with the warnings
and suggestions herein contained.
!
Read these instructions carefully: the following pages contain
important information on installation and useful suggestions for
operating the appliance.
To activate your free* 10 years parts guarantee
Call free on
*Labour charges not included. Terms and conditions apply. Lines open 364 days a year.
Calls are free from a BT landline. Charges from other providers and mobiles may apply.
Contents
Installation, 2
Before you start using your dryer
Warnings, 4
General safety
Save energy and respect the
Environment
Switching off the electricity
Clean the filter after each cycle
Check the drum after each cycle
Empty the Water Container after each cycle
Cleaning the Heat Pump Filter
Cleaning the dryer
Open the door
The Display, 9
Start and Programmes, 10-15
Table of Programmes
Laundry, 16
Wash care labels
Troubleshooting, 17
Service, 18
Disposal
0800 597 8557
.
GB
1
Advertisement
Table of Contents
Troubleshooting

Related Manuals for Hotpoint AQUALTIS AQC9 4F7


Summary of Contents for Hotpoint AQUALTIS AQC9 4F7
-
Page 1: Table Of Contents
Dryer Description, 8 Open the door The Features Control Panel The Display, 9 Start and Programmes, 10-15 Choosing a Programme www.hotpoint.co.uk Special Programmes Table of Programmes The Controls This symbol reminds you to read this Laundry, 16 instruction manual. Sorting your laundry... -
Page 2: Installation
Installation length in order to reach the drainage. To install the new tube just Where to put your dryer substitute the existing one as indicated in figure B inserting it in the • Place your dryer at same place. a distance from gas ! The drain tube has to be below 1 m from the bottom of the Dryer. -
Page 3: Levelling The Tumble Dryer
Product Fiche - Regulation 392/2012. Brand Hotpoint Model Before you start using our dryer AQC9 4F7 M Once you’ve installed your dryer and before you use it, clean the inside of the drum to remove any dust that could have Rated capacity of cotton laundry for the "standard cotton... -
Page 6: Maintenance And Care
Care and maintenance Disconnecting the power supply Emptying the water container after each cycle ! Disconnect the dryer when not in use or Remove the water container and during cleaning and maintenance operations. empty it into a sink or other Cleaning the filter after each cycle suitable drain outlet, then replace it correctly. -
Page 7: Cleaning The Tumble Dryer
4.Whenever you clean the Heat pump filter • Clean the front air intake grille regularly (every 6 months) with unit always clean any build up of fluff from a vacuum cleaner to remove any lint, fluff or dust deposits. Furthermore, remove any lint deposits from the front part of the surface of the metal plates. -
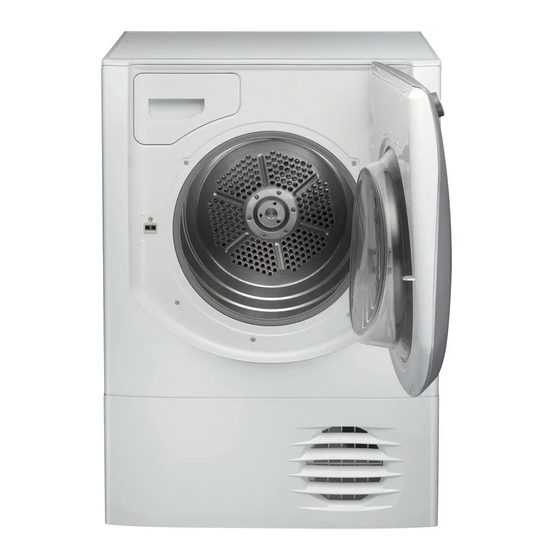
Page 8: Dryer Description
Dryer Description The Features To open door Rating Plate Model Pull on handle & Serial Numbers Water container Filter Heat Pump Filter Unit Air Intake (cover open) Grille Heat Pump Filter Unit cover handle (Pull here to open) Ajustable feet (to level dryer) Control Panel Start/Pause... -
Page 9: The Display
The Display The Display has three sections each with its corresponding button. Sensor Dry After selecting a programme that has a Sensor Dry Option, press and release the button until the required dryness sensing level is displayed. If the sensing option is not available the display will flash and the buzzer beeps three times. -
Page 10: Start And Programmes
Start and Programmes Choosing a Programme START in order to resume drying. If you open the door to check your laundry you will extend the 1. Plug the dryer into the electrical socket. drying time as the heat pump compressor will not start until 5 2. -
Page 11: Special Programmes
Special Programmes Shirts High Heat option • This is a programme for Shirts made from Cotton. • It can be used for load sizes up to 3 kg (approximately 10 shirts). • Loads dried using this programme are usually ready to wear; the edges or seams may be slightly damp. If this is found try turning the shirts inside out and running the programme again for a short period. - Page 12 Refresh Thanks to a cool air flow, oxygen penetrates the fibers and transports unpleasant odors such as cigarette smoke, frying, smog out of the clothes. With this short program, you can easily refresh your garments in just 20 minutes. ! Airing is not a drying programme and should not be used for wet articles of clothing. •...
-
Page 13: Programmes Table
Programmes Table If the On/Off light is not lit; Press the On/Off Button and then select programme. Programme What it does How to set it Notes / Options available Brief programme (approxima- ! This is not a drying programme (see previous page). 1. - Page 14 Programme What it does How to set it Notes / Options available Dries your dark clothes. Sound . Delay Start 1. Position the PROGRAMME knob on Sensor Dry option, automatic drying: 2. Select any Options if required. Damp dry , Iron dry , Hanger Plus , Hanger 3.
-
Page 15: The Controls
The Controls • Empty Water Clean Filter Light “h2o” • Programme knob (If you have plumbed your dryer to a drain the light can be Warning, if after pressing the start button the programme ignored for the water bottle, as there is no need to empty the knob position is changed, the new position will NOT change water container). -
Page 16: Laundry
Laundry Sorting laundry Drying times • Check the symbols on the care labels of the various gar- Drying times are approximate and may vary depending on ments to verify whether the garments can be safely tumble the following: dried. • Sort laundry according to the type of fabric. •... -
Page 17: Troubleshooting
Troubleshooting One day your dryer seems not to be working. Before you call your Service Centre (see Service), go through the following troublesho- oting suggestions. Problem: Possible causes / Solutions: • The plug is not plugged into the socket, or not making contact. The dryer won’t start. -
Page 18: Service
Service Heat Pump System Before calling the Service Centre: This dryer is fitted with a sealed heat pump system to dry • Use the troubleshooting guide to see if you can solve the your clothes. To operate, the heat pump contains fluorinated problem yourself (see Troubleshooting). -
Page 20: Essential Contact Information
‘Right first time’ – our engineers have the latest tools to help get your Hotpoint appliance back up and running the first time we visit. Experts in our field – all of our engineers are trained to the highest standard at our Hotpoint Training Centre of Excellence with unrivalled expertise and product knowledge.
Need help?
Do you have a question about the AQUALTIS AQC9 4F7 and is the answer not in the manual?
Questions and answers