
Subscribe to Our Youtube Channel
Related Manuals for Cadco XAFT-115A


Summary of Contents for Cadco XAFT-115A
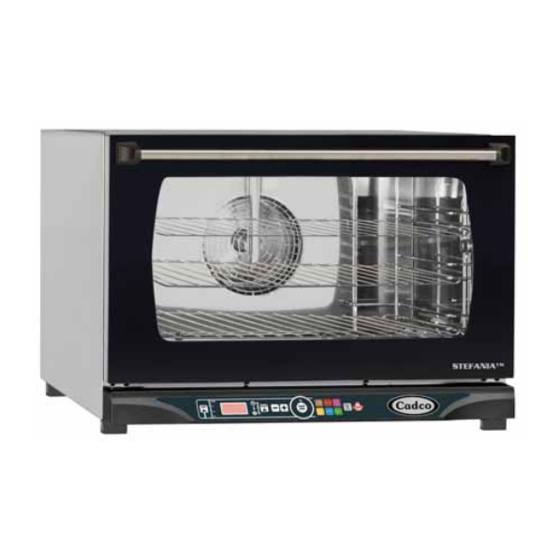
- Page 1 DIGITAL Convection Oven Instruction Manual Model XAFT-115A: Half Size/3 Shelves 208-240 Volt...
-
Page 2: Table Of Contents
INDEX: I. Instructions For The Installer ......................3 1. Data Plate ............................3 2. Certification ............................ 3 3. Installation - Preliminary Operations ....................3 3.1 – Location of Installation ......................3 3.2 – Feet Assembly ........................3 3.3 – Positioning ........................... 3 3.4 –... -
Page 3: Instructions For The Installer
Your oven is not designed for built-in applications or for side by side positioning. Cadco suggests you leave a minimum distance of 4” between the back of the oven and the wall to allow for the escape of moisture. The oven must be placed upon a support, a stand, or on top of a counter made of non-combustible material. -
Page 4: Installation
2. NOTES FOR USE • Your Cadco oven was designed to cook food and must be used only for that specific purpose. Any other use may void your warranty. The usable operating temperature range is approx. 175°F to 500°F. It is suggested that you allow about 2-3”... -
Page 5: Instruction For The Operator
- PHASE 1: initial preheating; - PHASE 2: actual cooking, characterized by your programmed cooking parameters. The oven automatically passes from one cooking phase to the next. 3.1 “DYNAMIC” CONTROL PANEL FEATURES (Model XAFT-115A) BUTTON / LIGHT FUNCTIONS: 1) Press the STEP button repeatedly to select Preheat and first cooking STEP to set their parameters when programming optional programs. -
Page 6: Operating Notes
Program # (Appears Preprogrammed At Factory Button in LED window to Arby’s Specifications when button is pressed) Turnover Bacon Beef Fast Cook Bag Cheddar Left to Operator Left to Operator Optional Additional Operator Presets P7 – P99 (OR to start setting new program) Memory button for saving optional programs P5 and above after programming them... -
Page 7: Operating In Programmed Mode
3.3 OPERATING IN PROGRAMMED MODE • There is room to save up to 99 programs in your oven’s memory for “One Touch Cooking”. NOTE: The 6 programs saved by assigning to P1 – P6 will be the ones later accessed by the “Quick Access”... - Page 8 2. Assign a program number between P5 and P99 as follows: - Press one of the P5 – P6 “Quick Access” buttons to assign a program to one of the last 2 positions. (The first 4 are reserved for preset Arby’s programs.) - Use the buttons to assign programs P7- P99.
-
Page 9: Modifying Parameters Of A Saved Program
• SETTING THE COOKING TEMPERATURE ♦ (1) Press the SELECT button until the blue Temperature LED is lit next to the Temperature icon (thermometer) on the control panel. ♦ (2) To set the desired temperature, use the buttons. Hold the button down to quickly scroll to desired setting. ♦... -
Page 10: Turning Off In Case Of Breakdown
If you encounter any kind of problem while your oven is in operation, or if you notice anything out of the ordinary, follow these steps: ♦ Unplug your oven immediately. ♦ Consult Cadco, Ltd. at 877-603-7393 (Toll-Free) Failure to do so may result in a hazardous condition and void your warranty. -
Page 11: Cooking Principles
♦ If you are new to convection cooking, Cadco suggests setting your Convection Oven to a temperature of about 30ºF - 50ºF lower than what you would have set it at in a conventional oven. Let the food tell you what it needs;... -
Page 12: Replacement Of The Fuse
- Reset the safety overheating thermostat (see 2.3 above) - Oven is out of order - Contact Cadco Service No humidity is produced - Water inlet is closed - Open water inlet Contact Cadco Service in the oven cavity... -
Page 13: Remove And Reattach The Oven Door
2.5 REMOVE AND REATTACH THE DOOR Open door completely as in Fig. 1 Fig. 1 Fig. 2 Using a screw driver or other object, swing door safety lock down as shown in Figs 2 – 3 – 4 Fig. 3 Fig. -
Page 14: Optional Oven Accessories
XAFT-115 Complete Door Assembly VII. WARRANTY • Cadco, Ltd. warrants all products (in the United States and Canada) to be free from defects in material and workmanship for a period of one year from date of purchase, unless otherwise noted below.*** •...
Need help?
Do you have a question about the XAFT-115A and is the answer not in the manual?
Questions and answers