Table of Contents
Advertisement
Advertisement
Table of Contents

Subscribe to Our Youtube Channel
Summary of Contents for A QR034
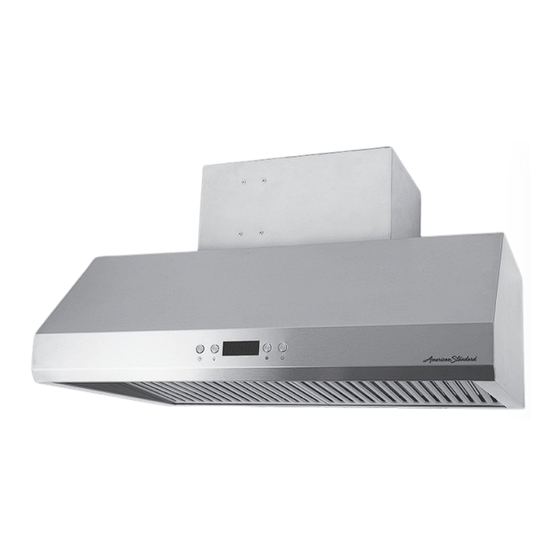
- Page 1 SKU: QR034 Owner’s Manual Stainless Steel Under Cabinet Range Hood THANK YOU for selecting American Standard… the benchmark of fine quality for over 100 years. To ensure that your installation proceeds smoothly, please read these instructions carefully before you begin.
-
Page 2: Table Of Contents
Conditioning Engineers (ASHRAE), and the local code authorities . 5 . When cutting or drilling into a wall or ceiling, do not damage WARNING: Stay clear of the rotating fan when the motor electrical wiring and other hidden utilities . - Page 3 Fig . 1) is 18 in .–32 in . (458 mm–813 mm) . If you choose an 18 in . installation, the temperature of the unit surface will be high if the unit is operated under high power cooking for a certain CAUTION: Never dispose of cigarette ashes, ignitable amount of time .
-
Page 4: Warranty
. Our obligation shall be limited to the repair or replacement of a unit (at our discretion) that may prove, by our sole examination, to be defective under normal use and service during the warranty period . -
Page 5: Pre-Installation
Pre-Installation TOOLS REQUIRED Measuring tape Level Utility knife Adjustable Marker or pencil Tape wrench Flathead Needle nose Phillips screwdriver screwdriver pliers Electric drill Hammer or powered Safety gloves screwdriver Safety gloves HARDWARE INCLUDED NOTE: Hardware not shown to actual size . Part Description Quantity Screw - M4 mm x 16 mm... -
Page 6: Package Contents
Pre-Installation (continued) PACKAGE CONTENTS Part Description Quantity Range hood (includes baffle filters) Duct set... - Page 7 Pre-Installation (continued) Fig.2 CONGLOMKB .COM Please contact 1-877-333-0098 for further assistance.
-
Page 8: Planning Installation
VENTING OPTION: This unit is a top venting range hood . You must use a top venting system that vents to the outdoors as shown in Fig . 4 and Fig . 5 . Horizontal Wall Venting Vertical Roof Venting Fig.4... - Page 9 (14) (refer to Fig. 4/Fig. 5). - Use round metal duct work with a uniform diameter of 6 in . (152 mm) . The total duct run in the venting system should be not more than 10.7 m (35 ft).
- Page 10 Connect the three colored wires (3) from the range hood (A) to the corresponding wires 2 . If codes permit and a separate ground wire is used, it is (4) from the electrical source: black to black (live), white...
-
Page 11: Installation
Installing the duct set WARNING: This unit has sharp edges . Always wear safety gloves during installation . - Attach the duct set (B) to the range hood (A) with eight screws (AA) . Installing the damper (if necessary) WARNING: Sharp edges . Wear safety gloves . - Page 12 Fix the unit onto the cabinet with 6pcs of M5 x 12 mm tapping screws. - If the bottom of the cabinet is recessed, add a wood filler on each side . The wood strips must be as thick as the recess .
-
Page 13: Operation
Operation There are four buttons, ON/OFF, SPEED, LIGHT and CLOCK SETUP. The center screen will show the clock (12 hour) . Turning ON/OFF the unit Delay shut off function - Press (5) to turn on the power . - While the fan is working, press (5) once, the fan and lights When you turn the power on, the unit starts working in high will automatically turn off after 2 minutes . -
Page 14: Maintenance
. Touching hot bulbs could cause serious burns . REPLACING LIGHT BULBS When light bulbs burn out, replace them with a 25 W or 35 W / JDR 16, GU10 twist and lock base light bulb. □ Turn off the range hood, disconnect it from its power source, and ensure that the lights are cool . -
Page 15: Care And Cleaning
. BAFFLE FILTERS The filter fitted by the factory is intended to filter out residue and grease from cooking. You do not need to replace them on a regular basis, but you should keep them clean . -
Page 16: Troubleshooting
- Check that duct work follows all requirements . Use round metal duct work with a uniform diameter of 6 in . (152 mm) . The length of duct work must not exceed 35 ft (10.7 m). Reduce the length of duct work and the number of elbows if necessary . -
Page 17: Specifications
29.8 in. (757 mm) W High 120 V / 2 x Max. 25 W or 35 W / 700 ± Push Button / QR034 18 in . (458 mm) D Medium 60 Hz / JDR 16, GU10 twist and Top venting LCD Switch 3 .6A... -
Page 18: Service Parts
Service Parts If you are missing parts or if you require replacement parts, please call our customer service team at 1-877-333-0098 (8:30 a.m.– 5 p.m., EST, Monday–Friday) . Identify the required part(s) and have the part description(s) ready . Part Code... - Page 19 Questions, problems, missing parts? Before returning to the store, call Customer Service 8:30 a.m.– 5 p.m., EST, Monday–Friday 1-877-333-0098 CONGLOMKB .C0M Retain this manual for future use .
Need help?
Do you have a question about the QR034 and is the answer not in the manual?
Questions and answers