Table of Contents
Advertisement
Quick Links
Download this manual
See also:
Quick Start Manual
Advertisement
Table of Contents

Subscribe to Our Youtube Channel
Related Manuals for IOGear GWU635


Summary of Contents for IOGear GWU635
- Page 1 Quick Start Guide Wireless AC600 Dual-Band USB Mini Adapter GWU635 PART NO. Q1318 www.iogear.com...
-
Page 2: Package Contents
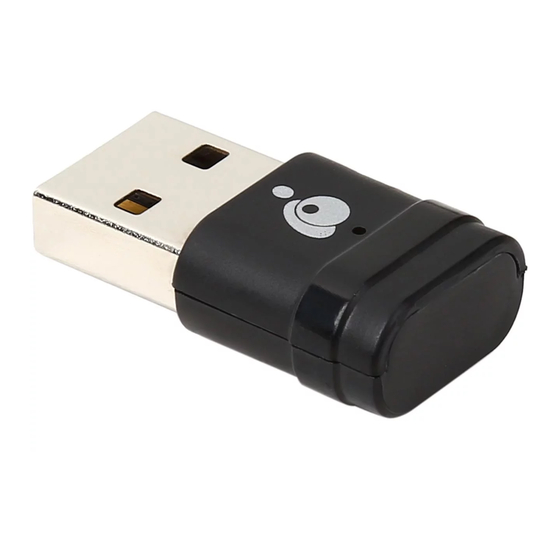
Package Contents 1 x GWU635 Wireless AC600 Dual-Band USB Mini Adapter 1 x Driver Installation CD 1 x Quick Start Guide 1 x Warranty Card System Requirements Operating System • Windows Vista , Windows 7, Windows ® ® ® Windows ®... -
Page 3: Software Installation
Software Installation Note: Do NOT insert the Wireless USB Mini Adapter until prompted to do so. 1. Insert the driver installation CD into the Disc Drive. 2. Select the USB 802.11AC Adapter from the listed options. Then select the operating system type to proceed. - Page 4 3. The installation wizard will open. Read through the license agreement and select “I accept the terms of the license agreement.” Click the Next button to continue. 4. Two installation options will be available: Install driver and WLAN Utility or Install driver only. This Quick Start Guide will cover the steps for installing the driver and WLAN Utility.
- Page 5 5. Click Install to begin installation. 6. Click Finish to complete and exit the installation wizard.
-
Page 6: Wireless Network Configuration
Wireless Network Configuration 1. After the installation is complete, insert the GWU635 Wireless AC600 Dual-Band USB Mini Adapter into an available USB port. 2. A new icon will appear in system tray your system tray after the installation of the wireless utility is completed. - Page 7 Connect to a Wireless Network 1. Double-click the wireless utility icon in the system tray to launch the Wireless LAN utility. 2. Click the Available Networks button to search and list the available wireless networks. Select the desired network and click the Add to Profile button.
- Page 8 3. Create a Profile Name and click the Right Arrow to continue. If the desired network requires a password to connect, select the authentication and encryption type from the drop down menus. Next, click the Right Arrow to enter the pre-shared network key.
- Page 9 Option 1: Push Button Configuration (PCB) Method: 1. Press and hold the WPS button on the side of the GWU635 adapter for 5 seconds or within the Wireless Utility on your PC, click Profile Settings, then select Add WPS profile.
- Page 10 2. Next, select the Push-Button option and click the Right Arrow to proceed. Click the Start PCB button to begin scanning for the WPS router / AP. 3. Next, press the physical WPS button on your wireless router / AP or open the configuration software for your wireless router / AP and select the WPS Client set-up option.
- Page 11 4. Allow the wireless adapter to configure to the security settings of your wireless router / AP. The WPS client screen will vary depending on router / AP. 5. Once complete, your computer will be connected to the wireless network and the Wireless Utility will display the network information associated with your wireless router / AP.
- Page 12 Option 2: PIN Input Configuration (PIN) Method: 1. Open the Wireless Utility on your computer and click Profile Settings. Click the Add WPS profile button. 2. Select the PIN option and choose the WPS wireless router / AP you wish to connect to from the drop down menu.
- Page 13 3. Select Type PIN in AP from the PIN entry Method drop down menu. The Pin Code box will have a pre-generated PIN that will be used to connect to the wireless adapter to the router /AP, keep this code for use in wireless router / AP software setup.
- Page 14 6. Allow the wireless adapter to configure to the security settings of your wireless router / AP. The WPS client setup screen will vary depending on your router / AP. 7. Once complete, your computer will be connected to the wireless network and the Wireless Utility will display the network information associated with your wireless router / AP.
-
Page 15: Compliance Information
Compliance Information FCC Statement This equipment has been tested and found to comply with the limits for a Class B digital device, pursuant to Part 15 of the FCC Rules. These limits are designed to provide reasonable protection against harmful interference in a residential setting. This product generates, uses, and can radiate radio frequency energy and, if not installed and used as directed, it may cause harmful interference to radio communications. -
Page 16: Limited Warranty
WE’RE HERE TO HELP YOU! NEED ASSISTANCE SETTING UP THIS PRODUCT? Make sure you: 1. Visit www.iogear.com for more product information 2. Visit www.iogear.com/support for live help and product support Warranty Information This product carries a 1 Year Limited Warranty.
Need help?
Do you have a question about the GWU635 and is the answer not in the manual?
Questions and answers