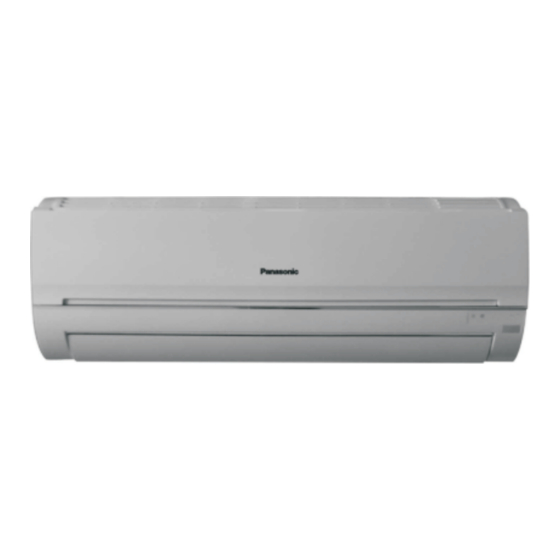
Panasonic CS-PW9GKX Service Manual
Hide thumbs
Also See for CS-PW9GKX:
- Operating instructions manual (10 pages) ,
- Operating instructions manual (41 pages)
Table of Contents
Advertisement
Advertisement
Table of Contents

Summary of Contents for Panasonic CS-PW9GKX
-
Page 32: Select The Best Location
CS-PW9GKE / CU-PW9GKE / CS-PW12GKE / CU-PW12GKE 9.2. INDOOR UNIT 9.2.1. SELECT THE BEST LOCATION 9.2.3. TO DRILL A HOLE IN THE WALL (Refer to "Select the best location" AND INSTALL A SLEEVE OF section) PIPING 9.2.2. HOW TO FIX INSTALLATION 1. - Page 33 P ull out the piping and drain hos e : C entre of the piping hole (left rear s ide of piping) Move the drain hos e near to arrow mark and tape it with piping in a pos ition as mentioned in F ig.
-
Page 35: Install The Outdoor Unit
9.3. OUTDOOR UNIT HOW TO TAKE OUT FRONT GRILLE 9.3.1. SELECT THE BEST LOCATI ON Please follow the steps below to take out front grille if (Refer to "Select the best location necessary such as when servicing. section") 1. Set the vertical airflow direction louver to the horizontal position. -
Page 36: Evacua Tion Of The Equipment (For Europe & Oceania Destination)
CUTTING AND FLARING THE PIPING 1. Please cut using pipe cutter and then remove the burrs. 2. Remove the burrs by using reamer. If burrs is not removed, gas leakage may be caused. Turn the piping end down to avoid the metal powder entering the pipe. - Page 37 CS-PW9GKE / CU-PW9GKE / CS-PW12GKE / CU-PW12GKE...
-
Page 39: Installation And Serving Air Conditioner Using R410A
CS-UW9GKE / CU-UW9GKE / CS-UW12GKE / CU-UW12GKE Installation and Serving Air Conditioner Using R410A 10.1. OUTLINE 10.1.1 About R410A Refrigerant 1. Converting air conditioners to R410A Since it was declared in1974 that chlorofluorocarbons (CFC), hydro chlorofluorocarbons (HCFC) and other substances pose a destructive danger to the ozone layer in the earth´s upper stratosphere (20 to 40 km above the earth), measures have been taken around the world to prevent this destruction. -
Page 40: Tool For Installing / Servicing Refrigerant Piping
d. R410A refrigerating machine oil Conventionally, mineral oil or a syntheti c oil suc h as alkylbenzen e has been used for R22 refrigerating ma chin e oil . Becaus e of the poo r compatibili ty betwe en R410 A and conve ntional oils l ike mineral oil, however, ther e is a tenden cy f or the refrigerat ing machine oil to collect in the refri gera ting cycle. -
Page 41: R410A Tools
10.2.2. R410A Tools 1. Cooper tube gauge for clearance adjustment (used when flaring with the conventional flaring tool (clutch type)) ı ı ı ı ˇ ı ˇ ı ˇ ı ˇ ı T his gauge makes it easy to set the clearance for the copper tube to 1.0-1.5 mm from the clamp bar of the flaring tool. - Page 42 5. Charging hose ı ı ı ı ˇ ı ˇ ı ˇ ı ˇ ı T he pressure resistance of the charging hose has been raised to match the higher pressure of R410A. The hose material has also been changed to suit HFC use, and the size of the fitting has been changed to match the manifold ports.
- Page 43 8. Electronic scale for refrigerant charging ı ı ı ı ˇ ı ˇ ı ˇ ı ˇ ı B ecause of the high pressure and fast vaporizing speed of R410A, the refrigerant cannot be held in a liquid phase inside the charging cylinder when charging is done using the charging cylinder method, causing bubbles to form in the measurement scale glass and making it difficult to see the reading.
-
Page 44: Refrigerant Piping Work
10.3. REFRIGERANT PIPING WORK 10.3.1. Piping Material s It is recommended that you use copper and copper alloy jointless pipes with a maximum oil adherence of 40 mg/10m. Do not used pipes that are crushed, deformed, or discolored (especially the inside surface). If these inferior pipes are used, impurities may clog the expansion valves or capillaries. - Page 45 Table 11 R410A flaring dimensions Nominal Outside Wall thickness A (mm) diameter diameter (mm) R410A flaring Conventional flaring tool (in) (mm) tool, clutch type Clutch type Wing-nut type 6.35 0 - 0.5 1.0 - 1.5 1.5 - 2.0 9.52 0 - 0.5 1.0 - 1.5 1.5 - 2.0 12.70...
-
Page 46: Installation, Transferring, Servicing
b. Copper pipes Use only copper pipes with the thickness given in table 10, and with minimal impurities. Because the surface of the pipe is exposed, you should take special care, and also take measures such as marking the pipes to make sure they are easily distinguished from other piping materials, to prevent mistaken use. -
Page 47: Transferring (Using New Refrigerant Piping)
10.4.2. Transferring (Using New Refrigerant Piping) 1. Removing the unit a. Collecting the refrigerant into the outdoor unit by pumping down The refrigerant can be collected into the outdoor unit (pumping down) by pressing the TEST RUN button, even when the temperature of the room is low. - Page 48 5. Set the refrigerant cylinder onto the electronic scale, then correct the hose the cylinder and to the connection port for the electronic scale. (1)(2) Precaution: Be sure to set up the cylinder for liquid charging. If you use a cylinder equipped with a siphon tube, you can charge the liquid without having to turn the cylinder around 6.
- Page 49 <Brazi ng Method for Preven ting Oxidat ion> 1. Attach a reducing valve to the nitrogen gas cylinder. 2. Attach a reducing valve to the nitrogen gas cylinder. 3. Apply a seal onto the clearance between the piping and inserted pipe for the nitrogen gas in order to prevent the nitrogen gas from flowing backward.


Need help?
Do you have a question about the CS-PW9GKX and is the answer not in the manual?
Questions and answers