Table of Contents
Advertisement
Quick Links
Advertisement
Table of Contents

Related Manuals for Qazqa 91342


Summary of Contents for Qazqa 91342
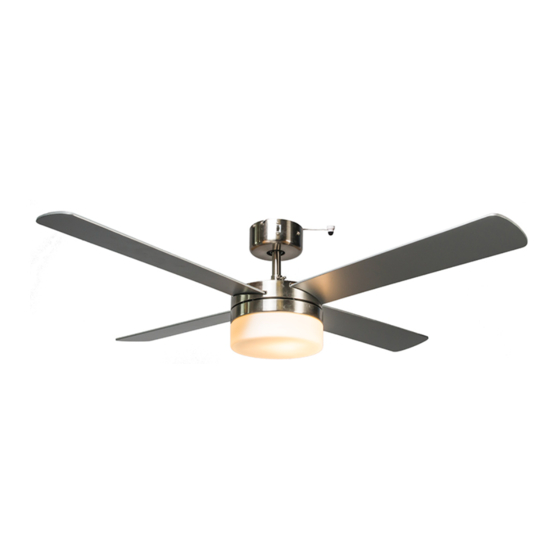
- Page 1 INSTRUCTION MANUAL Breeze Fan 48 Chrome/Breeze Fan 48 White 91342/91343...
-
Page 2: Warning Symbols
1. Warning symbols ead the instructions aution 2. General Safety Instructions ead this instruction manual thoroughly before using the appliance and save it for future reference and if necessary pass the instruction manual on to a third party. WARNING: W hen using electrical appliance, basic safety precautions should always be followed to reduce the risk of fire, electrical shock and personal injury. - Page 3 1) General efore carrying out any work on the fan, disconnect it from the electrical supply! heck if the electrical specifications of this appliance are compatible with your installation. The suppler accepts no responsibility for any physical injury or material damage resulting from incorrect use or installation of this fan.
-
Page 4: Electrical Safety
Electrical safety he appliance should be installed by authorized electrician only acc. to national wiring rules. Specific Safety Rules he fan is to be installed so that the blades are more than 2.3 m above the floor Environmental protection CAUTION! lectrical products must not be thrown out with domestic waste. - Page 5 6. The ceiling fan (element) PARTS DESCRIPTION 1. MOUNTING BRACKET 2. SCREWS 3. SCREWS 4. TERMINAL BLOCK 5. REMOTE CONTROL 6. MALE AND FEMALE PLUS 7. HANGER BALL 8. UPPER CANOPY 9. DOWNROD 10. SCREW 11. UPPER CANOPYCOVER 12. SCREWS 13.
- Page 6 7. Installation of the ceiling fan 1. Install the mounting Bracket by screw (Fig.1) 2. Insert downrod over upper canopy (Fig 2 3) 3. Then, insert the cross pin over yoke and Cotter pin(Fig4) 4. Remove the 2 screws from the rectangular cover on the motor housing and remove the plate,insert the blades through the slots around the motor.
- Page 7 7. Make sure the wiring correct, if you are not sure, pls consult qualified electrician (Fig.8) Black +Brown wire “L” Blue wire “N” Green & yellow wire 8. The connect the female and male plus #1 to #1 #2 to #2(Fig 9) 9.
- Page 8 14. Now, the fan is completed (Fig 14) If the fan or light kit is PARTIALLY pre-assembled, you can skip the assembly procedures to next step...
-
Page 9: How To Use
8. How to use ne pull chain switch is for light control, another one for speed control he speed can be selected by pressing the speed key on remote control ight on off can be controlled by remote irection switch on the fan ‘s switch box(SUMMER and WINTER switch) own for summer make the air movement directly from ceiling p for winter, to circulate the warm air generated by heater to floor 9. -
Page 10: Troubleshooting
11.Trouble shooting TROUBLE PROBABLE CAUSES SUGGESTED REMEDY 1. Fan will not start A/ Fuse or circuit breaker blown. A/ Check main and branch circuit B/ Loose power line connections fuses or circuit breakers. to the fan. B/ Check line wire connections to fan C/ Speed controller not in correct C/ Check speed controller’s position. - Page 11 PREFACE our ceiling fan may sometimes have wobble problem when operate due to irregularity in blades or the blade holder. Also, improper assembly in the mounting system may cause some additional problem also bearing crooked. The following procedure to remedy such problem is strongly recommended by us from our past experience in handling the wobble problem.
- Page 12 his appliance can be used by children aged from 8 years and above if they have been given supervision or instruction concerning use of the appliance in a safe way and if they understand the hazards involved. Cleaning and user maintenance shall not be made by children unless they are older than 8 and supervised.
Need help?
Do you have a question about the 91342 and is the answer not in the manual?
Questions and answers