
Related Manuals for HAMPTON BAY Clarkston


Summary of Contents for HAMPTON BAY Clarkston
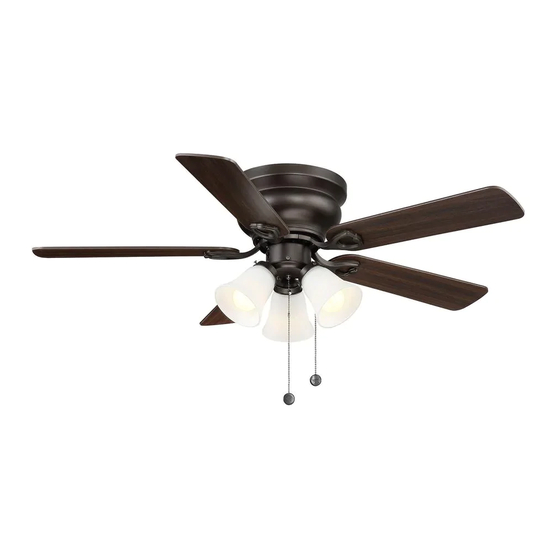
- Page 1 822 744 Clarkston in Ceiling Fan Owner’s Manual Clarkston Ventilador de Techo de 1.12m Manual del Propietario...
- Page 3 Hampton Bay Lifetime Limited Warranty The retailer warrants the fan motor to be free from defects in workmanship and Date purchased material present at time of shipment from the factory for a lifetime after the date of purchase by the original purchaser. The retailer also warrants that all other fan...
-
Page 4: Table Of Contents
Safety Rules Unpacking Your Fan Installing Your Fan Hanging the Fan Making the Electrical connections Finishing the Installation Attaching the Fan Blades Installing the Light Kit Operating Your Fan Troubleshooting Specifications Table of Contents... -
Page 5: Safety Rules 1
1.To reduce the risk of electric shock, ensure electricity has been turned off 7. Do not operate reversing switch while fan blades are in motion. Fan must be turned off and blades stopped before reversing blade at the circuit breaker or fuse box before beginning. direction. -
Page 6: Unpacking Your Fan
Unpack your fan and check the contents. You should have the following items: Set of blades (5) (MDF blades) 6. Glass shade (3) 10. Loose parts bag containing: 2. Mounting bracket (1) 7. 40 Watt A15C bulbs (3) a . Blade attachment hardware ( 16 screws 3. -
Page 7: Installing Your Fan 3
Tools Required Ce iling Joist Pa rallel Or Cr oss Br ace Wood Br ace Phillips screwdriver; slotted screw driver; Cr oss Br ace stepladder; wire cutters; electrical tape. Mounting Options If there isn't an existing mounting box, then Ou tlet Bo x read the following instructions. -
Page 8: Hanging The Fan
Secure wire connection with the plastic wire nuts provided. Step 3. Figures 7 and 8 illustrate the wiring connections for optional wall control (available at your Hampton Bay Retailer, the wire color out of wall control’ s installation manual for correct wire connections). Motor... - Page 9 SUPPLY CIRCUIT SUPPLY CIRCUIT SUPPLY CIRCUIT Ground Ground Conductor Conductor Light Outlet Box Outlet Box Outlet Box Green Light Switch Ground Green Green Lead Ground Ground Lead Lead Ground to Ground to Ground to Downrod Downrod Downrod WHITE BLUE WHITE BLUE BLUE BLACK...
-
Page 10: Finishing The Installation
6.Finishing the Installation 7.Blade Installation Step 1. Remove motor assembly from "J" hook and lift Step 1. Attach the fan blades to the blade motor assembly to mounting plate. Align slotted holes on plate at top of motor assembly with loosened motor holders using the screws and rubber washer assembly mounting screws in mounting plate. -
Page 11: Installing The Light Kit
8.Installing the Light Kit NOTE: Before starting installation, disconnect the power by turning off the circuit breaker or removing the fuse at Housing Housing fuse box. Step 1. D isassemble the switch house cover by removing 3 screws on switch house. (Figure 12) Switch House Switch House Step 2. -
Page 12: Operating Your Fan
Here are some suggestions to help you NOTE maintain your fan: WAIT FOR FAN TO STOP BEFORE 1. Because of the fan's natural movement, CHANGING THE SETTING OF THE SLIDE some connections may become loose. Check SWITCH. the support connections, brackets, and blade attachments twice a year. -
Page 13: Troubleshooting 10
Problem Solution Fan will not start. 1. Check circuit fuses or breakers. 2. Check line wire connections to the fan and switch wire connections in the switch housing. CAUTION: Make sure main power is off. Fan sounds noisy. 1. Make sure all motor housing screws are snug. 2. -
Page 14: Specifications
0.22 14.7 1710.64 7.15 0.31 29.2 2549.29 1.39 High 3241.30 48.4 11. Specifications...
Need help?
Do you have a question about the Clarkston and is the answer not in the manual?
Questions and answers