Table of Contents
Advertisement
Quick Links
This book is valuable. In addition to instructing you on how to install and maintain your appliance, it also contains information that
will enable you to obtain replacement parts or accessory items when needed. Keep it with your other important papers.
WARNING: ALWAYS LEAVE GLASS DOORS
FULLY OPENED OR FULLY CLOSED WHEN
OPERATING THIS FIREPLACE.
This fireplace is approved for use as a wood burning fireplace or for use with a vented gas log approved to ANS Z21.60, Z21.84 or
RGA 2-72 standards or for use with a vent-free gas log heater approved to ANS Z21.11.2 standard. A vent-free log can only be
installed in an aftermarket (completion of sale, not for purpose of resale from the manufacturer), permanently located, manufactured
(mobile) home, where not prohibited by local codes. A DESA hood must be installed when using a vent-free gas log heater (see
Accessories, p. 11)
DESA INTERNATIONAL
2701 INDUSTRIAL DRIVE
P.O. BOX 90024
BOWLING GREEN, KY 42102-9004
www.desatech.com
Includes: Manual Variable Control Fan System, Combustion
INSTALLATION INSTRUCTIONS
SAVE THIS BOOK
This firebox meets the construction and safety standards of H.U.D. for
application in mobile homes when installed according to these instructions.
36" Circulating Louvered Firebox
Air Kit and Bi-Fold Doors with Brushed Brass finish
ALL DIMENSIONS IN THIS MANUAL ARE IN
INCHES UNLESS OTHERWISE SPECIFIED
36MWL
P/N 106626-01
REV C
6/01
Advertisement
Table of Contents

Related Manuals for Coleman 36MWL


Summary of Contents for Coleman 36MWL
-
Page 1: Installation Instructions
36MWL 36” Circulating Louvered Firebox Includes: Manual Variable Control Fan System, Combustion Air Kit and Bi-Fold Doors with Brushed Brass finish INSTALLATION INSTRUCTIONS SAVE THIS BOOK This book is valuable. In addition to instructing you on how to install and maintain your appliance, it also contains information that will enable you to obtain replacement parts or accessory items when needed. -
Page 2: Table Of Contents
CONTENTS INTRODUCTION --------------------------------------------------------------------------------- PG. 2 SELECTING LOCATION --------------------------------------------------------------------------------- PG. 2 3. MINIMUM CLEARANCES --------------------------------------------------------------------------------- PG. 2 4. FRAMING AND INSTALLING --------------------------------------------------------------------------------- PG. 3 5. HEARTH EXTENSION --------------------------------------------------------------------------------- PG. 3 6. OUTSIDE AIR KIT INSTALLATION --------------------------------------------------------------------------------- PG. 4 7. FAN KIT ASSEMBLY --------------------------------------------------------------------------------- PG. -
Page 3: Introduction
INTRODUCTION 4. An outside air kit is included with this fireplace. For Model 36MWL is specifically designed for use in more details refer to section on outside air kit installation manufactured mobile homes. This fireplace includes a manual on page 4. -
Page 4: Framing And Installing
FRAMING AND INSTALLING THE FIREPLACE HEARTH EXTENSION: STEP 1: Frame the opening for the fireplace using the A hearth extension projecting a minimum of 16” in front of dimensions shown in figure 1 or 2. and a minimum of 8” beyond each side of the fireplace STEP 2: If the fireplace is to be installed directly on carpeting, opening is required to protect combustible floor construction tile (other than ceramic), or any combustible material other... -
Page 5: Outside Air Kit Installation
OUTSIDE AIR KIT (MODEL AK-6) CHIMNEY PIPE The installation of an outside air kit should be installed during The DESA chimney system consists of 12, 18, 24, 36 and 48 the rough framing of the fireplace due to the nature of its inch, snap-lock double-wall pipe segments, planned for location. - Page 6 ADJUSTABLE FIRESTOP THIMBLE (FST-A): If the adapter is needed, secure it onto the firestop using holes The Adjustable Firestop Thimble Assembly (FST-A) is used provided (see figure 10). The row of holes on the sides of the to provide the necessary air space and clearance between the thimble is provided to allow for pitch variances.
-
Page 7: Terminations
FLASHING INSTALLATION: (V6F-8DM or V12F-8DM) approved for this fireplace are the RT-8DM and RTL-8DM. Determine the flashing to be used with the roof-opening chart. Figure 18 shows an RTL-8DM round top termination. Slide flashing over pipe until base is flat against roof. Replace IMPORTANT: Terminations are required but can be installed as many shingles as needed to cover exposed area and flashing once the manufactured house is sited. -
Page 8: Finishing Your Fireplace
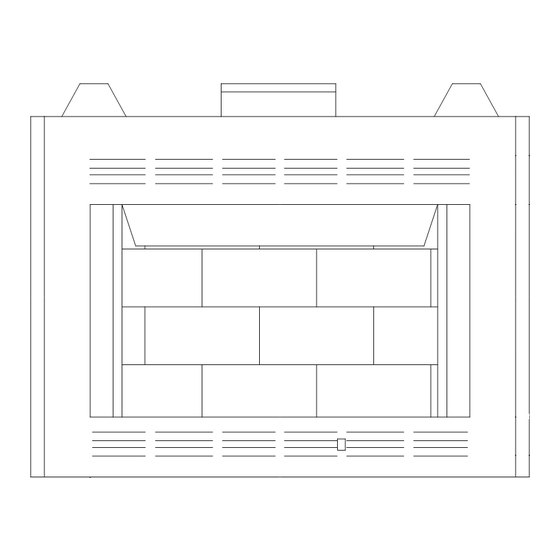
GLASS DOORS be placed within 9 inches of the fireplace opening (and within Glass doors are standard with the 36MWL fireplace. When the 6 inches of the top louver opening). Combustible materials fireplace is in operation doors must be in the FULLY OPEN... -
Page 9: Gas Line Installations
CLEANING THE GLASS: Clean the glass with any CAUTION: All gas piping and connections must be tested commercial glass cleaner or soap and water. DO NOT for leaks after the installation is completed. After ensuring use any abrasive material to clean the glass. DO NOT that the gas valve is on, apply a commercial leak detection clean the glass with any cool water if the glass is still hot solution to all connections and joints. -
Page 10: Chimney Offset
FIRESTOP SPACERS: (V3600FS-8DM) 3. Maximum length of pipe between supports (return elbow or 12S-8DM) is 6’ of angled run. Maximum of two (2) 6’ Firestop spacers are required at each point where the chimney angled run sections per chimney system (see figure 24). penetrates a floor space. -
Page 11: Damper Operation
DAMPER OPERATION: The damper handle to open and close the damper blade is WARNING: Risk of fire! Replace grate with DESA located inside the firebox at the center towards the back wall. model 107001-01 grate only. This grate has been designed Pushing the handle back in the keyway slot will free the to keep the operation of your fireplace safe and efficient. -
Page 12: Replacement Parts And Accesories
REPLACEMENT PARTS ACCESSORY PARTS VENT KIT PART NUMBER SEE BELOW VENT KITS - USE FOR MOST COMMON MANUFACTURED (MOBILE) HOME INSTALLATIONS CONTENTS CPMH-A/AC CPMH-A/ACA CPMH-A/ACB 8' vent kit 9' vent kit 9' vent kit 36-8DM 36" Double Wall Pipe 24-8DM 24" Double Wall Pipe 18-8DM 18"...
Need help?
Do you have a question about the 36MWL and is the answer not in the manual?
Questions and answers