
Subscribe to Our Youtube Channel
Related Manuals for Lindy 51127


Summary of Contents for Lindy 51127
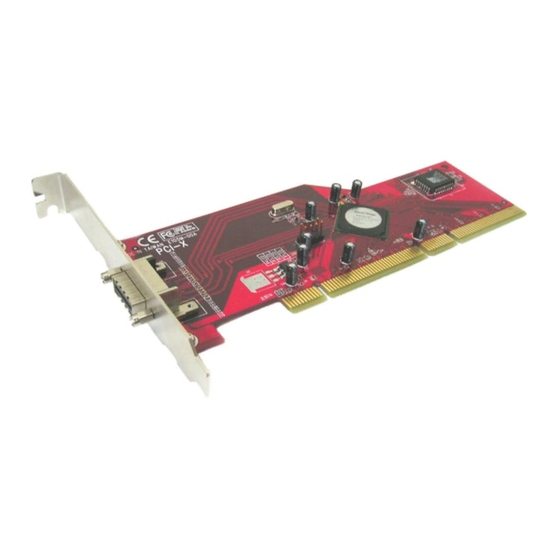
- Page 1 4Port Raid5 SATAII-3Gbps Multilane PCI-X Card User Manual English LINDY No. 51127 www.LINDY.com © LINDY ELECTRONICS LIMITED & LINDY-ELEKTRONIK GMBH - FIRST EDITION (June 2006)
-
Page 2: Important Message
Important Message: 1. Before controller card installation, we recommend to study the PDF file of SATA Raid5 manual at enclosed CD folder \ Raid5 SATA2_4Port \ SiI3124 \ Windows \ Gui first. This Raid manual has more information on Raid architecture, Raid features, Raid installation, Raid setting and Management software for Raid5 GUI (Graphical User Interface). -
Page 3: Package Contents
3Gbps. It comes completely with drivers for Windows 2000, Windows XP, Windows 2003. RAID, Redundant Array of Independent Disks, greatly enhances two main areas of data storage: performance and data integrity. By using RAID 0, also known as Striping, performance of sustained data transfer rates is greatly enhanced by simultaneously writing data to 2, 3 or 4 drives. -
Page 4: What Is Raid
This Users Manual Driver CD 2. What Is RAID RAID - Redundant Array of Independent Disks RAID technology manages multiple disk drives to enhance I/O performance and provide redundancy in order to withstand the failure of any individual member, without loss of data. -
Page 5: Bios Installation ( Raid Setting )
illustrates how the parity is rotated from disk to disk. Parity RAID uses less capacity for protection and is the preferred method to reduce the cost per megabyte for larger installations. Mirroring requires 100% increase in capacity to protect the data whereas the above example only requires a 50% increase. The required capacity decreases as the number of disks in the group increases. - Page 6 2. Select Create RAID set. Press Enter. 3. Select RAID 1 then press Enter. 4. Select Auto configuration. Press Enter. 5. Press Y to save your settings. 6. Press CTRL+E and then press Y to exit the setup. 7. Continue with conventional Fdisk and Format steps as if you are installing a conventional hard drive.
-
Page 7: Creating Spare Drive
2. Select Create RAID set. Press Enter. 3. Select JBOD (Single) then press Enter. 4. Select JBOD Drives. Press Enter. 5. Select RAID size. Press Enter. 6. Press Y to save your settings. 3.6. Creating Spare Drive 1. As the BIOS boots, Press CTRL+S or F4 to enter the raid bios utility. 2. -
Page 8: Software Installation
replacement disk was previously part of a RAID set (or used in another system), it may have conflicting metadata, specifically in reference to the drive connection information. If so, this will prohibit the RAID set from being either created or rebuilt, In order for the RAID set to function properly, this old metadata must be first overwritten with the new metadata. - Page 9 3. Select 'Search for a suitable driver for my device (Recommended)' and Click 'Next'. 4. Insert the Driver CD in your CD-ROM/DVD drive, check Specify a location, uncheck the other boxes, click Next, type in E:\ (If your CD-ROM/DVD is E:\). Click Browse. 5.
- Page 10 This device complies with Part 15 of the FCC Rules. Operation is subject to the following two conditions: (1) this device may not cause harmful interference, and (2) this device must accept any interference received, including interference that may cause undesired operations.
Need help?
Do you have a question about the 51127 and is the answer not in the manual?
Questions and answers