Extech Instruments ExStik EC500 User Manual
Ph/conductivity / tds / salinity / temperature
meter
Hide thumbs
Also See for ExStik EC500:
- User manual (15 pages) ,
- User manual (15 pages) ,
- User manual (14 pages)

Related Manuals for Extech Instruments ExStik EC500


Summary of Contents for Extech Instruments ExStik EC500
- Page 1 User's Guide ExStik ® EC500 pH/Conductivity / TDS / Salinity / Temperature Meter EC500...
-
Page 2: Getting Started
Introduction ® Congratulations on your purchase of the ExStik EC500 pH/Conductivity/Total Dissolved Solids (TDS) / Salinity meter. With the EC500’s dynamic cell-constant technology it is possible to measure a wide range of Conductivity, TDS, and Salinity with the same electrode. Careful use and maintenance will provide years of reliable service. Powering the ExStik™... -
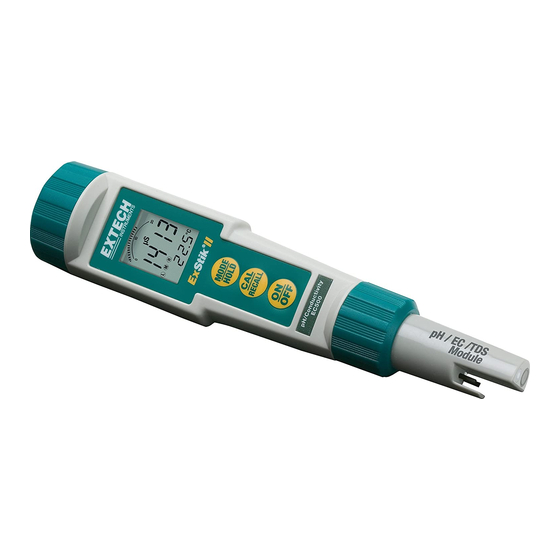
Page 3: Meter Description
Meter Description Front Panel Description 1. Battery compartment cover 2. LCD Display 3. MODE/HOLD button 4. CAL/RECALL button 5. ON/OFF button 6. Electrode Collar 7. pH/Conductivity Electrode (Note: The Electrode cap is not shown) EC500 LCD Display 1. Bargraph display 2. -
Page 4: Measurement Procedure
Measurement Procedure Conductivity Sample Preparation: Salinity For Conductivity, TDS or Salinity place the test sample in a sample cup with enough depth (2.5cm minimum) to cover the electrode. Stir the solution to remove any air bubbles. For pH, place the tip of the electrode in the sample or make contact with a wet surface. -
Page 5: Storing Readings
Changing Measurement Function The meter can be set to measure pH, Conductivity, TDS or Salinity. To change the mode: 1. Press and Hold the MODE/HOLD button for 2 seconds and the display will begin to scroll through the units. µS (Conductivity); pH; ppm S (Salinity); ppm (TDS); mg/l (TDS); Note: The “HOLD”... -
Page 6: Data Hold Mode
Recalling Stored Readings 1. Press the CAL/RECALL button and then press the MODE/HOLD button. A location number (1 through 25) will briefly appear and then the value stored in that location will appear. The displayed units will flash, indicating that the storage recall mode is active. 19.5 °... - Page 7 Calibration - pH (1, 2, or 3 points) Place the electrode into a buffer solution (4, 7, or 10). Press and hold the CAL/RECALL key until “CAL” appears in the lower (temp.) display. When doing a 2 or 3 point calibration, calibrate with pH 7 buffer first, then follow with pH 4 then the pH 10 buffer.
- Page 8 Calibration - Conductivity Meter accuracy verification should be performed on a periodic basis. Once per month is the recommended cycle for normal use. If calibration is required, a conductivity standardizing solution must be obtained. The meter can be calibrated in any or all of the three ranges.
-
Page 9: Operational Matrix
Operational Matrix Function / Power Mode Required Key Press Sequence Resulting Action Status Setting On/Off On or Off Momentary press of the ON/OFF key Calibration pH or Press & hold CAL/RECALL key for 2 Conductivity seconds, until it enters CAL function Store Reading Any measure Momentary press of the... -
Page 10: Specifications
Specifications Display 2000 count LCD with Bargraph pH Range 0.00 to 14.00 pH Accuracy ±0.01 pH typical pH ATC Range 0°C to 90 C (32°F to 194 pH Reference Junction Permanent gel, non-refillable Conductivity ranges 0 to 199.9µS/cm 200 to 1999µS/cm 2.00 to 19.99mS/cm TDS ranges 0 to 99.9ppm or mg/L... -
Page 11: Maintenance
Maintenance Battery Replacement Twist off the battery compartment cap Holding the battery housing in place with a finger, pull out the battery carrier using the two small tabs. Replace the four (4) CR2032 batteries observing polarity. Replace the battery compartment cap You, as the end user, are legally bound (EU Battery ordinance) to return all used batteries, disposal in the household garbage is prohibited! You can hand over your used batteries / accumulators at collection points in your... -
Page 12: Cleaning Recommendations
Cleaning Recommendations When cleaning the probe, take care not to scratch or damage the sensing surface or the platinized electrode surfaces. Contaminant Cleaning Solution Instructions Water soluble substances Deionized water Soak or scrub with a soft brush. Recondition in 4 or 7 buffer for 1 hour. - Page 13 Perform hard reboot: key presses Remove batteries, hold ON/OFF switch down for 5 seconds, replace batteries Copyright © 2011 Extech Instruments Corporation (a FLIR company) All rights reserved including the right of reproduction in whole or in part in any form. EC500-EU-EN-V2.4-2/11...
Need help?
Do you have a question about the ExStik EC500 and is the answer not in the manual?
Questions and answers