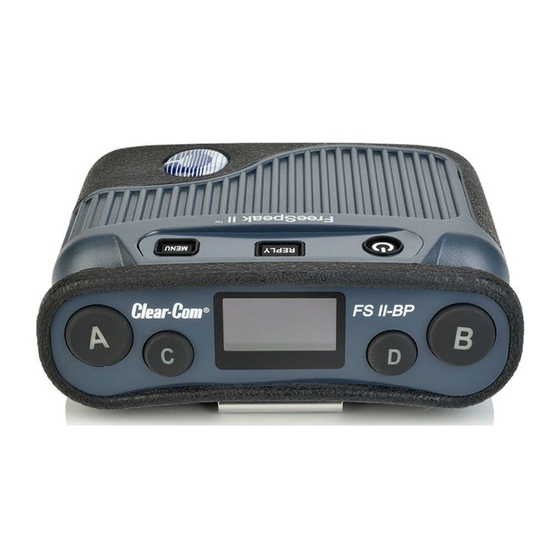
Clear-Com FreeSpeak II Quick Start Manual
Transceiver/antenna
Hide thumbs
Also See for FreeSpeak II:
- User manual (143 pages) ,
- Quick start manual (5 pages) ,
- User manual (111 pages)
Advertisement
FreeSpeak II™
Quick Start Guide for the transceiver/antenna
A FreeSpeak II (FS II) transceiver/antenna (FSII-TCVR-19) forms the transmission link between the FS II
beltpacks and the FS II Base station. You can use multiple units to create larger, customized coverage areas. It
communicates with the following components:
• The FSII Base station, either directly or via a PD2203 splitter
• An Eclipse HX matrix via the Eclipse E-Que card rear panel
For more information about the system see the FreeSpeak II User Guide.
Note:
1.
Installing the transceiver/antenna
The unit has two methods of fixing:
• Three screw points for mounting on a flat surface.
• Two microphone stand connectors, 3/8 in and 5/8 in.
Microphone stand
connectors (3/8
and 5/8 inch)
2.
Connecting the transceiver/antenna
1)
Connect the base/matrix connector to a Base
station or splitter using Ethernet shielded
cable (CAT5/5e/6).
Note:
You can also connect the antenna to
an Eclipse HX matrix. For more information,
see the Eclipse HX documentation.
2)
Ensure that the power supply is connected to
the DC power connector. A green LED
indicates that power is present.
3)
Ensure that the amber status LED is lit and is
not flashing.
The transceiver/antenna is now ready to use.
1
399G109 Rev B 09/04/14
Mounting
holes
Mounting
holes
Base/matrix
connector
USB connector
Mounting
holes
DC power
Status LEDs
connector
Mode button
(future use)
Advertisement
Table of Contents

Summary of Contents for Clear-Com FreeSpeak II
- Page 1 Quick Start Guide for the transceiver/antenna A FreeSpeak II (FS II) transceiver/antenna (FSII-TCVR-19) forms the transmission link between the FS II beltpacks and the FS II Base station. You can use multiple units to create larger, customized coverage areas. It communicates with the following components: •...
- Page 2 Going between a larger area and a corridor via a door, especially a heavy or shielded one, or where the walls are thick, place a second antenna in the corridor near the doorway to assure continuous coverage. Copyright © 2014 HME Clear-Com Ltd. All rights reserved. 399G109 Rev B 09/04/14...


Need help?
Do you have a question about the FreeSpeak II and is the answer not in the manual?
Questions and answers