Table of Contents
Advertisement
A3 Pramette Cover
21/7/06
14:39
Page 1
instructions
RESISTANT
Filling material(s) and
covering fabric(s) meet the
requirements for resistance to
cigarette and match ignition in
the 1988 safety regulations.
CARELESSNESS
CAUSES FIRE
A3 pramette pushchair
www.mamasandpapas.com
IMPORTANT: KEEP FOR FUTURE REFERENCE
Mamas & Papas
Colne Bridge Road
Huddersfield HD5 0RH
customer care helpline: 0870 8307700
customer care e-mail: customer.care@mamasandpapas.co.uk
Advertisement
Table of Contents

Related Manuals for Mamas & Papas A3 pramette pusgchair


Summary of Contents for Mamas & Papas A3 pramette pusgchair
- Page 1 A3 Pramette Cover 21/7/06 14:39 Page 1 instructions RESISTANT Filling material(s) and covering fabric(s) meet the requirements for resistance to cigarette and match ignition in the 1988 safety regulations. CARELESSNESS CAUSES FIRE A3 pramette pushchair www.mamasandpapas.com IMPORTANT: KEEP FOR FUTURE REFERENCE Mamas &...
-
Page 2: Table Of Contents
A3 PRAMETTE PUSHCHAIR Dear Customer, Thank you for choosing the Mamas & Papas A3 Pramette Pushchair. The stylish lightweight A3 Pushchair is ideal when travelling by car, public transport or on holiday. The Mamas & Papas Primo Viaggio Car Seat and a compatible carrycot can also be attached to the pushchair using the Surefix ‘right first time’... -
Page 3: Product Information
PRODUCT INFORMATION INSTRUCTIONS FOR SAFE USE • WARNING: A CHILD’S SAFETY IS YOUR RESPONSIBILITY. This pushchair has been designed and tested to comply with the latest British and European safety standards. • NEVER LEAVE YOUR CHILD UNATTENDED AT ANY TIME. •... -
Page 4: Features
FEATURES OPENING THE PUSHCHAIR FROM THE BOX Twist grip Backrest secondary Remove the two protective lock caps from the ends of the handle frame. Primary Never attempt to use the frame pushchair with the protective lock caps fitted as the locks will not engage. -
Page 5: Attaching The Wheels
ATTACHING THE WHEELS FITTING THE BUMPER BAR Remove the caps in the ends of the armrests by pushing Attaching the front wheels: the button on the underside Ensure the swivel wheel lock of the armrest upwards. is in the down position. Slot With the button still pushed the two front wheels onto the in, slide the cap out of the... -
Page 6: Fitting & Removing The Basket
FITTING AND REMOVING THE BASKET ADJUSTING THE BACKREST Before fitting the basket you will need to remove the basket frame from the pushchair. Lowering the backrest: Press the two buttons located Pull the backrest adjustment on the inside of the basket handle upwards and lower the frame at the rear of the backrest into the position you... -
Page 7: Operating The Adjustable Leg Rest
OPERATING THE ADJUSTABLE LEG REST OPERATING THE SWIVEL WHEELS The leg rest on the front of the pushchair can be adjusted for the comfort of your child and so that a compatible carrycot can be attached. The front wheels on the pushchair can be used in either Note: The leg rest must be in the fixed or swivel mode. -
Page 8: Operating The Brakes
OPERATING THE BRAKES ATTACHING THE HOOD Clip the hood brackets onto the frame. Engaging the brakes: Press down on both ends of the brake bar with your toes. Check the brakes are correctly engaged by rocking the pushchair backwards and Fasten the two press studs on forwards. -
Page 9: Opening & Removing The Bumper Bar
OPENING & REMOVING THE BUMPER BAR USING THE HARNESS TIDY You will find a tab on the Opening the bumper bar: adjustment yoke at the back As your child gets older, you of the harness where the may wish to open one side of shoulder straps join the waist the bumper bar in order to strap. -
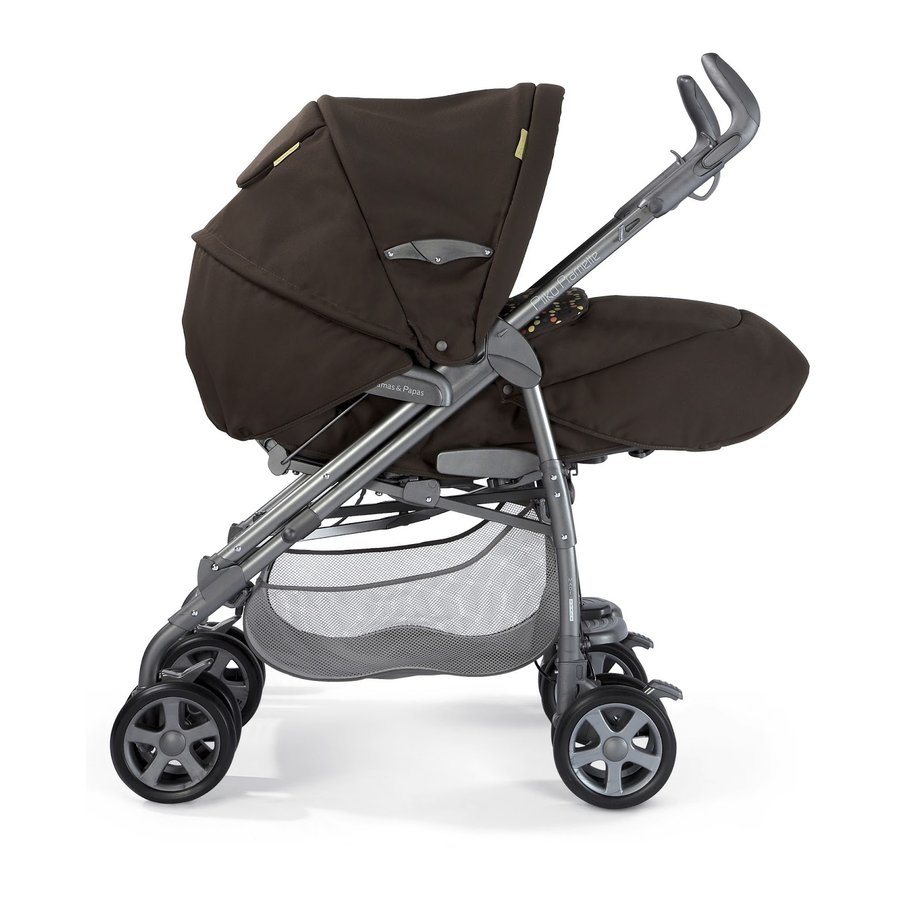
Page 10: Using The Pushchair As A Pram
USING THE PUSHCHAIR AS A PRAM USING THE PUSHCHAIR AS A PRAM The pushchair can be converted into a pram for children from birth until the child can sit up by itself or Lower the backrest into the until it reaches a weight of lowest position, see page 9. -
Page 11: Using The Cup Holders
USING THE CUP HOLDERS FOLDING THE PUSHCHAIR Note: The pushchair can be folded when you are using it as pram. Grip the handlebar and pull the catch on the primary Opening the cup holders: frame lock upwards to The pushchair is fitted with disengage it. -
Page 12: Opening The Pushchair
OPENING THE PUSHCHAIR SPECIAL FEATURE Not all models of the A3 Pushchair are supplied with or use this special feature. For more information please consult your retailer. FITTING A FOOTMUFF OR SEAT PAD Grip the handlebar and pull the catch on the primary Shoulder frame lock upwards to straps... -
Page 13: Attaching The Apron
ATTACHING THE APRON FITTING THE PRIMO VIAGGIO CAR SEAT Apply the brakes. Recline the backrest to its lowest setting (see page 9), then raise it up one position. Lock the bumper bar in the outer position, see page 7. In the corners of the seat where the backrest joins the seat base, there are two fabric flaps. -
Page 14: Removing The Primo Viaggio Car Seat
REMOVING THE PRIMO VIAGGIO CAR SEAT FITTING A COMPATIBLE CARRYCOT Note: Always apply the Apply the brakes. brakes on the pushchair Recline the backrest to its before removing the car seat. lowest position (see page 9). Remove the bumper bar, see Pull the lever located on the page 14. -
Page 15: Removing A Compatible Carrycot
REMOVING A COMPATIBLE CARRYCOT ATTACHING THE COPERTO RAINCOVER TO THE PUSHCHAIR Note: Always apply the brakes on the pushchair before removing the carrycot. Grip the centre of the carrying handle with one hand. Zip the hood and raincover together. Support the With the other hand, slide the locking handle (positioned on raincover whilst zipping it to... -
Page 16: Using The Coperto Raincover
USING THE COPERTO RAINCOVER WITH THE PUSHCHAIR ATTACHING THE COPERTO RAINCOVER TO THE PRAMETTE Opening the front of the raincover: Zip the hood and raincover The top of the raincover together. Support the should be unzipped from the raincover whilst zipping it to hood and folded onto the the hood. -
Page 17: Using The Coperto Raincover With The Pramette
USING THE COPERTO RAINCOVER WITH THE PRAMETTE REMOVING THE FABRIC COVER Press stud Opening the front of the raincover: The top of the raincover should be unzipped from the Disengage the front studs on the Unfasten the two press studs on the hood and folded onto the armrest covers by sliding them sides of the backrest and the two... -
Page 18: Care & Maintenance
CARE AND MAINTENANCE Your pushchair deserves careful handling and requires regular maintenance • Regularly check that the safety harness is correctly fitted and that the webbing has not become frayed or damaged. If the harness is damaged, we recommend that a new one is fitted.
Need help?
Do you have a question about the A3 pramette pusgchair and is the answer not in the manual?
Questions and answers