FoodSaver FM2100 series Owner's Manual
Hide thumbs
Also See for FM2100 series:
- Owner's manual (46 pages) ,
- Quick start manual (3 pages) ,
- User manual
Table of Contents
Advertisement
Advertisement
Table of Contents
Troubleshooting

Related Manuals for FoodSaver FM2100 series


Summary of Contents for FoodSaver FM2100 series
- Page 1 Owner’s Manual FM2100 Models...
- Page 2 www.FoodSaver.com...
-
Page 3: Product Features
..Product Features ..“How To” Section ..How To Make A Bag From A FoodSaver Roll ® How To Vacuum Seal with Your FoodSaver Appliance ®... -
Page 4: Important Safeguards
Perishables still need to be ® refrigerated or frozen. 1. Read the User Manual carefully for operating 2. For best results, use only with FoodSaver Bags, ® instructions. Read all instructions in this manual Rolls, Containers and Accessories. - Page 5 System has helped millions of households keep food fresh longer in the refrigerator, After registering your product, you’ll have freezer and pantry. The FoodSaver system ® exclusive access to special sale items for is designed to remove air and extend freshness up to five times longer than online registrants only.
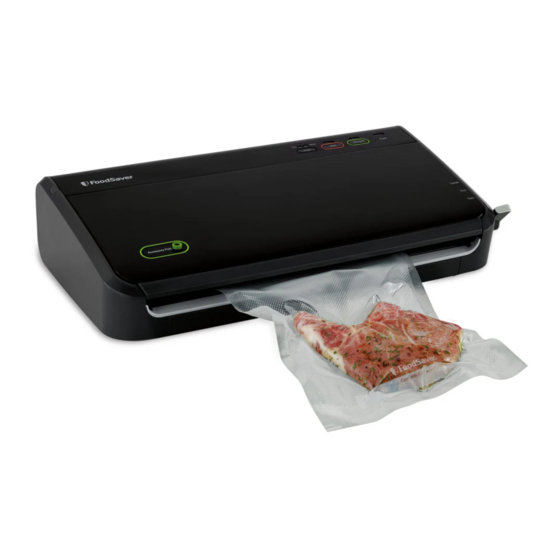
- Page 6 FoodSaver ® FM2100 Models G. Handheld A. Dry/Moist Food Settings B. Seal Button C. Vac/Seal Button D. Power On/Off Storage Clip Port E. Easy Lock Latch: Operate Adjust Back to Operate Store Adjust Center to Store Open Adjust Forward F. Accessory Port†...
- Page 7 Moist Indicator Light is illuminated. Choose the Dry Food Setting for foods without liquid. Seal Button T his button has three uses: 1. Press to create a seal when making bags from a FoodSaver Roll. ® 2. Press to immediately stop the vacuum process and begin sealing the bag. This prevents crushing delicate items such as bread, cookies and pastries.
- Page 8 How to... 1. make a Bag from a FoodSaver roll ® 1. Using scissors, cut enough bag material from roll to hold item, plus 3 inches. Be sure to cut straight. 2. Move Easy Lock Latch to the open position. Open appliance lid.
- Page 9 5. When Seal Indicator Light turns off, turn Latch to Store OPEN position, lift lid and remove bag. Refrigerate Open or freeze if needed. (See FoodSaver Storage Guide, ® page 18, for safe food storage tips.) NOTE: Let appliance cool down for 20 seconds after each use.
- Page 10 OPERATE position 6. To test vacuum, simply tug on accessory lid. It should not move. NOTE: For important tips on using accessories with different foods, please refer to the FoodSaver ® Storage Guide on pages 18-19. Press Vacuum & Seal Button 4.
- Page 11 5. open FoodSaver accessories after Sealing ® FoodSaver Vacuum Sealing Canisters ® (without large knob on lid) To release vacuum and open, push gray rubber button on lid. FoodSaver Bulk Canisters and Quick Marinators ® (with large knob on lid) and Universal Lids To release vacuum and open, turn knob on lid to Open.
- Page 12 IMPORTANT: Vacuum sealing is NOT a substitute for refrigeration or freezing. Any perishable foods that require refrigeration must still be refrigerated or frozen after vacuum sealing. www.FoodSaver.com...
- Page 13 3-inch room you normally leave between contents To reheat foods in a microwave in a FoodSaver ® and seal. Simply cut sealed edge and remove Bag, always cut corner of the bag before placing cheese.
- Page 14 You can also place the food in its original bag inside a FoodSaver Bag, or use a FoodSaver normal. Store in refrigerator. ® ®...
- Page 15 Simply follow the directions to vacuum seal items using FoodSaver Bags, ® Canisters and Accessories. • To keep emergency kits safe and dry, vacuum seal flares, batteries, flashlights, matches, candles, first aid kits, extra food and other necessities.
- Page 16 Always leave lid latch in STORE position when not in use. Never store lid in OPERATE position as gaskets may become compressed. When appliance is left in closed position, the Gaskets become compressed and the unit may not function properly. Push the Latch into the center position to store. www.FoodSaver.com...
- Page 17 JCS or an authorized JCS service center or use of this product with non-FoodSaver branded bags and/or rolls. Further, this limited ®...
- Page 18 Vacuum Pump is running, but bag is not evacuating. Vacuum Pump is • If making a bag from a roll, make sure one end of bag is sealed. running, but bag See How to Make a Bag from a FoodSaver Vacuum Sealing Roll. ® is not evacuating •...
- Page 19 • Call Consumer Services at 1-877-777-8042. assistance: • For additional tips and answers to frequently asked questions, go to www.foodsaver.com and click the “Service & Support” tab. Container does not • The lid of the container must be correctly placed on and...
- Page 20 Storage Guide: meat, cheese, Vegetables, Fruits Recommended Storage Life Where FoodSaver with FoodSaver Normal ® ® Foods to Store Bag/Accessory Bag/Accessory Storage Life Meat Beef, Pork, Lamb Freezer FoodSaver 2-3 years 6 months ® Ground Meat Freezer FoodSaver 1 year 4 months ® Poultry...
- Page 21 Storage Guide: Baked Goods, coffee, Snacks and liquids Storage Recommended Life with Where FoodSaver FoodSaver Normal ® ® Foods to Store Bag/Accessory Bag/Accessory Storage Life Baked Goods Bagels, Bread, Freezer FoodSaver 1-3 years 6-12 months ® Pastries Nuts Almonds, Pantry FoodSaver Bag, Canister 2 years 6 months ®...
- Page 22 Notes www.FoodSaver.com...
- Page 23 Notes Customer Service: 1 (877) 777-8042...
- Page 24 If you register on our website, you will have the opportunity to receive special bag and accessory introductory offers. Refer to the registration card inside the box. For important safety information and helpful tips, please visit us at www.foodsaver.com to get tips on vacuum sealing and order FoodSaver brand accessories, bags and rolls, ®...
Need help?
Do you have a question about the FM2100 series and is the answer not in the manual?
Questions and answers