Canon XF300 Setup & Troubleshooting Instructions
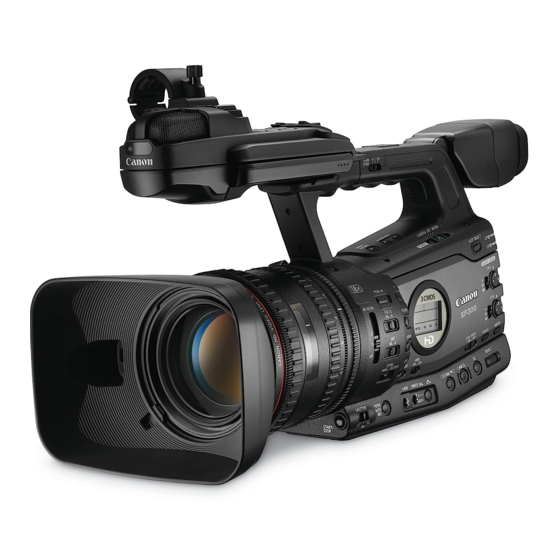
Canon xf300 professional camcorder
Hide thumbs
Also See for XF300:
- Instruction manual (211 pages) ,
- Instructions (2 pages) ,
- Brochure (27 pages)
Advertisement
Important Note: More detailed steps appear in the instruction manual. Where appropriate, we have included
the page number for easy reference. If you need to view the full manual at anytime, just visit this item on our
website and click the link to the manual on the Item Details tab.
Important Product Note: The Canon XF300 ships with a rubber viewfinder lens cover. Please replace the
viewfinder lens cover whenever the viewfinder is not in use. This cover protects the small LCD screen below
the viewfinder window. If left uncovered, the viewfinder magnifies the sun which causes expensive damage to
the delicate LCD screen below.
Basic Setup – Shooting
These instructions will help get you started. For more advanced options and illustrations
please see the instruction manual. The Preparing to Record section begins on page 45.
Remove camera from box.
1.
Insert battery.
2.
Remove the lens cap.
3.
Either open the LCD display, or remove the viewfinder cover and adjust the viewfinder.
4.
Insert a CF card into slot A or B on the rear of the camera. If you have two CF cards, you may use both
5.
slots. See page 39 of the instruction manual for illustrations.
Hold down the power switch and move to CAMERA (for recording) or MEDIA (for playback). The
6.
camcorder turns on then automatically enters record-pause mode.
Press the START/STOP button to begin recording. You can press the START/STOP button again
7.
anytime to pause recording.
Basic Setup – Reviewing Recorded Clips
Detailed information about playback in MEDIA Mode begins on page 128 of the instruction
manual.
The camera must be powered off before switching to MEDIA mode.
1.
Hold down the power switch and move to MEDIA. The camcorder turns on then automatically enters
2.
MEDIA mode.
You will see the clip index screen. Move the orange select frame to the clip you want to play back
3.
using the skip forward and backward buttons below the play button.
Press the PLAY button to start playback.
4.
Press the STOP button to stop playback and return to the index screen.
5.
Getting Great Results – This section details settings for users who may not be familiar with
professional camcorders.
Consider shooting in full automatic mode.
On the left side of the camera near the MENU button, set the full auto switch to ON.
1.
Just behind the zoom and iris rings on the left side of the camera, set the Focus switch to A, and set
2.
the Iris switch to A.
Be sure that the Focus ring is unlocked. The camera will not auto-focus if the focus ring is
3.
locked. The focus ring lock is directly behind the focus ring on the grip side of the camera. Press
the lock button and slide the lock ring to AF/MF.
Questions? Call 1-815-686-2687 or email atsinfo@atsrentals.com.
For urgent technical support outside of business hours call 1-815-230-1911.
Canon XF300
Setup & Troubleshooting Instructions
Page 1 of 2
Advertisement
Table of Contents

Related Manuals for Canon XF300


Summary of Contents for Canon XF300
- Page 1 Item Details tab. Important Product Note: The Canon XF300 ships with a rubber viewfinder lens cover. Please replace the viewfinder lens cover whenever the viewfinder is not in use. This cover protects the small LCD screen below the viewfinder window.
- Page 2 Canon XF300 Setup & Troubleshooting Instructions Page 2 of 2 Handy Tricks The ND FILTER switch on the left side of the camera behind the iris ring can be used to darken a picture that is too bright, like a sunny outdoor scene.
Need help?
Do you have a question about the XF300 and is the answer not in the manual?
Questions and answers