
Related Manuals for Liftaway LA-SDO1

Summary of Contents for Liftaway LA-SDO1
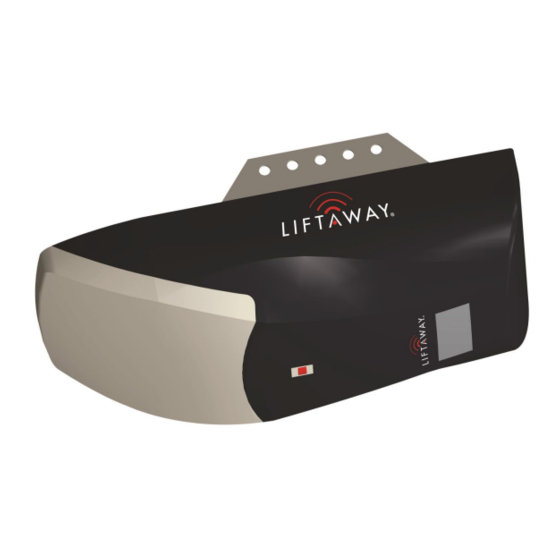
- Page 1 Instruction Manual LA-SDO1 Sectional garage door opener INSTALLATION INSTRUCTIONS | OWNERS COPY...
- Page 2 Roller Door Opener. Sales Net Group Pty Ltd hereby further expressly excludes all or any liability for any injury, damage, cost, expense or claim whatsoever suffered by any person as a result whether directly or indirectly from failure to install the LiftAway Pty...
-
Page 3: Table Of Contents
TABLE OF CONTENTS Safety Warnings....……………………………………………………………………….. 4 Basic function introduction……………………………………………………………………….. 6 Installation …………….………………………………………….…………………………….…. 7-12 Installation recommendations……………………………………………………………………13 Basic function setting and applying……………………………………………………………. 14-15 Photo beam connection……………………………………….…………………………….….. 16 Manual disengagement…………………………………………………………………………. 17 Packing List……………………………………………………………………………………… 18 Technical specifications…………………………………………………………………………. 18-19 Final notes….………………………………………..…………………………………………… 20 Important information for the user……………………………………………………………… 20 Warranty information …………….………………………………………………………………... -
Page 4: Safety Warnings
SAFETY WARNINGS 1. PLEASE READ CAREFULLY ADHERE SAFETY INSTALLATION RECOMMENDATIONS. 2. The opener is designed and manufactured to meet local regulations. The installer must be familiar with local regulations required in respect of the installation of the opener. 3. Unqualified personnel or those persons, who do not know the occupational health and safety standards being applicable to automatic gates and other doors, must in no circumstances carry out installations or implement systems. - Page 5 Do not allow children to play with door controls. Keep remote controls away from children. Watch the moving door and keep people away until the door is completely opened or closed. Take care when operating the manual release since an open door may fall rapidly due to weak or broken springs, or being out of balance.
-
Page 6: Basic Function Introduction
Basic Function Introduction 1. Soft start, soft stop 2. Minimize start-up load on garage door opener and garage door 3. Opening & closing force self-learning 4. Overloading force detecting, the door will reverse more than 15 cm automatically when it is overloaded when closing and will stop when it is overloaded when opening. -
Page 7: Installation
Installation 1) Read the instruction carefully. 2) Make sure the door structure is solid and suitable to be motor driven. 3) Make sure when the door is moving there are no friction points. The door must be properly balanced and must be easily lowered and raised by hand. Fig.1 Fig.1 Referring to Fig. - Page 8 Fig.2 Fig.3 Maintaining a minimum gap of 30mm from the top panel’s maximum height (Fig. 2). Make sure the track is horizontal and vertical to the shaft. Make sure the connection of hanging bracket F and ceiling is firm enough (Fig. 3). Warning: Make sure the opener is affixed to noggins in ceiling and not to plasterboard.
- Page 9 Sectional steel track assembly The middle rail The end rail The first sleeve Fig. 5 The top rail The middle rail The end rail The second sleeve dsleeve The first sleeve Fig. 6 Fig. 7...
- Page 10 Fig. 8 19MM Fig. 9...
- Page 11 1. As Fig.5, slide the end rail into the 1st sleeve, slide the middle rail into the 1st sleeve; 2. As Fig.6, slide the 2nd sleeve to the other end of middle rail, slide the top rail into the 2nd sleeve; 3.
- Page 12 2. Fix the steel track to the wall bracket with axis pin. (Fig. 4) 3. Fix garage door opener to the track utilising the U bracket. Do not over tighten – use 2nm of fastening force. 4. Fix the opener on ceiling using hanging bracket. Notice: Make sure the track is horizontal and vertical to the shaft.
-
Page 13: Installation Recommendations
Installation recommendations there are specific standards that have to be strictly followed regarding the safety rules of Remember electrical installations and automatic gates and doors. As for the legal requirements and standards that must be adhered to, please take notice of the following points to ensure maximum safety and reliability of your installation. -
Page 14: Basic Function Setting And Applying
Basic function setting and applying 1. Travel limit setting Opening & closing force self-learning Press ‘SET’ button and hold on until the LED displays figure ‘1’, then adjust the up limit by pressing ‘up’ button. Fine-tuning ‘up’ or ‘down’ button to determine the final up limit position then press ‘set’... - Page 15 4. Auto-close setting Press ‘UP’ button and hold on until the LED displays ‘-’. Press ‘up’ button once, the auto-close time will increase 1 minute, the maximum time is 9 minutes. Press ‘down’ button the auto- close time decrease 1 minute. The auto-close function will be turned off when LED displays 0.
-
Page 16: Photo Beam Connection
Photo beam connection (Optional accessory) -
Page 17: Manual Disengagement
Manual disengagement The opener is equipped with a manual release cord to disengage shuttle and move door by hand while holding the handle down (Fig 13). Pull on the handle to disengage the shuttle. To re-engage the door simply run opener in automatic mode or move door by hand until the trolley engages in the chain shuttle. In some situations that a pedestrian door is not in state, it is recommended that an external disengagement device should be fitted (Fig 14). -
Page 18: Packing List
Door bracket Wall bracket “U” bracket Hanging bracket Clutch cord Cord pendant Bent arm Straight arm Fixing kit Technical specifications Model LA-SDO1 Power Input: 200-240V AC 50/60Hz Output power: 235W Max force: 800N Open/Close speed: 0.15m/s Lamp: LED,24V DC Light time:... - Page 19 Decoding: Rolling code Transmitter power: 23A 12V battery Radio frequency: 433.92MHz or other on request Working temperature: -20℃~40℃ <90% Relative humidity: 12m2 Max door area: Dimensions: 400 x 250 x 150mm...
-
Page 20: Final Notes
Our range of openers come with a 3 year warranty that covers any electronic failure resulting from reasonable usage of the product. This offer is unique to the Liftaway brand and is an expression of our commitment to both the quality of products and our service to our customers. Claims made under this warranty must be made within two calendar years from the date of purchase.
Need help?
Do you have a question about the LA-SDO1 and is the answer not in the manual?
Questions and answers
Hi, Yesterday one auto-door wasn't working. This was with the manual hand control and also using the wall control. We needed to get the car out, so I pulled the red cord to disengage the track. Today the track is working. When I've re-engaged the track, the door stops about 30cm from the floor. This is with the hand control and similar with overhead control box. Question : How do I get the door to close fully. Regards, Roger.