
Related Manuals for Liftaway LA-RDO1

Summary of Contents for Liftaway LA-RDO1
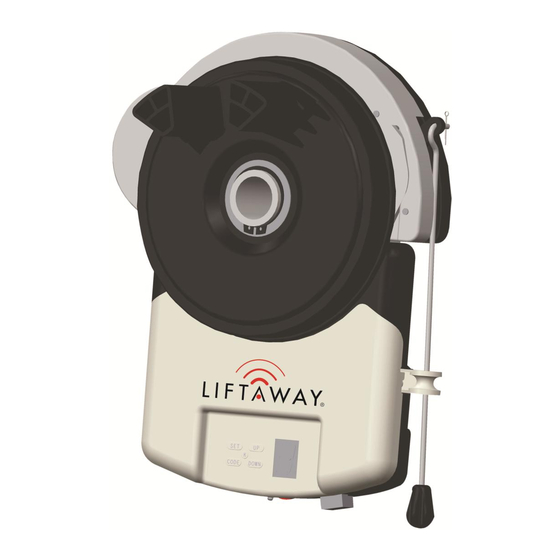
- Page 1 Instruction Manual LA-RDO1 Rolling garage door opener INSTALLATION INSTRUCTIONS | OWNERS COPY...
- Page 2 Sales Net Group Pty Ltd to the extent that such may be lawfully excluded hereby expressly disclaims all conditions or warranties, statutory or otherwise which may be implied by laws as conditions or warranties of purchase of an LiftAway Pty Ltd LA-RDO1 Roller Door Opener.
-
Page 3: Table Of Contents
TABLE OF CONTENTS 1. Safety warnings – Pages 4-5 2. Product Features – Page 6 3. Installation instructions – Pages 7-9 4. Setting and operating – Page 10-15 5. Packing list – Page 16 6. Technical data – Page 16 7. -
Page 4: Safety Warnings - Pages
1. SAFETY WARNINGS Warning — It is vital for the safety of persons to follow all instructions. Failure to comply with the following safety rules may result in serious personal injury and/or property damage. Do not operate the garage door operator unless the garage door is in full view and free from objects such as cars and children/people. - Page 5 incorrectly balanced door may cause injury. Do not attempt to repair the door yourself as hardware is under extreme tension. Remove or disengage all garage door locks and mechanisms prior to installation the operator. Connect the garage door operator to a properly earthed general purpose 240V mains power outlet installed by a qualified electrical contractor.
-
Page 6: Product Features
2. PRODUCT FEATURES 1. Easy to use. Just press the remote control button or the O/S/D button on the motor to open, stop or close the roller shutter. 2. Safe and reliable remote control system featuring rolling code, low coincident code rate. 3. -
Page 7: Installation Instructions - Pages
3. INSTALLING OPERATOR The LA-RDO1 roller door operator can be fixed to the roll up garage door in a variety of ways. Described below is one method of fixing. Make sure there is enough side room to slide the drive assembly onto shaft. - Page 8 PLEASE NOTE: THE BELOW INSTRUCTIONS FOR FIXING THE OPERATOR TO THE DOOR ARE FOR RIGHT HAND INSTALLATIONS. Installation process (FIG. 3, FIG. 4, and FIG. 5) 1. Check that the door shaft U bolt is securely tightened on the left hand side of the door. 2.
- Page 9 Use of Extended Forks: Please only utilise the extended forks if the distance between the edge of the drum and inside of the support bracket is greater than 13cm. This distance is illustrated in diagram ‘A’ below. Failure to comply with this instruction could result in unit failure.
-
Page 10: Setting And Operating
4. Setting and operating 2. PB/GND/PE/+24V terminal 1. O/S/C button 4. Battery backup terminal 3. Manual release lever 6. K Button (same function as O/S/C button) 5. Programming panel 7. Hole for battery backup connection wires... - Page 11 4.1 Left/right installation setting WARNING: This step must be completed prior to setting travel limits (4.2) if utilizing a lift sided installation. If utilizing the standard right sided installation this step can be ignored. Press ‘SET’ button and hold on until LED displays figure ‘5’, press ‘UP’ or ‘DOWN’ button to choose ‘1’ left installation or ‘0’...
- Page 12 4.2 Door travel limit Setting 4.2.1 Pull down the manual release lever, the door operator is under manual mode. 4.2.2 Open the door by hand until the door touches the upper door stop. (see Fig.7) Close the door by hand until the door touches the ground .
-
Page 13: Coding Transmitter
4.2.5 Press the RED O/S/C button at the bottom of door operator or K button (FIG.9), confirm the up limit and down limit are correct. If not, please re-set the travel limit according to above processes until the limits are correct. - Page 14 4.4 Safety reverse force adjustment 4.4.1 Press ‘SET’ button and hold on until the LED displays figure ’3’. Press ‘UP’ button to increase the force (decrease sensitivity if door comes into contact with an object), Press ‘DOWN’ button to decrease the force (increase sensitivity if door comes into contact with an object).
- Page 15 Please confirm the photocells are well connection and programmed. Please check if the door will be automatically reversed when encountering an obstacle during door closing. 4.5.3 Canceling the photocell function: Press ‘DOWN’ button and hold on until the LED displays ‘H’ , press ‘DOWN’ button the LED displays 11’, to cancel this function, press ‘SET’...
-
Page 16: Packing List
5. Packing list Item Quantity LA-RDO1 roller door operator Transmitter U-clamp and cast iron Extended fork Extended release arm Installation manual 6. TECHNICAL DATA Input voltage: 220 V AC——240 V AC 50 HZ Controller voltage: 24 V DC Max power: 235W Lifting force: 400N(40kgs) Working circumstance: -20℃——+40℃... -
Page 17: Common Trouble Shooting
7. COMMON TROUBLE SHOOTING Symptom Possible reason Solution Main power not on Switch on the main power The door does not move Remove the barrier The door is locked or motor Unlock the door The door is obstructed jammed Check the motor is turning The door won‟t reverse when The moving force of the motor is set Decrease the safety reverse force... - Page 18 Close the photocell function The door will only open, but will The photocell function has been following instructions in section not close activated. The motor rotates but the door Push up the manual release lever Motor is in manual mode doesn‟t move to re-activate Chang the installation direction...
- Page 19 Our range of openers come with a 3 year warranty that covers any electronic failure resulting from reasonable usage of the product. This offer is unique to the Liftaway brand and is an expression of our commitment to both the quality of products and our service to our customers. Claims made under this warranty must be made within two calendar years from the date of purchase.
Need help?
Do you have a question about the LA-RDO1 and is the answer not in the manual?
Questions and answers
door does not respond to any buttons or remote. It beeps and shows an 8 after powered down and then on.