Table of Contents
Advertisement
Operating Instructions
GB
English, 1
I5GG/UK
I5GG1/UK
Contents
Installation, 3-7
Positioning and levelling
Start-up and use, 9-11
Analogue timer
Respecting and conserving the environment
Maintenance and care, 13
Gas tap maintenance
Replacing the oven light bulb
Assistance
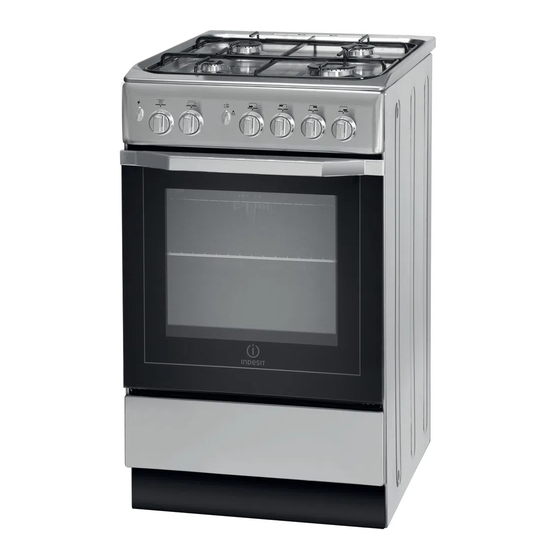
COOKER
GB
Advertisement
Table of Contents

Related Manuals for Indesit I5GG/UK


Summary of Contents for Indesit I5GG/UK
-
Page 1: Table Of Contents
Technical data Table of burner and nozzle specifications Description of the appliance, 8 Overall view Control panel Start-up and use, 9-11 Using the hob I5GG/UK Using the oven I5GG1/UK Analogue timer Oven cooking advice table Precautions and tips, 12 General safety... -
Page 2: Warning,2
WARNING The internal surfaces of the WARNING: The appliance and its compartment (where present) may accessible parts become hot during become hot. use. Never use steam cleaners or Care should be taken to avoid pressure cleaners on the appliance. touching heating elements. Remove any liquid from Children less than 8 years of the lid before opening it. -
Page 3: Installation
Installation ! Before operating your new appliance please read Installation of the cooker this instruction booklet carefully. It contains important The appliance can be installed information concerning the safe installation and next to furniture units which operation of the appliance. are no taller than the top of the ! Please keep these operating instructions for future cooker hob. -
Page 4: Electrical Connections
Gas connection T he cooker should be connected to the gas-supply by a Gas Safe registered installer. During installation of this product it is essential to fit an approved gas tap to isolate the supply from the appliance for the convenience of any subsequent removal or servicing. -
Page 5: Adapting To Different Types Of Gas
Disposing of the plug: Disposing of the appliance Ensure that before disposing of the plug itself, you When disposing of the appliance please remove the make the pins unusable so that it cannot be plug by cutting the mains cable as close as accidentally inserted into a socket. - Page 6 ! The hob burners do not require primary air adjustment. 5. Turn the knob from the MAX position to the MIN ! After adjusting the appliance so it may be used position quickly or open and shut the oven door, with a different type of gas, replace the old rating making sure that the burner is not extinguished.
-
Page 7: Technical Data
Burners flap or, after the oven compartment has been opened, I5GG/UK on the left-hand wall inside the I5GG1/UK oven. EC Directives: 2006/95/EC dated 12/12/06 (Low Voltage) and... -
Page 8: Descriptionof The Appliance
Descriptionof the appliance Overall view Gas burner Containment surface for spills Hob grid GUIDE RAILS Control panel for the sliding racks position 5 GRILL position 4 position 3 DRIPPING PAN position 2 position 1 Adjustable foot Adjustable foot Control panel Electronic Lighting for Hob Burners * Oven and Grill Button for Oven... -
Page 9: Start-Up And Use
Start-up and use guarantees a more precise adjustment, allows Using the hob to replicate the flame intensity and to identify easily the preferred level for different cooking Lighting the burners operations. For each BURNER knob there is a complete ring showing Practical advice on using the burners the strength of the flame for the relevant burner. - Page 10 Oven light Adjusting the temperature The light may be switched on at any moment by To set the desired cooking temperature, turn the pressing the OVEN LIGHT button. OVEN control knob in an anticlockwise direction. Temperatures are displayed on the control panel and Timer* may vary between MIN (150°C) and MAX (250°C).
-
Page 11: Oven Cooking Advice Table
Oven cooking advice table Cooking position of Temperature Cooking time Food to be cooked Pre-heating time (min) (Kg) shelves from bottom (°C) (min.) Pasta Lasagne 200-210 75-85 Cannelloni 50-60 Pasta bakes au gratin 50-60 Meat Veal 200-210 95-100 Chicken 210-220 90-100 Duck 100-110... -
Page 12: Precautions And Tips
Precautions and tips ! This appliance has been designed and manufactured • If the appliance breaks down, under no in compliance with international safety standards. circumstances should you attempt to repair The following warnings are provided for safety reasons the appliance yourself. Repairs carried out by and must be read carefully. -
Page 13: Care And Maintenance
Care and maintenance Switching the appliance off remaining drops of water should also be dried. Inspecting the oven seals Disconnect your appliance from the electricity supply before carrying out any work on it. Check the door seals around the oven periodically. If the seals are damaged, please contact your nearest Cleaning the appliance Authorised After-sales Service Centre. - Page 14 WARNING! When reassembling the inner door Removing and fitting the oven door: glass insert the glass panel correctly so that the 1.Open the door text written on the panel is not reversed and 2.Make the hinge clamps of the oven door rotate can be easily legible.
-
Page 15: After Sales Service
After Sales Service No one is better placed to care for your Indesit appliance during the course of its working life than us – the manufacturer. Essential Contact Information - Indesit Service Essential Contact Information - Indesit Service Essential Contact Information - Indesit Service We are the largest service team in the UK and Ireland offering you access to 400 skilled telephone advisors and 1000 fully qualified engineers on call to ensure you receive fast, reliable, local service. - Page 16 We have a dedicated team who can provide free advice and assistance with your appliance if you experience any technical diffi culties within the fi rst 90 days of ownership. Simply call our Indesit Service Hotline on 08448 224 224 (Republic of Ireland 0818 313 413) for telephone assistance, or, where necessary, to arrange for an...
Need help?
Do you have a question about the I5GG/UK and is the answer not in the manual?
Questions and answers