Sign In
Upload
Download
Table of Contents
Contents
Add to my manuals
Delete from my manuals
Share
URL of this page:
HTML Link:
Bookmark this page
Add
Manual will be automatically added to "My Manuals"
Print this page
×
Bookmark added
×
Added to my manuals
Manuals
Brands
Toshiba Manuals
All in One Printer
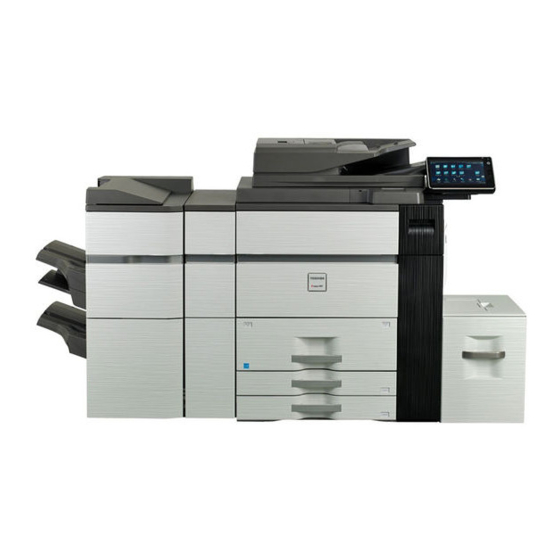
e-Studio 907
Quick start manual
Toshiba e-Studio 907 Quick Start Manual
Digital multifunctional system
Hide thumbs
1
2
3
4
5
6
7
8
9
10
11
12
13
14
15
16
17
18
19
20
21
22
23
24
25
26
27
28
29
30
31
32
33
34
35
36
Table Of Contents
37
page
of
37
Go
/
37
Contents
Table of Contents
Bookmarks
Table of Contents
Quick Start Guide
Before First Use
Software License
Operation Manuals and How to Use Them
Symbols in this Manual
Handling Precautions
Laser Information
Safety Precautions
Power Notes
Installation Notes
About Consumables
Names of Parts and Power Input
Turning on the Power
Turning off the Power
Restarting the Machine
Home Screen
Operating the Touch Panel
Basic Printing
Basic Operations
Copy Settings
Scan Settings
Document Filing
File List View
Copy Output
Output Tray Settings
Folding Function
Punch Function
Manual Finishing
Basic Specifications / Copier Specifications
Automatic Document Feeder (Standard Equipment)
Multi Bypass Tray
Large Capacity Tray
Saddle Stitch Finisher
Relay Unit
High Capacity Stacker
Punch Module (MX-PNX4B)
Punch Module (MX-PN13B)
Network Printer Specifications
Network Scanner Specifications
Trimming Module
Folding Unit
Storage of Supplies
Proper Storage
Storing Toner Cartridges
Staple Cartridge
Supply of Spare Parts and Consumables
Optional Units
Finisher/Saddle Stitch Finisher
Status Indicator
Noise Emission
Security Precautions
Advertisement
Quick Links
1
Quick Start Guide
2
Operation Manuals and How to Use Them
3
Scan Settings
Download this manual
DIGITAL MULTIFUNCTIONAL SYSTEM
Quick Start Guide
Table of
Contents
Previous
Page
Next
Page
1
2
3
4
5
Advertisement
Table of Contents
Need help?
Do you have a question about the e-Studio 907 and is the answer not in the manual?
Ask a question
Questions and answers
Related Manuals for Toshiba e-Studio 907
All in One Printer Toshiba E-STUDIO900 Technical Training Manual
Toshiba copier user manual (224 pages)
All in One Printer Toshiba e-Studio 900 Operator's Manual
(176 pages)
All in One Printer Toshiba E-studio 1105 Operating Instructions Manual
Toshiba e-studio 905/1105/1355 (224 pages)
All in One Printer Toshiba e-studio 901 Operator's Manual
Copy/document server reference (230 pages)
All in One Printer Toshiba e-Studio 901 Operator's Manual
(120 pages)
All in One Printer Toshiba e-studio 2050c Safety Information Manual
Multifunctional digital color systems (32 pages)
All in One Printer Toshiba e-STUDIO5540C Scanning Manual
Multifunctional digital color systems / multifunctional digital systems (134 pages)
All in One Printer Toshiba e-STUDIO6540C Management Manual
Multifunctional digital color systems / multifunctional digital systems (192 pages)
All in One Printer Toshiba e-STUDIO5520C Service Manual
Multifunctional digital color systems (1612 pages)
All in One Printer Toshiba E-STUDIO 5518A Manual
(108 pages)
All in One Printer Toshiba E-STUDIO 555 Troubleshooting Manual
Multifunctional digital systems (104 pages)
All in One Printer TOSHIBA e-STUDIO5540C Management Manual
Multifunctional digital color systems / multifunctional digital systems (282 pages)
All in One Printer Toshiba E-STUDIO 2020ac Information
Multifunctional digital color systems / multifunctional digital systems (44 pages)
All in One Printer Toshiba E-STUDIO 2020AC Frequently Asked Questions Manual
(82 pages)
All in One Printer Toshiba e-STUDIO 282 Scanning Manual
(143 pages)
All in One Printer Toshiba e-Studio 232 Operator's Manual
Multifunctional digital systems basic functions (354 pages)
This manual is also suitable for:
E-studio 1057
E-studio 1207
Table of Contents
Print
Rename the bookmark
Delete bookmark?
Delete from my manuals?
Login
Sign In
OR
Sign in with Facebook
Sign in with Google
Upload manual
Upload from disk
Upload from URL


Need help?
Do you have a question about the e-Studio 907 and is the answer not in the manual?
Questions and answers