Advertisement
Quick Links
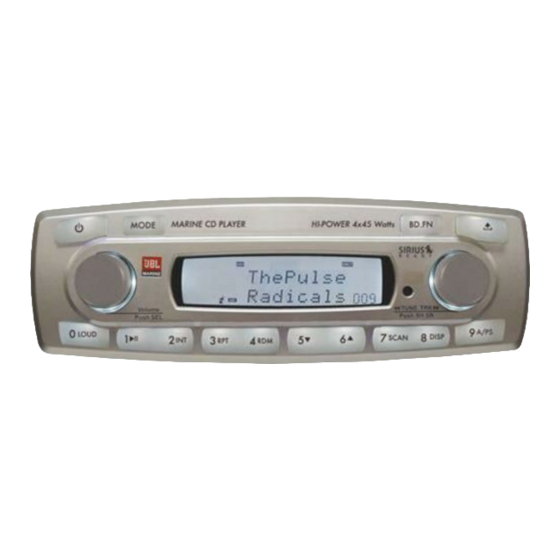
JBLMR18.3 Troubleshooting Guide
Prospec Electronics
Note: Please click highlighted words for links to parts of this document and our website.
1
Wiring
2
Compatible Accessories
3
List of common issues
3.1. No power
3.2. Intermittent Power
3.3. Buttons/controls not responding or behaving erratically
3.4. Poor reception or no reception
3.5. No audio, speaker audio is unevenly distributed or some speakers not working
3.6. Low audio
3.7. Fluctuating Audio
3.8 Moisture in Display
3.9 CD Player won't play
3.10 CD door won't close/open
4
External Amplifier Issues
5
Sirius Issues
6
Reset Procedure
7
Lubrication of Volume/Tuning Knobs
8
Location of Product/Serial Numbers
Advertisement

Summary of Contents for JBL JBLMR18.3
- Page 1 JBLMR18.3 Troubleshooting Guide Prospec Electronics Note: Please click highlighted words for links to parts of this document and our website. Wiring Compatible Accessories List of common issues 3.1. No power 3.2. Intermittent Power 3.3. Buttons/controls not responding or behaving erratically 3.4.
- Page 2 1.0. Wiring Follow the wiring diagram above. • The red ACC wire is designed as the trigger to turn the radio on. It recommended that this wire is connected to an on/off switch for purposes of lowering the current draw on the battery while the radio is not in use. •...
- Page 3 2.0 Compatible Accessories: See our website for the following add on accessories SEAMINI JBLREM20 – DIN-AMP adapter required SEAMINI or SEAMINI2 – RCA to 3.5mm head phone jack JBLREM21 – DIN-AMP adapter required JBLREM25 – DIN-AMP adapter required ...
- Page 4 3.3 Buttons/controls not responding or behaving erratically 3.3.1 Symptoms • Stations scanning continuously • Run away volume • Controls frozen • Frozen screen • Broken characters on screen 3.3.2 Troubleshooting without remotes • Check each button on the control pad for sticking. Under normal conditions, a faint click is heard upon pressing each button.
- Page 5 3.4 Poor or no Reception 3.4.1 For an amplified antenna Ensure the antenna is connected to power and ground according to manufacturer’s instructions The antenna wire should never be coiled or wound up. Check proximity of radio, speakers and antenna to gages, GPS equipment, depth finders, LED lighting or any other source of Radio Frequency Interference (RFI) and Electronic Magnetic Interference (EMI).
- Page 6 3.8 Moisture in Display 3.8.1 Water seen inside display after washing the mounting area • Radio is not designed to withstand pressurized streams of water. When rinsing the radio or around the radio, a very low pressure spray is recommended. •...
- Page 7 5.0 Sirius Problems 5.1 Common Installation issues 5.1.1 Does not receive channels or stay in Sirius mode • Ensure a Sirius tuner and antenna is connected to the stereo. Check the wiring diagram in section 1 of this guide for location of the Sirius tuner connection.
- Page 8 7.2 Method Gently remove the rubber boot from the desired knob using your fingertips. Grab the exposed plastic knob with pliers and gently pull the knob from the shaft. Using a toothpick, gently work the cooking spray between the shaft and rubber membrane lubrication the entire perimeter of the shaft.
- Page 9 7.4 Testing • Twist the knob in one direction and let go. The knob should quickly bounce back to center. • Repeat the step above but now in the opposite directly. • Check other controls on the stereo for proper operation.
- Page 10 8.0 Location of Production and Serial Numbers – These numbers are found on the silver label location on the bottom of the radio’s chassis. See below example.


Need help?
Do you have a question about the JBLMR18.3 and is the answer not in the manual?
Questions and answers