Advertisement
Operation Manual
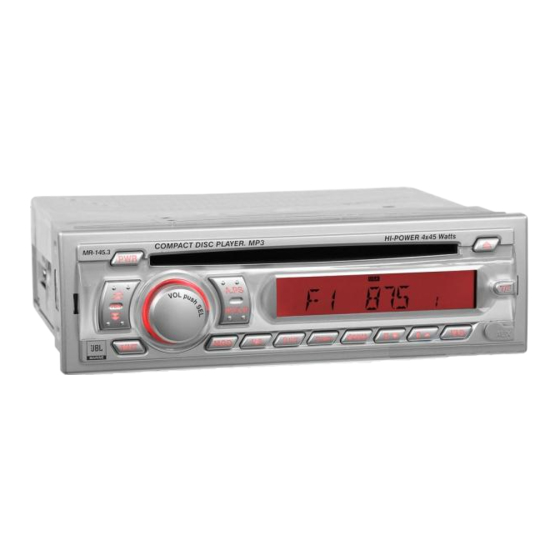
Model No.: MR-145.3
This product is sold and serviced exclusively by Prospec Electronic Inc. and must be returned
RESET BY PUSHING MODE AND BAND
to Prospec for in and out of warranty repairs. It can not be serviced under warranty by other JBL
TO ENSURE PROPER OPERATION,
service centers. All products sold and serviced exclusively by Prospec Electronics Inc.
SEE INSTRUCTION MANUAL
For service contact us: 3325 South Morgans Point Road Mount Pleasant SC 29466
Tel 843-849-9037
Fax 843-849-9054
Advertisement
Table of Contents

Related Manuals for JBL MR-145.3


Summary of Contents for JBL MR-145.3
- Page 1 This product is sold and serviced exclusively by Prospec Electronic Inc. and must be returned RESET BY PUSHING MODE AND BAND to Prospec for in and out of warranty repairs. It can not be serviced under warranty by other JBL TO ENSURE PROPER OPERATION, service centers.
-
Page 2: Table Of Contents
Contents Specifications Operation Voltage ------------------------------ 12 volts DC, Negative Ground Wiring Identification -------------------------------------------------------- 2 Output Power ----------------------------------- 180 watts maximum Important Notes -------------------------------------------------------------- 3 (45 watts x 4 channels) Output Impedance ------------------------------ compatible with 4 ~8 ohm speakers Installation -------------------------------------------------------------------- 4 Tuning Range USA AREA ----------------------------------- FM: 87.5 ~ 107.9MHz. -
Page 3: Wiring Identification
Wiring Identification Trouble shooting Guide Caution (USB) 1. CONNECTOR PINS: Always keep connector pins clean. WHITE LINE OUT If the PIN connector looks dirty, use cotton tips to clean it, so as to avoid any unexpected malfunction caused by dirt. 2. -
Page 4: Important Notes
Precautions and Maintenance Important notes 1. Reset Function Prior to the final installation, carry out a sound check. If high distortion or intermittent sound is A microprocessor reset function has been provided to facilitate manual resetting of the experienced, it is possible that the wiring from the CD receiver to the boat's electrical system is internal microprocessor. -
Page 5: Installation
USB Operation Installation 1. Precautions 1. USB Playback Choose the mounting location carefully so that the unit will not interfere with the normal With a USB stick connected, press MODE button (3) to select USB mode. driving functions of the boat. Note: The music in the USB stick must be of mp3 or wma format. -
Page 6: Supporting The Unit
Operating the CD/MP3 Player Supporting the unit 5. Repeat Play button (10) imply press 3RPT, it will display “S-RPT” on the LCD and play current track repeatedly. - Press and hold 3RPT for longer than 2s, it will display “D-RPT” on the LCD and repeatedly play the tracks in current folder. -
Page 7: Identification Of Control Functions
Operating the CD/MP3 Player Identification of Control Functions 1. Disc Operation 1. POWER ON/OFF button Insert a CD label side up into the slot, the CD will begin playing automatically after it is loaded. 2. Electronic function SELECT button, Volume control knob Notes: 3. -
Page 8: General Controls
Controls Operating the Radio 1. POWER ON/OFF button (1) 1. Radio Operation Simply press the Power button (1) to turn the unit on and off. Press MODE button (3) to select Radio mode. Station frequency is indicated on display. 2. SELECT button (2) 2. - Page 9 Controls (continued) Controls (continued) 2-2. I-VOL, AREA, BEEP 2ND Selection 6. IEQ button(4) When the SEL button (2) is held over 2 seconds, the unit will enter into a submenu. The IEQ feature creates a realistic atmosphere for the style of music you select using the Once entered, a single press of the SEL button will result in the following functions: latest digital sound technology.
Need help?
Do you have a question about the MR-145.3 and is the answer not in the manual?
Questions and answers