Table of Contents
Advertisement
Advertisement
Table of Contents

Related Manuals for Medeli SP-40 Series


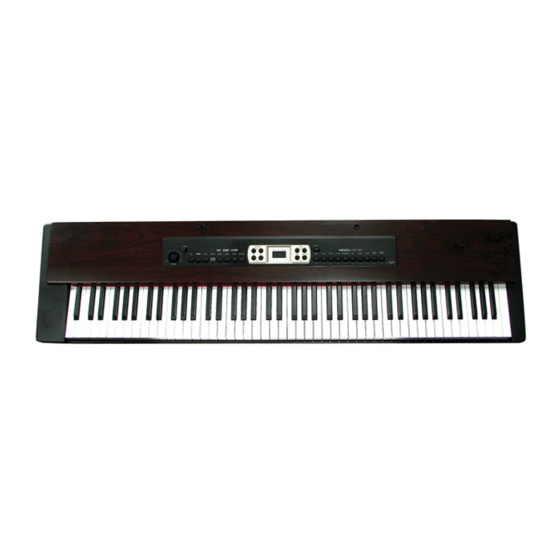
Summary of Contents for Medeli SP-40 Series
- Page 2 Using the Instruction Manual Thank you for purchasing this Digital Piano. The use of high technology and the most advanced sampling technique brings you high quality sound and enjoyment. The combination of digital piano and electronic keyboard features let you perform perfectly. We hope this digital piano will be able to explore your creativity, and brings you unlimited happiness and music enjoyment.
-
Page 3: Table Of Contents
Contents General Guide The Connectors - Using the AC power jack - Using Headphones - Using the AUX.OUT jack - Using the Foot Pedals - Using the MIDI IN /OUT jack Operation 6-10 1. Power Switch & Volume 2. Voice/Dual Voic e 3. -
Page 4: General Guide
General Guide 1. FRONT PANEL POWER SWITCH VOICE TYPE & DEMO SONG SELECT MASTER VOLUME 0 - PIANO 1 DUAL 1 - PIANO 2 2 - E.PIANO 1 TOUCH 3 - E.PIANO 2 RECORD 4 - HARPSICHORD TRACK A 5 - VIBES TRACK B 6 - STRINGS ENSEMBLE REPEAT... -
Page 5: The Connectors
The Connectors Using the AC power jack 1. Connect the power 2. Ensure the piano cable to the AC power is turned off when jack on the underside connecting and of the piano body. disconnecting the power. 3. Turn the volume switch 4. -
Page 6: Using The Foot Pedals
The Connectors Using the Foot Pedals An optional footswitch can be plugged into the SUSTAIN jack for sustain control. The footswitch function is like the sustain pedal on a piano. Press it for sustain. An optional footswitch can be plugged into the SOFT jack for soft control. -
Page 7: Operation
Operation 1. Power Switch & Volume 2. Use the volume control 1. Turn the POWER to switch switch to adjust the on the piano. volume to your desired The LED display lightens up. level Caution: If the LED display has not lightened up after you turned on the piano, please check the power supply. -
Page 8: Dsp (Digital Signal Processor)
Operation 4. DSP (Digital Signal Processor) Press the [DSP] button to turn on/off the DSP. The status will appear on the LED. 5. Transpose The Transpose function allows you to change the pitch of the instrument in semi-tone steps, up to a maximum setting of 12 semitones above or below standard pitch. -
Page 9: Touch Response
Operation 7. Touch Response There is touch response function and it is a default setting. Press the [TOUCH] button to adjust the touch response level in the range of 1 to 3. 2 is the default level. To turn off the touch response function, press the [TOUCH] button repeatedly until "OFF"... -
Page 10: Demo Song
Operation Repeat the playback During the playback, press the [REPEAT] button to set the point of beginning that you want to listen. "r-A" will appear on the display, then press the [REPEAT] button again to set the end point of the playback. "r-B" will appear on the display and the recorded song will playback repeatedly. - Page 11 Operation Repeat the demo song When a demo song is playing , press the [REPEAT] button to set the point of beginning that you want to listen. "r-A" will appear on the display, then press the [REPEAT] button again to set the end point of the playback.
-
Page 12: Midi
MIDI The MIDI IN and MIDI OUT terminals, which is located at the rear panel of the unit. The following shows the description of MIDI and the steps of using MIDI function. What is MIDI? MIDI stand for Musical Instrument Digital Interface. MIDI is a world wide standard that makes it possible for various electronic musical instruments and other devices, such as computers, to "communicate with each other". -
Page 13: Specifications
Specifications Keyboard 88 hammer action keys Voice 10 Voices Demo Song 20 Demo Songs Display Switch and Buttons POWER SWITCH, VOLUME SWITCH, DUAL, DSP, TOUCH, RECORD, TRACK A, TRACK B, REPEAT, METRONOME, TRANSPOSE +/-, TEMPO +/-, DEMO ALL, RECORD - PLAY/STOP, DEMO - SELECT/ START/STOP, VOICE SELECT 0-9 Transpose 12 semitones...
Need help?
Do you have a question about the SP-40 Series and is the answer not in the manual?
Questions and answers