Advertisement
Table of Contents
- 1 Table of Contents
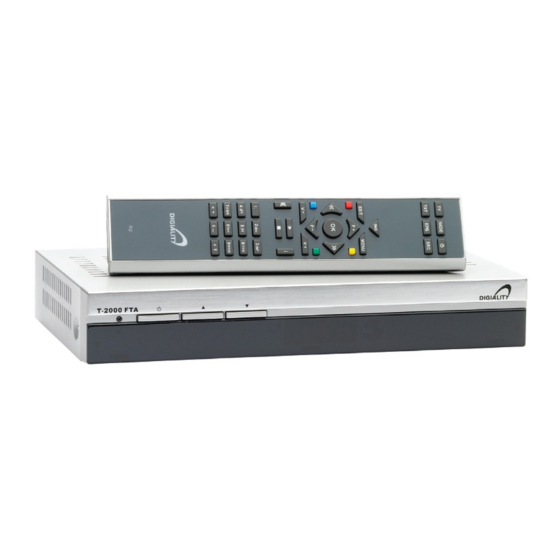
- 2 About Digiality T-2000 FTA / T-2001 CX
- 3 Remote Control
- 4 Front and Connections
- 5 Installation of Digiality
- 6 Programme Cards
- 7 Connection to TV, VCR and Amplifi er
- 8 Navigation
- 9 Turning on the Receiver (Fi Rst Time)
- 10 Channel Search
- 11 Clock
- 12 How to Make and Use Favourite Lists
- 13 How to Use the Timer
- 14 How to Search Channels Automatic or Manually
- 15 How to Use Adult Lock (Blocking of Channels)
- 16 Installation Menu
- Download this manual
Advertisement
Table of Contents


Need help?
Do you have a question about the T-2000 FTA and is the answer not in the manual?
Questions and answers