Table of Contents
Advertisement
MODELS
CDXS25BVMB CDKS25BVMB
CDXS35BVMB CDKS35BVMB
CDXS50BVMB CDKS50BVMB
CDXS60BVMB CDKS60BVMB
INSTALLATION MANUAL
R-410A Split series
Ñåðèÿ R-410A ñ ðàçäåëüíîé óñòàíîâêîé
Installation manual
R-410A Split series
Installationsanleitung
Split-Baureihe R-410A
Manuel d'installation
Série split R-410A
Montagehandleiding
R-410A Split-systeem
Manual de instalación
Serie Split R-410A
Manuale d'installazione
Serie Multiambienti R-410A
Åã÷åéñßäéï åãêáôÜóôáóçò
äéáéñïýìåíçò óåéñÜò R-410A
Manual de Instalação
Série split R-410A
Ðóêîâîäñòâî ïî ìîíòàæó
English
Deutsch
Français
Nederlands
Español
Italiano
ÅëëçíéêÜ
Portugues
Russian
Advertisement
Table of Contents

Related Manuals for Daikin CDXS25BVMB


Summary of Contents for Daikin CDXS25BVMB
-
Page 1: Installation Manual
Montagehandleiding R-410A Split-systeem Nederlands Manual de instalación Español Serie Split R-410A MODELS Manuale d’installazione Serie Multiambienti R-410A Italiano CDXS25BVMB CDKS25BVMB CDXS35BVMB CDKS35BVMB Åã÷åéñßäéï åãêáôÜóôáóçò äéáéñïýìåíçò óåéñÜò R-410A ÅëëçíéêÜ CDXS50BVMB CDKS50BVMB CDXS60BVMB CDKS60BVMB Manual de Instalação Série split R-410A Portugues Ðóêîâîäñòâî ïî ìîíòàæó... -
Page 2: Safety Precautions
SAFETY PRECAUTIONS Read these SAFETY PRECAUTIONS carefully to ensure correct installation. This manual classifies the precautions into WARNINGS and CAUTIONS. Be sure to follow all the precautions below: they are all important for ensuring safety. WARNINGS Failure to follow any of WARNING is likely to result in such grave consequences as death or serious injury. CAUTIONS Failure to follow any of CAUTION may in some cases result in grave consequences. -
Page 3: Choosing A Site
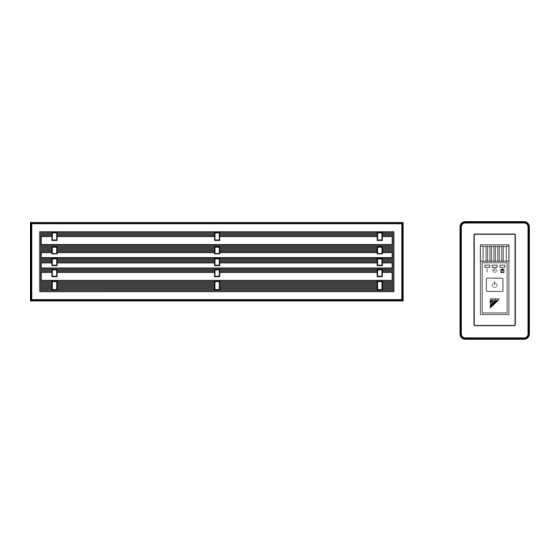
ACCESSORIES Clamp metal Insulation for fitting Sealing pad Wireless remote controller Large and small 1 each 1 each Large for gas pipe for liquid pipe Small Remote control holder AAA dry-cell batteries Reciever kit [ Other ] 1 set • Operation Faceplate;... -
Page 4: Preparations Before Installation
PREPARATIONS BEFORE INSTALLATION IRelation of the unit to the suspension bolt positions 4-Suspension bolt Suspension bolt pitch 755 (Installation example) IInstall the suspension bolts. (Use M10-size bolts for the suspension bolts.) Ceiling slab In order to reinforce the ceiling bearing the weight of the Anchor unit, use anchors when installing onto an existing ceiling or use sunken inserts, sunken anchors or other... -
Page 5: Indoor Unit Installation
INDOOR UNIT INSTALLATION Nut (commercially available) ITemporarily install the indoor unit. Attach the hanger brackets to the suspension bolts. Be Washer (commercially available) sure to use nuts and washers both above and below the hanger brackets to secure them. NOTE) Use washers when mounting with M8 bolts. Tighten (two nuts) IUse a water level or water-filled vinyl tubes to... -
Page 6: Refrigerant Piping Work
REFRIGERANT PIPING WORK See the installation manual supplied with the Multi outdoor unit for outdoor unit. FLARING THE PIPE END (Cut exactly at right angles.) Remove burrs 1. Cut the pipe end with a pipe cutter. 2. Remove burrs with the cut surface facing Flaring downward so that the chips do not enter the pipe. - Page 7 REFRIGERANT PIPING WORK Cautions on Pipe Handling Protect the open end of the pipe against dust and moisture. All pipe bends should be as gentle as possible. Use a pipe bender for bending. (Bending radius should be 30 to 40 mm or larger.) Wall Be sure to...
-
Page 8: Drain Work
DRAIN WORK IConnect the drain pipe as described below. The drain pipe outlet can be either on the right or left side. After making the connection, wrap the drain pipes completely with insulation. When connecting the drain pipe to the outlet on the left side, remove the rubber plug and attach it to the outlet on the right side. -
Page 9: Care And Cleaning
Clean the drain pan periodically, or drain piping may be clogged with dust and may result in water leakage. Ask your DAIKIN dealer to clean them. If the ambient air of indoor unit is so dusty, install the optional Dust Cover which prevent dust from falling into drain pan. -
Page 10: Trial Operation And Testing
TRIAL OPERATION AND TESTING Trial Operation and Testing (1) Measure the supply voltage and make sure that it falls in the specified range. (2) Trial operation should be carried out in either cooling or heating mode. Trial operation from Remote Controller (1) Press ON/OFF button to turn on the system. - Page 11 2P098794-3 M02B075 (0210) HT...
Need help?
Do you have a question about the CDXS25BVMB and is the answer not in the manual?
Questions and answers