Table of Contents
Advertisement
Smoke Alarm
User Guide
120 V AC Operated with sealed 3V Lithium Battery Backup
ATTENTION: Please take a few minutes to thoroughly read this
user guide, which should be saved for future reference and
passed on to any subsequent owner.
User Guide P/N 1210-7202-00 Rev.A EN 2/2014
Model: i12010SCA
SINGLE AND/OR MULTIPLE
STATION SMOKE ALARM
Advertisement
Table of Contents

Subscribe to Our Youtube Channel
Related Manuals for Kidde i12010SCA


Summary of Contents for Kidde i12010SCA
- Page 1 SINGLE AND/OR MULTIPLE STATION SMOKE ALARM Smoke Alarm User Guide Model: i12010SCA 120 V AC Operated with sealed 3V Lithium Battery Backup ATTENTION: Please take a few minutes to thoroughly read this user guide, which should be saved for future reference and passed on to any subsequent owner.
-
Page 2: What To Do When The Alarm Sounds
What to do When the Alarm Sounds! Smoke alarms are designed to minimize false alarms. Cigarette smoke will not normally set off the alarm, unless the smoke is blown directly into the alarm. However, large quantities of combustible particles from spills or broiling could still cause the unit to alarm. - Page 3 What to do When the Alarm Sounds! • Do not reenter under any circumstance until fire officials say that it is safe to do so. • There are situations where a smoke alarm may not be effective to protect against fire as noted by the NFPA Standard 72.
-
Page 4: Table Of Contents
Table of Contents Introduction ......Page 1 Product View ......Pages 2-3 Features . -
Page 5: Introduction
Station (24 devices) alarm. This alarm has a ten-year limited warranty. IMPORTANT: This unit is only approved to interconnect with the Kidde line of products. It is not approved to interconnect with any other manufacturer’s products. Please take a few minutes to thoroughly read this user guide which should be saved for future reference. -
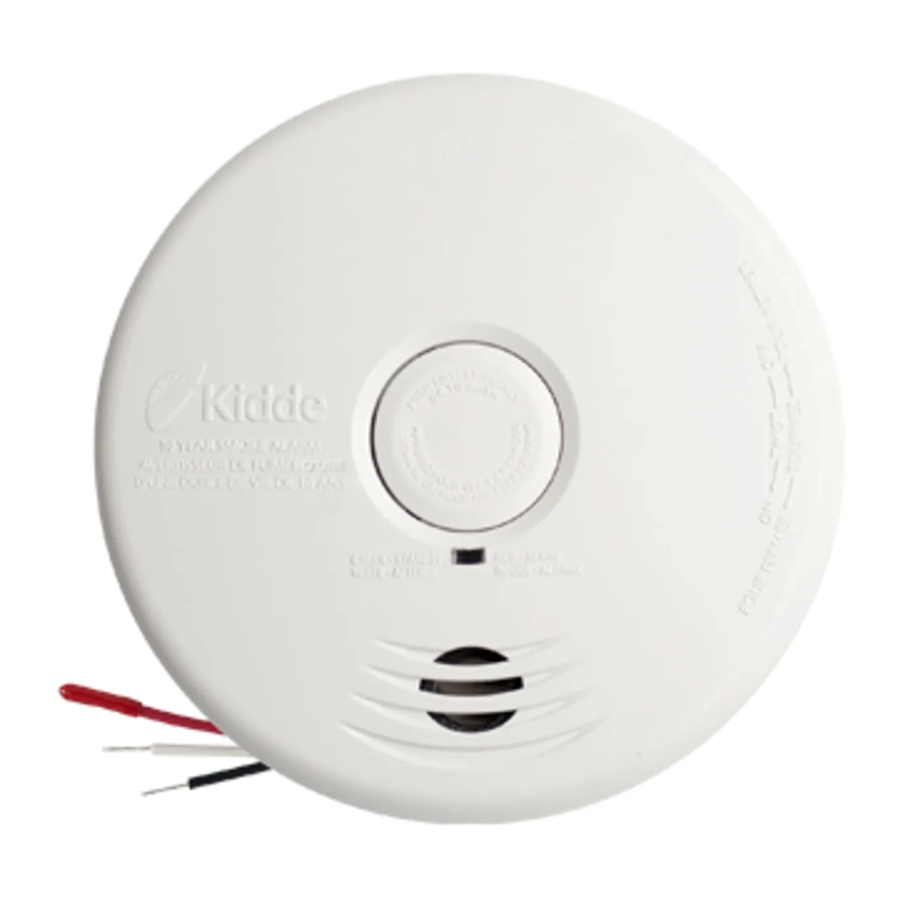
Page 6: Product View
Product View Front Test/Reset/Hush ® Green & Red LED Button (Light Emitting Diode) Alarm Sounder... -
Page 7: Product View
Product View Back Tamper-Resist Feature AC Connector Pins... -
Page 8: Features
3V Lithium battery backup, which will last the life of the alarm. No need to replace batteries. • Interconnectable to other Kidde smoke and CO alarms (see page 14 for details). • Alarm warning system that alerts you of the following... -
Page 9: Smoke Alarm
Home fires develop in different ways and are often unpredictable. For maximum protection, Kidde recommends that both Ionization and Photoelectric alarms be installed. • A battery powered alarm must have a battery of the specified type, in good condition and installed properly. -
Page 10: Installation Instructions
CEILING OR WALL. IT WAS NOT DESIGNED FOR USE AS A TABLETOP DEVICE! INSTALL ONLY AS DIRECTED! A. Recommended Installation Locations: Kidde recommends the installation of a Smoke Alarm in the following locations. For maximum protection we suggest an alarm be installed on each level of a multilevel home, including every bedroom, hallways, finished attics and basements. - Page 11 Some may charge for this service. It’s advisable to inquire about any applicable fees prior to having the service performed. Kidde will not pay for, or reimburse, the owner or user of this product, for any repair or dispatch calls related to the alarm sounding.
-
Page 12: Installation Instructions
Installation Instructions 10 cm (4”) CEILING MINIMUM FIGURE 1A NEVER HERE BEST PLACEMENT ACCEPTABLE PLACEMENT SIDE WALL FIGURE 1B NOT IN THIS AREA ANYWHERE IN THIS AREA 0.9 m (3’) 0.9 m (3’) HORIZONTAL DISTANCE FROM PEAK NOT IN FIGURE 1C THIS AREA ANYWHERE IN THIS AREA... -
Page 13: Locations To Avoid
Installation Instructions B. Locations to Avoid: WARNING: Do not install in garages, kitchens, furnace rooms or bathrooms! INSTALL AT LEAST 1.5 M (5’) AWAY FROM ANY FUEL BURNING APPLIANCE. Do not install within 0.9 m (3’) of the following: The door to a kitchen, or a bathroom that contains a tub or shower, forced air supply ducts used for heating or cooling, ceiling or whole house ventilating fans, or other high air flow... -
Page 14: Step 2: Wiring Instructions
• Smoke alarms are not to be used with detector guards unless the combination (alarm and detector guard) have been evaluated and found suitable for that purpose. FUSE OR CIRCUIT BREAKER BLACK BLACK WHITE WHITE CONNECTOR CONNECTOR Kidde Relay Module SM120X, CO120X or both Additional First Additional Optional Alarm Alarm Alarm... - Page 15 • When alarms are interconnected, all interconnected units must be powered from a single circuit. • A maximum of 24 Kidde Safety devices may be interconnected in a multiple station arrangement. The interconnect system should not exceed the NFPA interconnect limit of 12 smoke alarms and/or 18 alarms total (smoke, CO, Smoke/ CO Combination, heat, etc.).
-
Page 16: Step 3: Mounting Instructions
Installation Instructions Step 3: Mounting Instructions CAUTION: YOUR SMOKE ALARM IS SEALED AND THE COVER IS NOT REMOVABLE! 1. To help identify the date to replace the unit, a label has been affixed to the side of the alarm. Write the “Replace by” date (10 years from initial power up) in permanent marker on the label. -
Page 17: Step 4: Testing The Alarm
Installation Instructions 6. Install the alarm on the mounting bracket and rotate the alarm in the direction of the “ON” arrow on the cover until the alarm ratchets into place (this ratcheting function allows for aesthetic alignment). Note: The alarm will mount to the bracket in 4 positions (every 90 degrees). -
Page 18: Interconnect Feature
Installation Instructions Interconnect Feature IMPORTANT: This unit is only approved to interconnect with the Kidde line of products. It is not approved to interconnect with any other manufacturer's products. • When mixing compatible models with battery backup with models without battery backup, be advised that the models without battery backup will not respond during an AC power failure. -
Page 19: Smoke Hush Control Feature
Operating Instructions ® Smoke HUSH Control Feature The HUSH feature has the capability of temporarily desensitizing the smoke alarm circuit for approximately 9 minutes. This feature is to be used only when a known alarm condition, such as smoke from cooking, activates the alarm. When the unit is in alarm you can put your Smoke Alarm in HUSH mode by pushing the test/reset button. -
Page 20: Led Indicator Operation
Operating Instructions LED Indicator Operation Red LED The red LED will flash as described below under the following conditions: – During smoke alarm, with every beep – During testing (same as alarm) – Low battery: single flash with chirp every 60 seconds –... -
Page 21: Tamper Resist Feature
Operating Instructions Posts FIGURE 4A FIGURE 4B Tamper Resist Feature To make your smoke alarm tamper resistant, a tamper resist feature has been provided. Activate the tamper resist feature by breaking off the four posts in the square holes in the trim ring (see Figure 4A). -
Page 22: Battery Information
Battery Information Battery (Non-Replaceable) This alarm contains a sealed 3V Lithium battery, which will last the life of the alarm. If any form of battery failure is detected, the red LED light will flash and the unit will "chirp" once every 60 seconds. -
Page 23: Deactivation Of Alarm
Deactivation of Alarm WARNING: a. When disposing of the alarm, the alarm must be deactivated which discharges the battery to a safe level for disposal. b. Deactivation of the alarm is permanent. Once the alarm has been deactivated, it cannot be reactivated! c. -
Page 24: General Maintenance
General Maintenance To keep your Smoke Alarm in good working order, please follow these simple steps: • Verify the unit's alarm and LED lights operation by pushing the test/reset button once a week. • Remove the unit from mounting bracket and vacuum the alarm cover and vents with a soft brush attachment once a month to remove dust and dirt. -
Page 25: Fire Safety Information
Fire Safety Information Escape Plan Familiarize everyone with the sound of the smoke alarm and train them to leave the home when they hear it. Practice a fire drill at least every six months, including fire drills at night. Ensure that small children hear the alarm and wake when it sounds. -
Page 26: Fire Prevention
Fire Safety Information Fire Prevention Never smoke in bed, or leave cooking food unattended. Teach children never to play with matches or lighters! Train everyone in the home to recognize the alarm pattern, voice message warning and to leave the home using their escape plan when it’s heard. -
Page 27: Industry Safety Standards
Industry Safety Standards NFPA (National Fire Protection Association) Required Number of Smoke Alarms Smoke Detection. Where required by applicable laws, codes, or standards for the specified occupancy, approved single- and multiple-station smoke alarms shall be installed as follows: (1) In all sleeping rooms. -
Page 28: Limited Warranty
The obligation of Kidde under this warranty is limited to repairing or replacing the alarm or any part which we find to be defective in material, workmanship or design, free of charge, upon sending the alarm with proof of date of purchase, postage and return postage prepaid, to: Kidde Canada Inc., P.O.
Need help?
Do you have a question about the i12010SCA and is the answer not in the manual?
Questions and answers
I need to replace mine I have 2 are they still selling this model?
No, the Kidde i12010SCA has been discontinued and replaced with the 20SA10-CA (210315559).
This answer is automatically generated