Advertisement
Quick Links
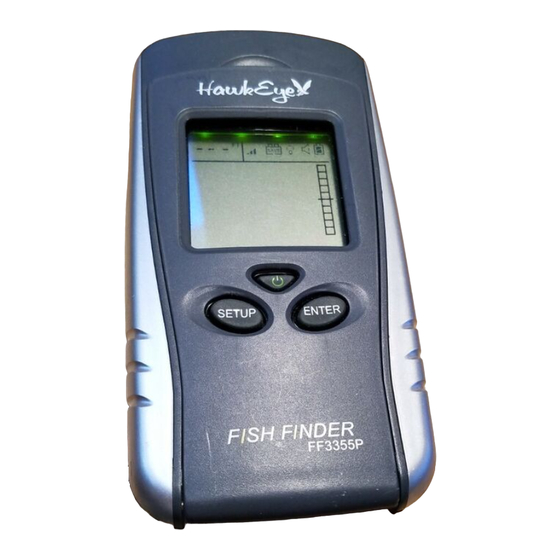
Portable Fish Finder FF3355P
Fishing Guide
Thank you for purchasing
the HawkEye
Fish Finder, and wel-
come to the Innovations
of
NorCross
Products, Inc.
E N J O Y Y O U R
FREEDOM...
VirtuView
LCD ICON DISPLAY
TM
B C D
A
J
H
I
Figure 3:
A
Depth Readout
B
Sensitivity Setting
C
Backlight On/Off
D
Fish Alarm On/Off
E
Battery Save On/Off
F
Battery Strength Indicator
G
Fish Depth Indicator
H
Bottom Contour Detector
I
WeedID
Weed Detector
TM
J
Fish Location Indicator
Before You Fish
Get to know the fishing regulations and habits of
the fish that you are targeting by visiting your local
tackle center, bait shop, library, or website. A little
research can be a valuable lesson that will allow you
to utilize the features of your fish finder, to make fish-
ing more enjoyable for you, and your fishing buddies.
Portable
®
Installing the Batteries
Marine
1. Slide the Battery Door towards
the bottom of the unit and
remove it from the main hous-
ing.
2. Install 4 "AAA" batteries. Be
certain to align the batteries
as per the diagram within the
battery compartment.
3.
Close the battery door com-
pletely by reversing step one.
NOTE: Alkaline batteries lose a considerable amount
of their power below 20
fish finder in Sub-Zero temperatures, you may have to
keep the unit warm (above 20
performance.
Refer to Figures 2 and 3 to Set the Following Features:
The POWER Button
E F
• To turn the Power On, press the POWER Key.
• To turn the Power Off, Press and Hold the POWER Key for 3
seconds.
• During normal operation the screen can be refreshed by
pressing the POWER Key. Use this feature if inconsistent
readings are evident.
• To enter the simulation mode hold the POWER key down for 5
G
seconds while the power is off. Release the POWER key
once the display turns on. The unit is now in Simulation
mode and must be turned off to enter normal operation.
NOTE: The fish finder has an automatic power off fea-
ture to prevent battery drain if you accidentally leave
the unit on. When the depth display reads "---" con-
tinuously for 5 minutes, the display will shut off auto-
matically.
The SETUP and ENTER Buttons
• Press and Hold the SETUP Key for 3 seconds.
• The Sensitivity Indicator (
• Cycle through the features by pressing the SETUP key. (the
indicator will blink for the current feature to be set)
• To activate or deactivate a feature press the ENTER key.
• The screen will automatically return to normal operation after 5
seconds if no keys are pressed.
F
T
ISHING
IP
Figure 1:
F (-7
C). If you're using your
o
o
F (-7
C) for optimal
o
o
(Feature Setup)
) will blink.
Figure 2:
NOTE: When a feature is activated, the indicator will
appear. When a feature is deactivated, the indicator
will not appear or it will have an "X" over it.
Adjusting the Sensitivity
(
)
F
T
ISHING
IP
There are 4 user selectable sensitivity settings to choose
from. So, which setting is the right setting? It greatly depends
on the clarity and/or depth of the water. Very clear water
allows for a moderate sensitivity setting. Conversely, dirty
water requires a higher sensitivity setting to target detail but
will increase the irritating false readings. Targeting deep water
fish generally requires greater sensitivity, especially in stained
or dirty water. Salt and brackish water also require a compar-
atively higher sensitivity setting. While this analysis may seem
confusing, the concept is simple. As the unit's sensitivity is
elevated, a broader view and smaller details show on the
screen. But, with a broader and stronger view comes more
clutter and debris. The clearer the water, the less sensitivity
needed to get accurate details and vice-versa.
Fishing at Night
(
)
• Turning the backlight feature ON will keep the screen illuminat-
ed all the time. This feature will greatly reduce the battery life
of the unit, so it should only be used during low light conditions.
• When the backlight feature is set to OFF, the backlight will illu-
minate for 3 seconds whenever a key is pressed.
SONAR
SENSOR
PLUG
POWER
ENTER
SETUP
Advertisement

Subscribe to Our Youtube Channel
Related Manuals for Hawkeye Mfg FF3355P


Summary of Contents for Hawkeye Mfg FF3355P
- Page 1 Before You Fish Portable Fish Finder FF3355P Figure 2: SONAR Fishing Guide ISHING SENSOR Get to know the fishing regulations and habits of PLUG the fish that you are targeting by visiting your local tackle center, bait shop, library, or website. A little...
- Page 2 Audible Notification of the Presence of Fish Adjusting the Sonar Sensor Float Using the Sonar Sensor with the Float • An audible alarm sounds when a group of fish are detected. It will 1. Toss the sonar sensor and float Figure 5: NOT sound if just one fish is detected.
- Page 3 Using the Fish Finder Thru a Boat Hull? Using the Fish Finder for Ice Fishing 4. To remove the Sonar sensor from the frozen ice, gently tap the sonar sensor at the base with your hand. If it will not come loose, The fish finders advanced sonar capabilities allows it to “shoot To achieve the best performance for ice fishing, it is highly rec- spray a small amount of water on the ice surface around the base...
-
Page 4: Frequently Asked Questions
Care of Your Fish Finder Uncovering The Best Hiding Places • One Rock Indicator identifies limited structure (Figure 19). You would most likely find a small rock, a small pile of rocks, or uneven 1. Clean the sonar sensor and cable with fresh water and dry-off before bottom contour. -
Page 5: Specifications
8. The Depth Reading is Incorrect I Tried Everything in this Manual, and I am Still Having ROSS IMITED ARRANTY Make sure the sonar sensor is perpendicular to the water To be eligible for warranty coverage your fish finder must have a Trouble.
Need help?
Do you have a question about the FF3355P and is the answer not in the manual?
Questions and answers