Table of Contents
Advertisement
Quick Links
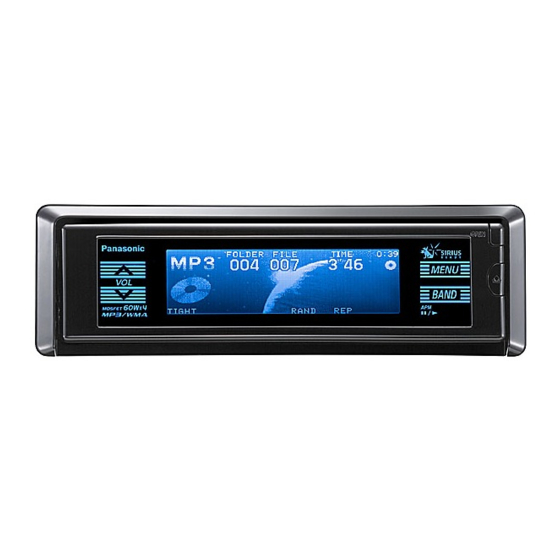
Front Panel Settings [COLOR]
E
N
G
L
I
S
1
H
21
2
Press.
Display Color Changing
Pattern (STORM)
This is used to select the pattern that
changes the colors of the display area.
Default: PATTERN 1
Setting range: PATTERN 1 to PATTERN 4
Base Color Selection
(LEVEL)
This is used to select the display colors
which are to be changed in line with the
variations in the music level.
Default: PURPLE
Display Color Customize
(CUSTOM)
This enables the display colors to be set
by adjusting the R (red), G (green) and B
(blue) levels.
Default: ALL 50
Setting range: 0 to 100
48
CQ-HX2083U
2
(Example: STORM)
1
Press.
Press.
1
2
Menu
Submenu
3
(Example: PATTERN 1)
Press.
3
Set
: PATTERN 1
: PATTERN 2
: PATTERN 3
: PATTERN 4
: Red
: Green
: Blue
: Yellow
: Purple
: Aqua blue
Red Green Blue
: Up
: Down
For details on how to perform menu operations
using the remote control, refer to page 28.
Note:
≥ Press [MENU] or [DISP] (display) on the remote
control to return to the regular mode.
≥ Press
/[RET] (RETURN) to return to the pre-
vious display.
Direct Operation
In the case of remote control, as an alternative to
performing operations from the menu, the opera-
tions can be performed directly using the buttons
shown below.
SOURCE
SOURCE
RETURN
RETURN
PWR
PWR
BAND
BAND
BAND
RET
RET
MENU
MENU
[FACE]
FACE
FACE
S S
S
•
•
A
A
DIMMER
DIMMER
DISP
DISP
DIM
DIM
DIM
1 1
2 2 2
3 3 3
4
5
6
RANDOM
SCAN
REPEAT
The following transition will be made by each
VOL
7
8
9
[FACE] pressing.
#
0
MUTE
NUMBER
When set to STORM
Car Audio
PATTERN 1
PATTERN 2
PATTERN 4
PATTERN 3
When set to LEVEL
PURPLE
AQUA BLUE
YELLOW
RED
BLUE
GREEN
When set to CUSTOM
Current setting
Complementary color
CQ-HX2083U
E
N
G
L
I
S
H
22
49
Advertisement
Table of Contents

Related Manuals for Panasonic CQ-HX2083U


Summary of Contents for Panasonic CQ-HX2083U
- Page 1 This enables the display colors to be set by adjusting the R (red), G (green) and B : Down (blue) levels. BLUE GREEN Default: ALL 50 When set to CUSTOM Setting range: 0 to 100 Current setting Complementary color CQ-HX2083U CQ-HX2083U...
-
Page 2: Audio Settings (Audio)
Note: Default: 120 Hz ≥ The same operations as the [ ] operations de- : No more than 120 Hz Setting range: 120 Hz/80 Hz scribed above can also be performed using on the main unit. CQ-HX2083U CQ-HX2083U... -
Page 3: Display Settings [Display]
(This appears for 2 seconds.) :Down You can adjust the clock. The clock uses 12-hour system. After the time has been adjusted, it is entered only when (This appears for 2 seconds.) the screen is exited using /[RET] (RETURN). CQ-HX2083U CQ-HX2083U... -
Page 4: Function Settings [Function]
≥ The security indicator blinks. (page 69) : Sirius mode is se- lectable as a source. Excluding Sirius from : Sirius mode is Source Selection not selectable as a source even if Default: OFF the Sirius receiver is connected. CQ-HX2083U CQ-HX2083U... -
Page 5: Preliminary Steps
The safety devices has been triggered by some apparent reason. The power goes off sud- tions for the concerned devices for details. ➡Call the store where you purchased the unit, or your nearest denly without apparent Servicenter (see the attached sheet). reason. CQ-HX2083U CQ-HX2083U... -
Page 6: Sound Setting
Cables are not correctly connected. ➡Connect the cables correctly. Left and right sounds The speaker wires are reversed between right and left. are reversed in stereo ➡Connect the speaker wires to the correct ones. listening. CQ-HX2083U CQ-HX2083U... -
Page 7: Remote Control Unit
➡Select a file that the player can read. Confirm the type of data recorded on the disc. Create a new disc if necessary. An attempt has been made to play a copy-protected WMA file. ➡ Play WMA files which are not copy-protected. CQ-HX2083U CQ-HX2083U... -
Page 8: Maintenance
If the suggestions in the charts do not solve the Notes on CD-Rs/RWs problem, we recommend that you take it to your nearest authorized Panasonic Servicenter. The ≥ You may have trouble playing back some CD- product should be serviced only by a qualified tech- R/RW discs recorded on CD recorders (CD-R/RW nician. -
Page 9: Installation Guide
Mounting spring (L) ≥ Panasonic Servicenter List for Service Directory Touch the other lead of the test bulb to each of the stereo unit wires. The wiring diagram (page 70) …Keep for future reference in case the product... -
Page 10: Final Installation
Congratulations! After making a few final checks, 5 Mounting bolt ⁄ z (4.75 mm)j ⁄ z (5.56 mm) thick in order to 1 Mounting collar you’re ready to enjoy your new auto stereo system. be able to support the unit. 1 Mounting collar CQ-HX2083U CQ-HX2083U... -
Page 11: Anti-Theft System
≥ To avoid damaging the front panel, do not push high level. it down or place objects on it while it is open. CQ-HX2083U CQ-HX2083U... -
Page 12: Electrical Connections
Note: Power Consult your nearest Panasonic Servicenter This lead is used for power control when an external power amplifier purchased the equipment to connector for service. - Page 13 Extension cord (supplied with CX-DP880U) DIN cord DIN cord DIN cord RCA cord RCA cord Battery lead Battery Lead Battery Lead Ground lead Ground lead Ground lead CD changer CD changer (CX-DP880U, option) (CX-DP880U, option) CQ-HX2083U CQ-HX2083U...
-
Page 14: Specifications
8 times oversampling test voltage 14.4 V, neg- Usable sensitivity: 10.2 dBf. (0.9 ¨V, 75 ≠) Error correction system: Panasonic super decod- ative ground 50 dB quieting sensitivity: 15.2 dBf. (1.6 ¨V, 75 ≠) ing algorithm Current consumption: Less than 2.2 A...
Need help?
Do you have a question about the CQ-HX2083U and is the answer not in the manual?
Questions and answers