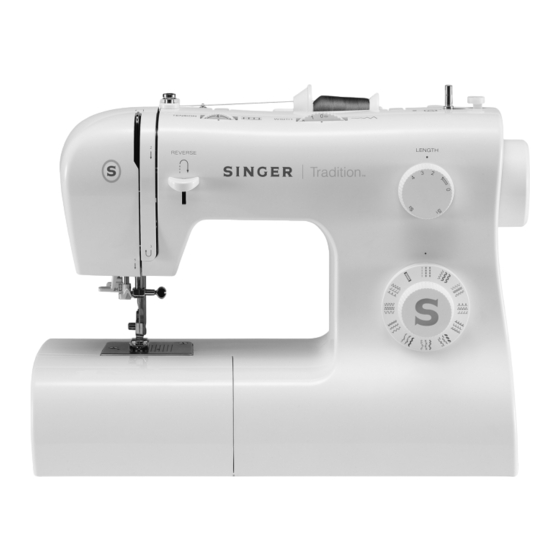
Singer 2282 Operation And Safety Notes
Hide thumbs
Also See for 2282:
- User manual ,
- Operation and safety notes (72 pages) ,
- Instruction manual (65 pages)
Advertisement
Available languages
Available languages
Quick Links
Download this manual
See also:
Instruction Manual
NÄHMASCHINE
NÄHMASCHINE
Bedienungs- und Sicherheitshinweise
NAAIMACHINE
Bedienings- en veiligheidsinstructies
Advertisement

Summary of Contents for Singer 2282
- Page 1 NÄHMASCHINE NÄHMASCHINE Bedienungs- und Sicherheitshinweise NAAIMACHINE Bedienings- en veiligheidsinstructies...
- Page 2 Klappen Sie vor dem Lesen die Seite mit den Abbildungen aus und machen Sie sich anschließend mit allen Funktionen des Gerätes vertraut. Vouw vóór het lezen de pagina met de afbeeldingen open en maak u vertrouwd met alle functies van het apparaat.
- Page 5 DE / AT / CH...
- Page 6 DE / AT / CH...
- Page 7 DE / AT / CH...
- Page 8 DE / AT / CH...
- Page 9 DE / AT / CH...
- Page 10 DE / AT / CH...
- Page 11 DE / AT / CH...
- Page 12 DE / AT / CH...
- Page 13 DE / AT / CH...
- Page 14 DE / AT / CH...
- Page 15 DE / AT / CH...
- Page 16 DE / AT / CH...
- Page 17 DE / AT / CH...
- Page 18 DE / AT / CH...
- Page 19 DE / AT / CH...
- Page 20 DE / AT / CH...
- Page 21 DE / AT / CH...
- Page 22 DE / AT / CH...
- Page 23 DE / AT / CH...
- Page 24 DE / AT / CH...
- Page 25 DE / AT / CH...
- Page 26 Entsorgung DE / AT / CH...
- Page 27 Table of contents GB / IE...
- Page 28 Introduction GB / IE...
- Page 29 Introduction GB / IE...
- Page 30 Important Safety Instructions GB / IE...
-
Page 31: Machine Basics
Machine Basics GB / IE... - Page 32 Threading the Machine GB / IE...
- Page 33 Threading the Machine GB / IE...
- Page 34 Threading the Machine GB / IE...
- Page 35 Threading the Machine GB / IE...
- Page 36 Threading the Machine GB / IE...
- Page 37 Sewing GB / IE...
- Page 38 Sewing GB / IE...
- Page 39 Sewing GB / IE...
- Page 40 Sewing GB / IE...
- Page 41 Sewing GB / IE...
- Page 42 Sewing GB / IE...
- Page 43 Sewing GB / IE...
- Page 44 General Information GB / IE...
- Page 45 General Information GB / IE...
- Page 46 Maintenance and Trouble shooting GB / IE...
- Page 47 Maintenance and Trouble shooting GB / IE...
- Page 48 Disposal / Warranty / Service Address / Declaration of Conformity GB / IE...
- Page 49 NL / BE...
- Page 50 NL / BE...
- Page 51 Technische gegevens NL / BE...
- Page 52 NL / BE...
- Page 53 NL / BE...
- Page 54 NL / BE...
- Page 55 De machine inrijgen Een spoeltje inzetten Als u een spoelhuis gaat inzetten of verwijderen, moet de naald altijd in de hoogste stand staan. - Open de voorklep van de vrije arm. (1) - Pak het lipje (a) en trek het spoelhuis naar u toe om het te verwijderen.
- Page 56 NL / BE...
- Page 57 NL / BE...
- Page 58 De machine inrijgen Automatische draadinrijger - Breng de naald in de hoogste positie. - Duw hendel (A) zo ver mogelijk omlaag. - De draadinrijger gaat automatisch naar de inrijgpositie (B). - Leid de draad om de draadgeleider (C). - Leid de draad voor de naald langs van beneden naar boven om de haak (D) heen.
- Page 59 NL / BE...
- Page 60 NL / BE...
- Page 61 NL / BE...
- Page 62 NL / BE...
- Page 63 NL / BE...
- Page 64 NL / BE...
- Page 65 NL / BE...
- Page 66 NL / BE...
- Page 67 NL / BE...
- Page 68 NL / BE...
- Page 69 NL / BE...
- Page 70 NL / BE...
- Page 72 DE, GB, NL...


Need help?
Do you have a question about the 2282 and is the answer not in the manual?
Questions and answers
What is the maximum thickness of material can be used on this machine 2282
The Singer 2282 sewing machine struggles when sewing 8 layers of polypropylene (PP) webbing, with the needle getting deflected upward. This suggests that 8 layers of PP webbing exceed its effective capacity. Therefore, the maximum thickness it can handle is less than 8 layers of PP webbing.
This answer is automatically generated