
Related Manuals for Hitachi UC18YRSL


Summary of Contents for Hitachi UC18YRSL
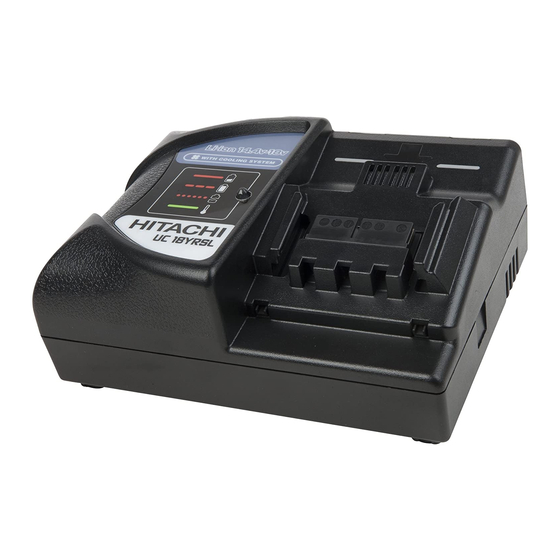
- Page 1 Charger UC 18YRSL Handling instructions Read through carefully and understand these instructions before use.
- Page 2 <BSL1830> <BSL1430> Rechargeable battery Pilot lamp Guide rail Cooling fan Caution plate Name plate Line Before insert After insert...
- Page 4 ○...
- Page 5 ○ ○ ○...
- Page 6 8. Use only genuine HITACHI replacement parts. 9. Do not use power tools and charger for applications other than those specifi ed in the Handling Instructions.
- Page 7 2. Insert the battery into the charger. APPLICATION Firmly insert the battery into the charger until the line is visible, as shown in Fig. 1, 2. For charging the HITACHI BATTERY. 3. Charging ○ BSL1430, BSL1830 When inserting a battery in the charger, the charge status lamp will light up continuously in red.
- Page 8 ○ Since the built-in micro computer takes about 3 seconds to confi rm that the battery being charged with UC18YRSL is taken out, wait for a minimum of 3 seconds before reinserting it to continue charging. If the battery is reinserted within 3 seconds, the battery may not be properly charged.
- Page 9 ITEM PART NAME Q’TY HITACHI LABEL CASE (A) FUSE NUT M3 INSULATOR (A) FIN (A) MACHINE SCREW (W/WASHERS) M3×12 MACHINE SCREW (W/WASHERS) M3×10 CASE (B) TAPPING SCREW (W/FLANGE) D3×18 CASE RUBBER PRISM TERMINAL HOLDER TP TAPPING SCREW D3×8 CODE PRINTED CIRCUIT BOARD ASS’Y...
- Page 12 Code No. C99167221 G Printed in China...
Need help?
Do you have a question about the UC18YRSL and is the answer not in the manual?
Questions and answers