Crown I-T5000 HD Operation Manual
I-tech hd series power amplifer
Hide thumbs
Also See for I-T5000 HD:
- Operation manual (60 pages) ,
- Operation manual (31 pages) ,
- Operation manual (22 pages)
Table of Contents
Advertisement
Quick Links
Operation Manual
I-Tech HD Series
Obtaining Other Language Versions: To obtain information in another language about the use of this product, please contact your
local Crown Distributor. If you need assistance locating your local distributor, please contact Crown at 574-294-8000.
This manual does not include all of the details of design, production, or variations of the equipment. Nor does it cover every possible
situation which may arise during installation, operation or maintenance.
The information provided in this manual was deemed accurate as of the publication date. However, updates to this information may have
occurred. To obtain the latest version of this manual, please visit the Crown website at www.crownaudio.com.
Trademark Notice: Crown, Crown Audio, IQ, BCA, and Amcron are registered trademarks of Crown International. HiQnet is a trademark
of Harman International Industries, Inc. Other trademarks are the property of their respective owners.
Some models may be exported under the name Amcron.
©2008 by Crown Audio
Inc., 1718 W. Mishawaka Rd., Elkhart, Indiana 46517-9439 U.S.A. Telephone: 574-294-8000
®
I-T5000 HD
I-T9000 HD
I-T12000 HD
®
140811-1
5/11
Advertisement
Chapters
Table of Contents

Related Manuals for Crown I-T5000 HD


Summary of Contents for Crown I-T5000 HD
- Page 1 To obtain the latest version of this manual, please visit the Crown website at www.crownaudio.com. Trademark Notice: Crown, Crown Audio, IQ, BCA, and Amcron are registered trademarks of Crown International. HiQnet is a trademark of Harman International Industries, Inc. Other trademarks are the property of their respective owners.
-
Page 2: Important Safety Instructions
I-Tech HD Series Power Amplifi ers Important Safety Instructions Wichtige Sicherheitsinstruktionen The I-Tech Series amplifi ers are certifi ed only at 120V in Canada. Importantes Instructions de Sécurité Instrucciones de Seguridad Importantes IMPORTANT I-Tech Series amplifi ers require Class 2 output wiring. Les amplifi... -
Page 3: Declaration Of Conformity
I-Tech HD Series Power Amplifi ers DECLARATION of CONFORMITY Crown International, Inc. FOR COMPLIANCE QUESTIONS ONLY: Sue Whitfi eld ISSUED BY: Crown International, Inc. 574-294-8289 1718 W. Mishawaka Road Elkhart, Indiana 46517 U.S.A. European Representative’s Name and Address: David Budge... -
Page 4: Table Of Contents
3.5 Back Panel Controls, Indicators and Connectors ....13 Product Registration ................57 4 Advanced Operation ..........14 Crown Factory Service Information Form .......... 59 4.1 Advanced Operation Table of Contents ........14 4.2 Navigating the LCD Control Screen .........15 4.3 Presets ...................23 4.4 File Transfer Via the USB Port..........24... -
Page 5: Welcome
System Architect software, 4-ohm Bridge 7,000W accurate diagnostics: Power, Data, along with Correction) works anywhere in the world. Crown’s Amplifi er Application Guide, I-Tech Ready, Signal, Clip, Thermal and Fault for each 8-ohm Bridge 8,000W Application Guide (available online at www. -
Page 6: Setup
Only you the rack should be a minimum of four inches can ini tiate a claim for shipping damage. Crown Use a standard 19-inch (48.3 cm) (10.2 cm) from the amplifi er back panel. will be happy to help as needed. Save the equipment rack (EIA RS-310B). -
Page 7: Connecting To Ac Mains
• Turn the entire sound system off before changing any connections. please consult your electrician. Crown is not liable for damage incurred when any transducer or compo nent Packed with your I-Tech amplifi er is a clip that retains the power cord so it is overdriven. - Page 8 NOTE: Custom wiring should only be performed by qualifi ed per sonnel. 2.3.3 Choose Output Wire and Connectors Crown recommends using pre-built or professionally wired, high- quality, two- or four-conductor, heavy gauge speaker wire and connectors. Use Class 2 output wiring. You may use a 4-pole ®...
- Page 9 I-Tech HD Series Power Amplifi ers 2 Setup 2.3.4 Stereo Mode Wiring Typical input and output wiring is shown in Figure 2.9. IMPORTANT: Turn off the amplifi er and unplug its power cord. INPUTS: Choose one of these options: • Connect analog input wiring for both channels. •...
- Page 10 Figure 2.13 Bridge-Mono Wiring to Binding Posts • Connect an AES/EBU digital signal source to the Digital Input IN connector. NOTE: Crown provides a reference of wiring pin assignments for commonly used connector types in the Crown Amplifi er Application Guide available at www.crownaudio.com.
-
Page 11: Operation
For help with determining your system’s optimum gain structure that mixer signals above 0 dB or 0 VU on the mixer meters do not quite (sig nal levels) please refer to the Crown Amplifi er Application Guide, 5. Tampering with the circuitry, or making unauthorized circuit drive the amplifi... -
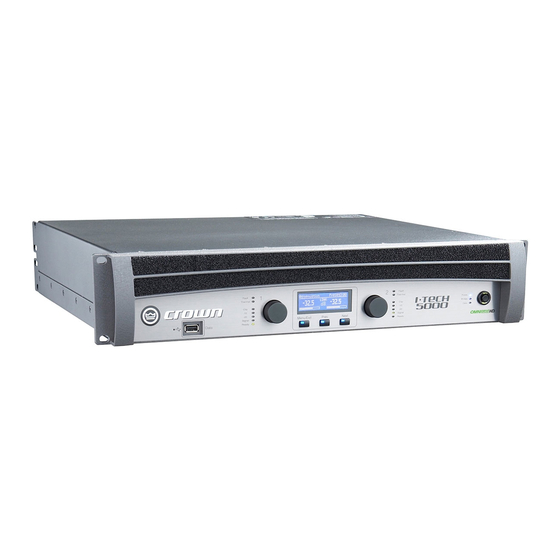
Page 12: Front Panel Controls And Indicators
I-Tech HD Series Power Amplifi ers 3 Operation 3.4 Front Panel Controls and Indicators D. USB 2.0 Connector H. Level Controls (Encoders) M. Ready Indicator Accepts a USB drive to transfer presets from the Speed-sensitive, 0.5 dB steps, range 0 to –100 dB. Green LED, one per channel, illuminates when the Many of these functions can be disabled using drive to the amplifi...
Need help?
Do you have a question about the I-T5000 HD and is the answer not in the manual?
Questions and answers