Table of Contents
Advertisement
Quick Links
®
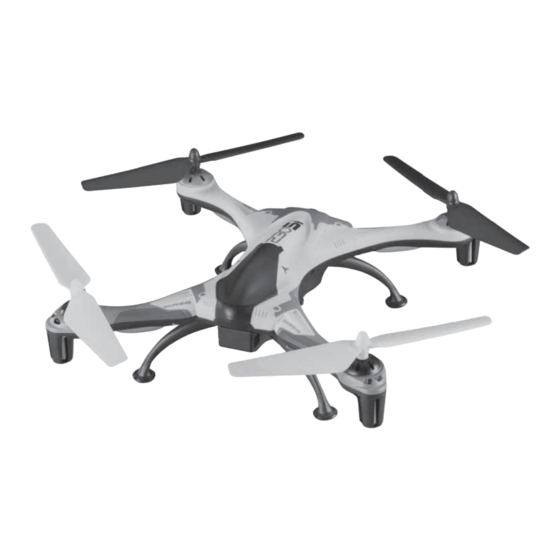
230Si Quadcopter
Instruction Manual
WARNING
Please fully read and understand this manual and the operation and all
safety aspects required of you for the safe operation of this product.
Before use, if you feel this product is not for you please return it to your
place of purchase.
Heli-Max products are to be used by ages 14 and over.
Manual Specifications and Description Changes
The instruction manual, warranties and other associated documentation
are subject to change without notice. Hobbico assumes no responsibility
for inadvertent errors to this manual.
© 2014 Heli-Max, a Hobbico company.
HMXE0846 RTF with camera
HMXE0847 RTF without camera
Advertisement
Table of Contents

Related Manuals for Heli-Max 230Si


Summary of Contents for Heli-Max 230Si
- Page 1 Before use, if you feel this product is not for you please return it to your place of purchase. Heli-Max products are to be used by ages 14 and over. Manual Specifications and Description Changes The instruction manual, warranties and other associated documentation are subject to change without notice.
- Page 2 Heli-Max web site at www.helimax-rc.com. If there is any new technical information, changes or important updates to this model a “tech notice” box will appear on the 230Si product page. Click the “tech notice” box to learn more about this important update.
-
Page 3: Warranty & Service
Max’s liability exceed the original cost of the purchased kit. Further, Heli-Max reserves the right to change or modify this warranty without notice. In that Heli-Max has no control over the final assembly or material used for final assembly, no liability shall be assumed nor accepted for any damage resulting from the use by the user of the final user-assembled product. -
Page 4: Product Specifications
® FEATURES & SPECIFICATIONS FEATURES & SPECIFICATIONS Features ● Switchable TAGS-FX™ Sensor Fusion stabilization system ● On board micro digital video camera (HMXE0846 only) ● On board micro snap-shot digital picture camera (HMXE0846 only) ● USB Micro SD Card reader (HMXE0846 only) ●... -
Page 5: Battery Warnings And Usage Guidelines
away from the rotors. The spinning blades of a model of this type can cause serious injury. ● When choosing a fl ying site stay clear of buildings, trees and power lines. AVOID fl ying in or near crowded areas. ●... -
Page 6: Battery Charging
® BATTERY CHARGING BATTERY CHARGING ● WARNING!! The charger supplied with the Heli-Max 230Si Quadcopter contains protective circuitry. If you experience any difficulties while charging the battery, please disconnect the battery from the charger and unplug the charger from the power source. -
Page 7: Transmitter Controls
® TRANSMITTER CONTROLS TRANSMITTER CONTROLS All controls are described with the tail pointing directly toward you. This is the best way to fly in the beginning since it keeps the control inputs oriented the same direction. -
Page 8: Transmitter Setup
1. Turn on the TX465 transmitter and lay it down near the quadcopter on a level surface. When the display shows 000, connect the battery but do not move the quadcopter. When the Status LED is steady, the 230Si can be picked up. - Page 9 LED to be steady “ON”. This allows the TAGS-FX control board to calibrate. NOTE: The 230Si will be “ON” at this point. Your quadcopter has a safe start feature built in that prevents the motor from activating unless the throttle stick has been lowered to the lowest position.
- Page 10 Before turning off the transmitter, make sure that all the trim indicators on the transmitter are centered. If you fi nd that the model is consistently drifting in one direction, the sensors on the 230Si may need to be re- calibrated (see Troubleshooting).
- Page 11 LED fl ashes rapidly three times, is off for a second, and then remains steady. In this mode, the maximum height that the 230Si can climb to is around 10 feet. This mode is good for indoor use where the ceiling is usually less than 10 feet. This mode offers limited throttle control that will make the quadcopter easier for beginning pilots to fl...
-
Page 12: Other Features
In this mode, it does not matter which direction the front of the 230Si is facing. When the right stick is moved forward or backward, the quadcopter will move closer to or farther from the pilot’s position. -
Page 13: Camera Operation
230Si at all times for this feature to work correctly. Failsafe If the 230Si loses contact with the transmitter, it will hover for few seconds and slowly land. You can test this feature by turning off transmitter. Please perform this test in an open area because the quadcopter may drift away from the point where it lost the signal. -
Page 14: System Adjustments
When it stops fl ashing, the calibration procedure is completed. Return to Pilot Speed: To adjust the speed that the 230Si returns to the pilot, use the rudder trim button. Pushing the button to the left will make the quadcopter return faster. -
Page 15: Troubleshooting
PROBLEM: Flies with poor power or buzzes. Solution: One of the props may be bent. Carefully bend it straight. PROBLEM: The 230Si will not return directly to you in Return to Pilot mode. Solution: Calibrate the control board sensors as described in the System Adjustments section. -
Page 16: Maintenance
There are arrows on the rotor blade and arm indicating which direction the rotor blade will rotate. When installing the rotor blades on the 230Si, please select a blade the same color and with an arrow in the same direction. -
Page 18: Replacement Parts
® REPLACEMENT PARTS REPLACEMENT PARTS Key Part No. Description 1 HMXE2320 Prop Set (4) 2 HMXE2321 Main Frame Body 3 HMXE2322 Bearing Set (8) 4 HMXE2323 Spur Gear w/Shaft (4) 5 HMXE2324 Battery Frame 6 HMXM2054 TAGS-FX Control Board 7 HMXE2325 Control Board Dampners (4) 8 HMXE2326 Receiver Mount 9 HMXE2327 Left Front Motor CCW 10 HMXE2328 Left Rear Motor CW... -
Page 19: Exploded View
® EXPLODED VIEW EXPLODED VIEW... - Page 20 ®...
Need help?
Do you have a question about the 230Si and is the answer not in the manual?
Questions and answers