Table of Contents
Advertisement
7640H-English_Manuals 12/11/13 4:18 PM Page 1
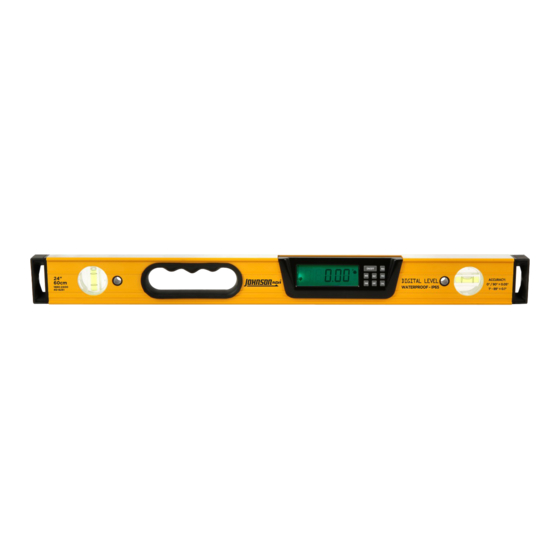
24" and 48" Waterproof Electronic
Digital Level
Model Nos. 1880-2400 & 1880-4800
Instruction Manual
Congratulations on your choice of this Digital Level. We suggest you
read this instruction manual thoroughly before using the instrument.
Save this instruction manual for future use.
©2013 Johnson Level & Tool - Rev. 1
1
Advertisement
Table of Contents

Related Manuals for Johnson 1880-2400


Summary of Contents for Johnson 1880-2400
- Page 1 Model Nos. 1880-2400 & 1880-4800 Instruction Manual Congratulations on your choice of this Digital Level. We suggest you read this instruction manual thoroughly before using the instrument. Save this instruction manual for future use. ©2013 Johnson Level & Tool - Rev. 1...
-
Page 2: Table Of Contents
• Reference function making any slope “0.0” • Hold function locks measurement on the LCD • Working range on angle measurement 4 x 90º • SurroundView ® vials reflect ambient light for easy-read ©2013 Johnson Level & Tool - Rev. 1... -
Page 3: Location Of Parts/Components
• Shock absorbing end-caps • Large hand grips fastened with screws • Rigid aluminum box frame profile 3. Location of Part/Components LCD Display Window End-cap End-cap Hand Hole Keypad Plumb Vial Level Vial ©2013 Johnson Level & Tool - Rev. 1... -
Page 4: Operating Instructions
1. Be careful to follow the polarity symbol when replacing the batteries. 2. Take out the batteries if the digital level is not going to be used for a long time. Battery Panel Screw ©2013 Johnson Level & Tool - Rev. 1... -
Page 5: Using The Product
Push this button once to switch from one unit of measure to another. This controls which unit of measure your digital level will measure in. Your level has the capability to measure in degrees, percentage of ©2013 Johnson Level & Tool - Rev. 1... - Page 6 0.0. Set the level on the second surface to measure the difference between the first and second surface. To exit this reference mode, press the reference button again. ©2013 Johnson Level & Tool - Rev. 1...
- Page 7 To exit the backlight function, push this button again. Calibrate Button Push this button to enter calibration mode. See Calibration section for more information on how to calibrate this digital level. ©2013 Johnson Level & Tool - Rev. 1...
- Page 8 The left and right arrows are displayed to indicate the inclination direction of the digital level. When the digital level is at the position of 0 degree, the horizontal reference line will show as follows: ©2013 Johnson Level & Tool - Rev. 1...
-
Page 9: Self-Calibration
2. Hold the digital level against a wall making sure the plumb bubble is centered in the vial. 3. While keeping the digital level in the plumb position push and hold the CAL button in for 3 seconds. ©2013 Johnson Level & Tool - Rev. 1... - Page 10 6. Rotate the level 180° putting it in the same position as it was before. 7. Push the CAL button one time. The LCD will display a flashing “CAL2”. 8. When the digital level is calibrated it will exit calibration mode automatically. ©2013 Johnson Level & Tool - Rev. 1...
-
Page 11: Technical Specifications
Keep the unit dry and clean. Remove any moisture or dirt with a • soft, dry cloth. Do not use harsh chemicals, strong detergents or cleaning solvents • to clean the unit. ©2013 Johnson Level & Tool - Rev. 1... -
Page 12: Product Warranty
7640H-English_Manuals 12/11/13 4:18 PM Page 12 9. Product Warranty Johnson Level & Tool offers a limited lifetime warranty on each of its products. You can obtain a copy of the limited warranty for a Johnson Level & Tool product by contacting Johnson Level & Tool's Customer Service Department as provided below or by visiting us online at www.johnsonlevel.com.
Need help?
Do you have a question about the 1880-2400 and is the answer not in the manual?
Questions and answers